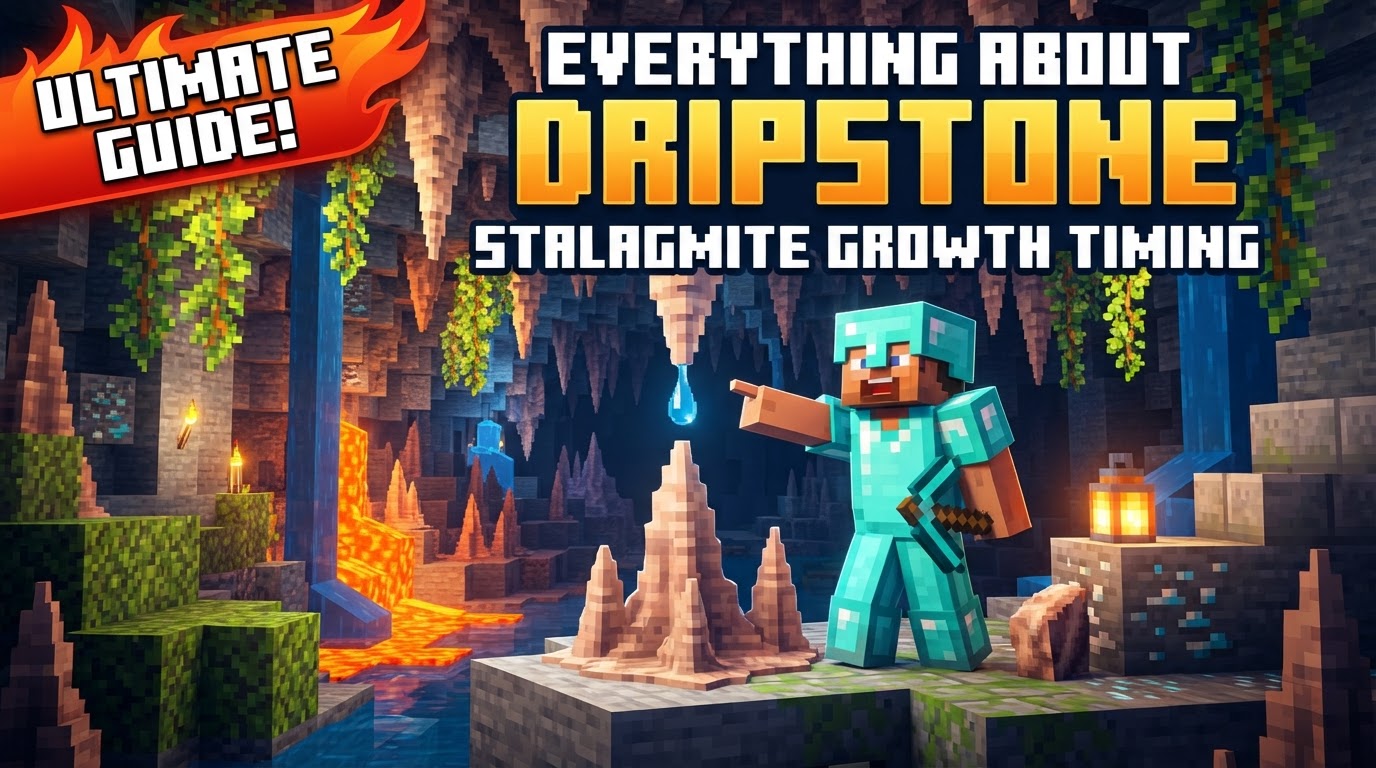
Everything About Dripstone Stalagmite Growth Timing
Many aspiring Minecraft architects and farmers underestimate the true patience required for dripstone growth. While seemingly simple, the mechanics governing how pointed dripstone forms stalactites and stalagmites are rooted in a subtle, random process that demands understanding and proper setup to yield results. Mastering the timing and conditions is key to efficiently harnessing this unique block.
The Intricate Mechanics of Dripstone Growth
At its core, pointed dripstone exhibits a fascinating dual nature: it can grow downwards as a stalactite or upwards as a stalagmite. This natural geological process, simulated within Minecraft, is not instantaneous but rather a slow, deliberate one, driven by specific environmental conditions.
The fundamental requirement for any dripstone growth is a dripstone block with a water source block directly above it. Crucially, a pointed dripstone must already be hanging below this dripstone block to initiate the stalactite growth process. This setup creates the dripping effect essential for further development.
Growth itself is governed by Minecraft’s internal “random ticks.” Each game tick presents a small opportunity for a dripstone block to grow. Specifically, there’s an approximate 1.13% chance per game tick for an eligible dripstone to extend by one block. This seemingly small probability translates into a significant amount of real-world time. On average, a single growth step for a dripstone takes about 5 in-game days, which is roughly equivalent to 100 real-world minutes. This inherent slowness is why impatience is a common pitfall for new players.
Stalactites and stalagmites continue to grow until they eventually meet, at which point they merge into a single, continuous dripstone column. It’s important to note the fragility of these formations: breaking the base of any dripstone column will cause the entire structure to collapse, dropping all its pointed dripstone components.
Setting the Stage for Stalagmite Formation
While stalactites grow downwards from a water source, stalagmites have a more specific requirement. A stalagmite will only begin to grow directly underneath a hanging stalactite if there is a solid block within eleven blocks below the stalactite’s tip. This solid block acts as the foundation upon which the upward growth can occur, mirroring real-world geological formations.
For a stalactite to continue its downward journey, it needs ample space. There must be at least 15 blocks of air below its current tip. Without this sufficient clear space, its growth will halt prematurely, regardless of other ideal conditions.
Manual Farming: A Step-by-Step Guide
For those looking to manually farm pointed dripstone, a precise setup is required to ensure optimal growth. Follow these steps carefully:
- Step 1: Establish the Dripstone Base. Place a single dripstone block where you want your growth to originate.
- Step 2: Introduce the Water Source. Position a water source block directly above the dripstone block. This is the lifeblood of your dripstone farm.
- Step 3: Plant the Initial Pointed Dripstone. Attach a pointed dripstone to the underside of the dripstone block. This will be the starting point for your stalactite.
- Step 4: Ensure Sufficient Airspace. Verify that there are at least 15 clear, air blocks directly below the tip of your newly placed pointed dripstone. This allows for maximum stalactite growth.
- Step 5: Prepare for Stalagmite Growth (Optional but Recommended). If you also wish to grow stalagmites, place a solid block within 11 blocks directly below the hanging stalactite. This will serve as the anchor point for the upward-growing formation.
- Step 6: Periodic Harvesting. Due to the slow growth rate, manual harvesting should be done periodically. Checking every 20 minutes of real-world time or every Minecraft day is a reasonable interval for collecting grown dripstone.
Optimizing Your Dripstone Yield
Given the slow and random nature of dripstone growth, efficiency is key for any significant project. While manual farming is possible, it’s often not the most productive method for large-scale needs.
- Automation is Your Friend: For substantial quantities of pointed dripstone, automating your farm is highly recommended. This typically involves using mechanisms like observers, pistons, and hoppers to detect growth and automatically break and collect the dripstone, eliminating the need for constant player presence.
- Parallel Growth: To increase your yield over time, set up multiple stalactite/stalagmite growth stations simultaneously. Each independent setup contributes to the overall random tick pool, meaning you’ll have more chances for growth across your farm. The more setups you have, the more pointed dripstone you can accumulate over a given period.
Common Pitfalls to Avoid
Despite the clear mechanics, several common mistakes can prevent dripstone from growing as intended:
- Incorrect Placement: This is perhaps the most frequent error. If the water source block is not placed directly above the dripstone block, or if there’s any block obstructing the space immediately below the pointed dripstone (other than the designated solid block for a stalagmite), growth simply will not occur. Every block must be precisely where it needs to be.
- Insufficient Air Space: For stalactites to reach their full potential, they require a generous amount of clear space. Forgetting the minimum 15 blocks of air below the stalactite’s tip will prematurely halt its growth, leaving you with shorter, less productive formations.
- Waterlogging Issues: A subtle but critical detail is waterlogging. If the very tip of a growing stalactite or stalagmite becomes waterlogged (i.e., submerged in water), its growth will cease. Ensure the growth path remains entirely clear of water.
- Impatience: As reiterated, dripstone growth is inherently slow and random. It is not a farm that yields instant results. Expect to wait, and do not dismantle your setup prematurely if you don’t see immediate progress. Consistency and patience are paramount.
Beyond Basic Growth: Other Dripstone Utilities
While this guide focuses on growth timing, it’s worth noting that pointed dripstone has other valuable applications:
- Infinite Lava Sources: One of the most popular uses is creating an infinite lava farm. By placing a cauldron beneath a dripping stalactite that has a lava source block above its originating dripstone block, the cauldron will slowly fill with lava. This provides an easily renewable source of a crucial resource.
- Fall Damage Traps: Pointed dripstone inflicts damage upon impact, making it an effective, albeit rudimentary, tool for fall damage traps or for damaging mobs that fall onto them.
Understanding the precise timing and conditions for dripstone growth transforms it from a random occurrence into a predictable, albeit slow, resource. With proper setup, patience, and attention to detail, you can effectively harness the geological forces of Minecraft to gather this versatile block for all your crafting and building needs.
Tags:
YOU MAY ALSO LIKE...