Gravestone Mod Death Id
The most crucial piece of information for recovering lost items after an unexpected demise in Minecraft’s Gravestone Mod isn’t always the grave itself, but a hidden code: the Death ID. This unique identifier serves as a robust failsafe, ensuring that even when a grave fails to spawn or is otherwise inaccessible, your valuable inventory can still be retrieved. Understanding and utilizing the Death ID is paramount for any player or server administrator relying on the Gravestone Mod for item preservation.
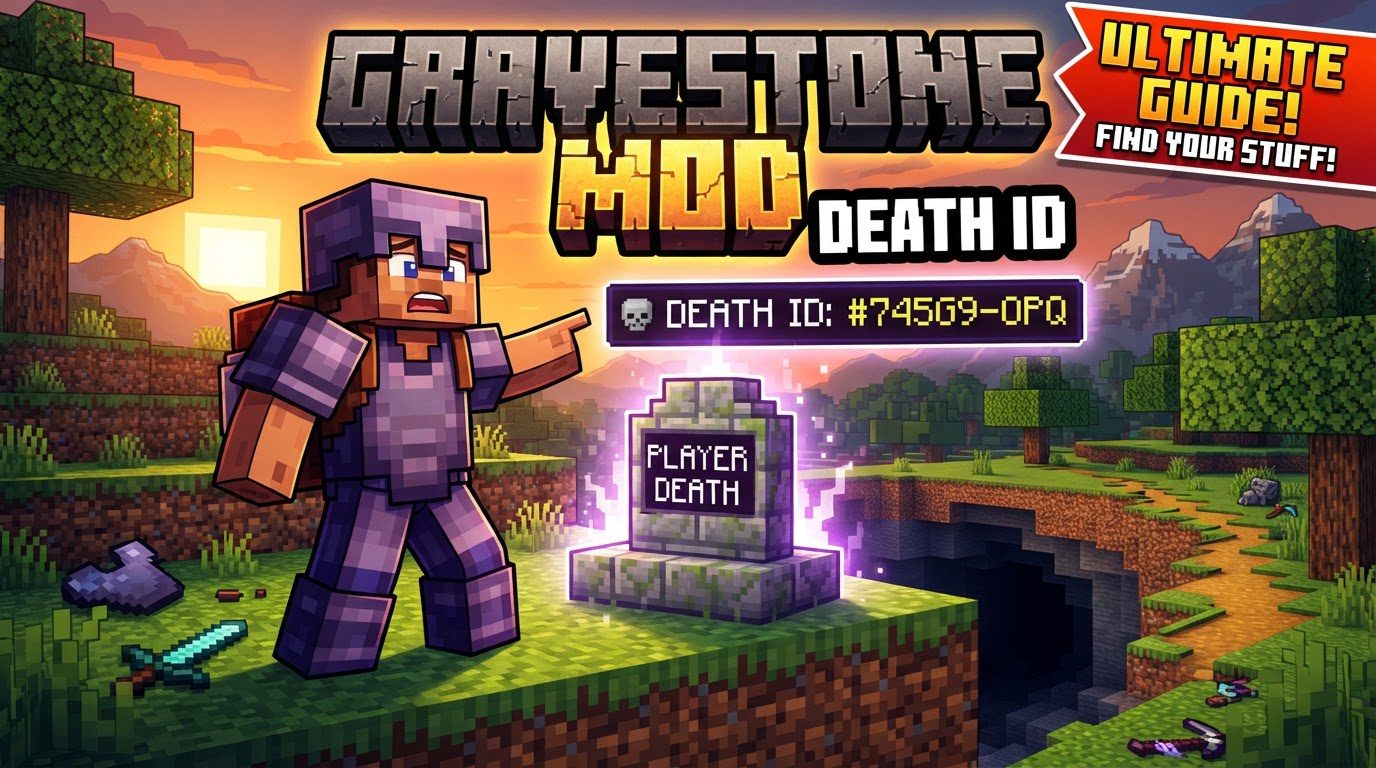
The Core Function of a Death ID
At its heart, a Death ID is a specific, unique code generated by the Gravestone Mod every time a player dies. Think of it as a transaction ID for your demise. This identifier is intrinsically linked to the snapshot of your inventory, experience, and location at the moment of death. Its primary purpose is to act as a fallback mechanism for item recovery, especially in scenarios where the usual grave placement system encounters an issue.
The mod is designed to integrate this identifier seamlessly into the death experience. Upon a player’s death, an “obituary” is generated, which is a screen displaying details of how and where the player met their end. Crucially, this obituary always includes the associated Death ID. Furthermore, if for any reason a grave cannot be successfully placed in the world – perhaps due to the player dying in a solid block, above the build limit, or in a location with insufficient space – the Death ID is still diligently logged into the server’s or client’s game logs. This dual approach ensures that the Death ID is almost always discoverable, providing a reliable path to item restoration.
Locating Your Death ID: A Step-by-Step Guide
Finding your Death ID is the first critical step towards recovering lost items. Depending on the circumstances of your death and how quickly you act, there are a few reliable methods to unearth this vital code.
Retrieving from the Obituary Screen
The most immediate and straightforward way to find your Death ID is directly from the obituary screen that appears post-death. This screen provides a summary of your unfortunate demise.
- Enable Advanced Tooltips (F3 + H): Before interacting with the obituary, it is highly recommended to press
F3 + H. This key combination toggles “advanced tooltips,” which reveal additional information about items and mod-specific data. With advanced tooltips enabled, the Death ID will be prominently displayed within the obituary interface. Without it, the ID might not be visible, leading to unnecessary confusion. - Access the Obituary: The obituary screen automatically pops up after you respawn. Carefully examine its contents for a string of alphanumeric characters labeled as the “Death ID.” It’s usually a long, unique string.
- Record the ID: Jot down the Death ID, or if you’re on a server and have permissions, an administrator might be able to use a shortcut directly from this screen.
Searching Through Game Logs
If the obituary screen was dismissed, lost, or if a grave failed to spawn entirely, the game logs become your most reliable source for the Death ID. This method requires a bit more technical comfort but is an indispensable skill for any dedicated Minecraft player or server owner.
- Navigate to Log Files: Your Minecraft log files are typically located within your Minecraft installation directory. For the current session, the most relevant file is often
~/logs/latest.log. For past sessions, you might need to check older log files, which are usually compressed (e.g.,~/logs/2023-10-27-1.log.gz). - Identify Your Player UUID: To effectively search the logs, it’s helpful to know your player’s UUID (Universally Unique Identifier). While not strictly necessary if you know the exact time of death, searching by UUID ensures you find entries specific to your player. Your UUID is a unique string of characters assigned to your Minecraft account.
- Search for the Death ID: Open the relevant log file with a text editor (like Notepad++, VS Code, or even basic Notepad). Use the search function (usually
Ctrl + F) to look for keywords such as “Death ID,” “Gravestone,” or your player’s UUID around the timestamp of your death. The Gravestone Mod explicitly logs the Death ID, particularly when a grave cannot be placed, stating something like “Could not place grave for [player name] at [coordinates]. Death ID: [your_death_id]”.
Examining Death Files (Advanced/Older Versions)
In some older versions of the Gravestone Mod, or in more complex server setups, Death IDs might also directly correspond to files stored within your world’s data. This is a less common method for recent versions but can be useful for troubleshooting.
- Locate the Death Files Directory: Navigate to your world’s save folder. Inside, you’ll often find a directory structure like
~/world/deaths/your uuid/. - Identify the Relevant File: Within this folder, you’ll find
.datfiles, each representing a specific death event. These files are often named using the Death ID itself. Sorting these files by modification date can help you pinpoint the most recent death, which should correspond to your last demise. The filename itself will be the Death ID.
Restoring Items with the Death ID Command
Once you have successfully identified the Death ID, the actual item recovery process is relatively straightforward, provided you have the necessary administrative permissions (typically on a server) or are playing in single-player with cheats enabled.
The command to restore items is:
/restore <player> <death_id> <replace|add>Let’s break down each component of this command:
<player>: This is the exact Minecraft username of the player whose inventory you wish to restore. Ensure correct spelling and capitalization.<death_id>: This is the specific Death ID you painstakingly retrieved from the obituary, log files, or death files. It is crucial that this ID is accurate, as any typo will result in a failed command. Copying and pasting is highly recommended to avoid errors.<replace|add>: This argument determines how the recovered items will interact with the player’s current inventory:replace: If you choosereplace, the player’s current inventory will be completely cleared, and then their inventory at the time of death (associated with the Death ID) will be loaded in its place. Use this with caution, as any items currently in the player’s inventory will be lost if not moved beforehand.add: If you chooseadd, the recovered items will be added to the player’s existing inventory. If there are not enough empty slots, the excess items will be dropped on the ground around the player. This is generally the safer option if the player has items they wish to keep.
Example Command:
/restore Notch 1a2b3c4d-5e6f-7g8h-9i0j-1k2l3m4n5o6p add
This command would restore Notch’s inventory from the specified Death ID, adding the items to his current inventory.
Essential Tips for Seamless Recovery
Being prepared and understanding a few key tips can significantly streamline the item recovery process using Death IDs.
Always Enable Advanced Tooltips (F3 + H)
Make it a habit to press F3 + H immediately after joining a world or server. This small action ensures that if you die, the Death ID will be visible on your obituary screen, saving you the hassle of digging through log files. It also provides valuable extra information on other items and blocks in the game.
Leverage the Admin Shortcut (For Server Administrators)
If you are a server administrator (or have equivalent permissions), the Gravestone Mod offers a fantastic shortcut. When viewing a player’s obituary screen, simply sneak (hold Shift) and right-click on the obituary. This action will automatically generate and copy the full /restore command, pre-filled with the correct player name and Death ID, directly to your clipboard. This eliminates typing errors and speeds up the recovery process dramatically.
Familiarize Yourself with Log Files
Beyond just Death IDs, Minecraft’s log files are a treasure trove of diagnostic information. Understanding how to locate, open, and search these files is an invaluable skill for troubleshooting any issue in Minecraft, from mod conflicts to crash reports. Regularly checking logs can help you identify problems before they become critical, and in the context of the Gravestone Mod, they serve as the ultimate backup for Death IDs.
Common Pitfalls and How to Navigate Them
While the Death ID system is robust, certain situations can lead to confusion or difficulty. Knowing these common mistakes can help you avoid them.
The Case of the Lost Obituary
One of the most frequent issues is accidentally dismissing or overlooking the obituary screen without noting the Death ID. This can happen in the heat of the moment or if you respawn quickly. When this occurs, don’t panic. Immediately resort to checking your game log files. The Death ID will always be recorded there, providing a reliable fallback even if the in-game obituary is no longer accessible.
When the Grave Fails to Spawn
The Gravestone Mod is designed to place a grave at your death location. However, there are specific scenarios where a grave cannot be placed. This includes dying inside a solid block, at the very top of the build limit (Y=320), in the void, or in areas with insufficient space. Mod conflicts or unusual terrain generation can also prevent grave placement. In these critical situations, the Death ID becomes absolutely essential. Since no physical grave exists, the only way to recover your items is through the /restore command using the Death ID found in the logs.
Incorrect Command Syntax
Even with the correct Death ID, errors can occur if the /restore command is typed incorrectly. Common mistakes include typos in the player’s username, miscopying a character in the Death ID, or incorrectly specifying the replace or add argument. Always double-check every part of the command before execution. If you’re using the admin shortcut, this risk is minimized, but manual entry requires careful attention. The game console will usually provide feedback if the command syntax is invalid or if the Death ID is not found.
In conclusion, the Gravestone Mod’s Death ID is a powerful, often underestimated feature that acts as a vital safety net for your Minecraft adventures. By understanding how to locate it, how to use the restoration command, and by being aware of common pitfalls, players and server administrators can ensure that even the most disastrous deaths don’t lead to permanent loss of precious items. Embrace this mechanic, and you’ll navigate the treacherous world of Minecraft with greater peace of mind.
Tags:
YOU MAY ALSO LIKE...