How Beacon Power Application Order Gets Calculated
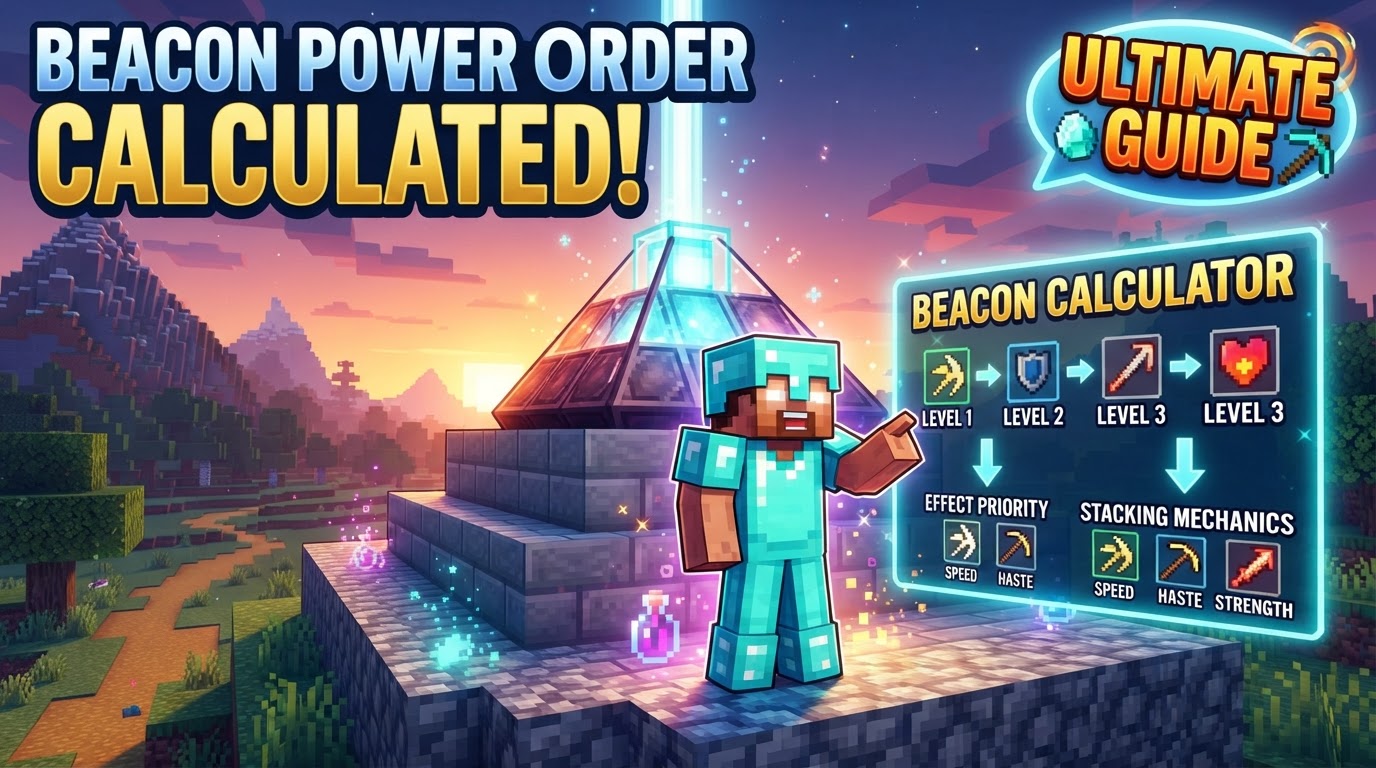
In Minecraft, the application of Beacon powers follows a specific set of mechanics and a continuous reapplication process rather than a complex calculation order when multiple effects are present. This means there isn’t a queue or priority system for different effects; instead, any active Beacon effect within range is constantly refreshed on eligible players.
Understanding the Core Principle: Continuous Reapplication
Unlike some status effects that might have intricate stacking or override rules, Beacon effects operate on a simpler, yet highly effective, principle: constant renewal. Once a Beacon is activated and a player enters its effective radius, the chosen power is not just applied once. It is continuously reapplied every 4 seconds. Each reapplication resets the effect’s duration to 9 seconds, plus an additional 2 seconds for every pyramid level the Beacon possesses. This ensures that as long as you remain within the Beacon’s sphere of influence, the beneficial effect will never expire, providing a consistent boost to your activities.
This continuous reapplication is key. If you have multiple Beacons active, providing different effects (e.g., one providing Speed and another providing Haste), both effects are simultaneously and independently reapplied to you every 4 seconds. There’s no “order” in which Speed is applied before Haste, or vice-versa; they simply refresh concurrently.
Fundamental Mechanics of Beacon Operation
To truly grasp how Beacon powers are applied, it’s essential to understand the foundational elements that govern their functionality:
- Activation and Pyramid Structure: A Beacon only becomes active when placed atop a pyramid constructed from specific mineral blocks: iron, gold, diamond, emerald, or netherite. The size of this pyramid directly dictates the Beacon’s capabilities. A 1-layer pyramid unlocks basic primary powers and a modest range, while a full 4-layer pyramid provides access to all primary powers, a secondary power (Regeneration I), and the ability to upgrade a primary power to Level II.
- Clear Sky Access: For a Beacon to emit its characteristic beam and apply its effects, it must have an unobstructed line of sight to the sky. Any solid block directly above the Beacon will prevent it from functioning. Transparent blocks, such as glass, do not impede the beam, allowing for aesthetic customization without sacrificing functionality.
- Effect Radius and Verticality: Beacon effects are applied within a square column that extends horizontally from the Beacon. This horizontal range scales with the pyramid size; for instance, a level 4 pyramid boasts an impressive 50-block radius. Crucially, the effect also extends vertically from the Beacon’s position, equally above and below, reaching up to the world’s build limit. This extensive vertical reach makes strategic placement vital.
- Cost of Activation: Activating a new power or changing an existing one in a Beacon’s interface isn’t free. It requires the sacrifice of a valuable ingot (iron, gold, netherite) or a gem (emerald, diamond) as payment. This item is consumed upon confirming your selection.
Activating Your Beacon: A Step-by-Step Guide
The process of activating and selecting powers for your Beacon is straightforward, but precision is key to unlocking its full potential:
- Build the Pyramid: Begin by constructing your mineral block pyramid with the desired number of layers (1 to 4). Ensure it’s correctly shaped according to the Beacon’s requirements.
- Place the Beacon: Carefully place the Beacon block directly in the center of the topmost layer of your newly built pyramid.
- Ensure Clear Sky: Double-check that there are no solid blocks directly above your Beacon that would obstruct its beam and prevent activation.
- Open GUI: Right-click on the Beacon block to open its user interface. This is where you’ll manage its powers.
- Insert Payment: Place one of the designated payment items (iron ingot, gold ingot, netherite ingot, diamond, or emerald) into the dedicated slot within the GUI.
- Select Powers:
- Choose your desired primary power from the available options.
- If you have a full, 4-layer pyramid, you’ll also have the option to select a secondary power (always Regeneration I) or upgrade your chosen primary power to Level II.
- Special Case – Two Level I Primary Powers: A unique interaction allows a Level 4 Beacon to provide two different Level I primary powers simultaneously. To achieve this, first select your desired primary power. Then, select the Level II option (even if you don’t intend to use Level II of that power). Next, click on a *different* primary power. Finally, click the green checkmark. Both selected primary powers will now be applied at Level I. This is the closest the Beacon comes to a “calculation order” as it depends on the sequence of your selections in the GUI.
- Confirm Activation: Click the green checkmark button to finalize your selection and activate the chosen power(s). The payment item will be consumed.
Strategic Beacon Placement and Customization
Optimizing your Beacon setup can significantly enhance your Minecraft experience:
- Resource Efficiency: For survival mode, iron blocks are often the most economical choice for constructing Beacon pyramids, given their relative abundance compared to other mineral blocks.
- Aesthetic Variety: The specific type of mineral block used within the pyramid does not affect the Beacon’s functionality, only its appearance and construction cost. Feel free to mix and match iron, gold, diamond, emerald, and netherite blocks to create visually appealing structures.
- Maximizing Vertical Range: To take full advantage of the Beacon’s extensive vertical effect range, which extends equally above and below its position, consider placing your Beacon as low as possible in the world. This can be particularly useful for mining operations or large builds.
- Multiple Effects with Shared Pyramids: For larger bases or resource-intensive operations, multiple Beacons can be placed on a single, expansive pyramid. They can share base blocks, providing different effects simultaneously. This is far more resource-efficient than constructing separate pyramids for each individual Beacon.
- Customizing Beam Color: Add a touch of personalization by placing stained glass blocks directly above the Beacon. This will change the color of its beam. Stacking different colors of stained glass allows for the creation of unique, blended hues.
Common Beacon Activation Errors
Even seasoned players can fall prey to simple mistakes when setting up Beacons. Being aware of these pitfalls can save you time and resources:
- Obstructed Beam: The most common error is failing to maintain a clear line of sight from the Beacon to the sky. Any solid block directly above it will deactivate the Beacon, preventing any effects from being applied.
- Incorrect Pyramid Structure: An incomplete pyramid, one with an incorrect shape, or a Beacon not perfectly centered on its topmost layer will prevent it from functioning correctly or unlocking higher-tier powers. Always double-check your pyramid dimensions.
- Forgetting to Pay: It’s easy to forget that selecting or changing a power requires a payment. If you’ve chosen your effect but haven’t placed an ingot or gem in the payment slot, the Beacon will not activate the desired power.
- Expecting Identical Effect Stacking: A frequent misconception is that multiple Beacons providing the *same* effect (e.g., two Speed I Beacons) will stack to increase the effect’s level (e.g., to Speed II). This is generally not the case. To achieve Level II of a primary power, it must be specifically chosen as a secondary power option on a Level 4 pyramid, utilizing the payment and selection process within that single Beacon’s GUI. Multiple identical Beacons will only continuously reapply the same Level I effect.
By understanding these core mechanics, the step-by-step activation process, and common pitfalls, you can effectively harness the immense power of Beacons to enhance your Minecraft adventures, ensuring consistent and reliable buffs without worrying about complex application orders.
Tags:
YOU MAY ALSO LIKE...