How Beacon Power Application Order Gets Determined
Many a seasoned miner has meticulously constructed a grand beacon pyramid, only to be puzzled when placing a second beacon nearby doesn’t double their Haste effect. This common misconception about how beacon powers apply is crucial to understand for efficient base building and resource gathering. While there isn’t a sequential “order” in which a single beacon applies its chosen powers, there’s a very specific logic to how Minecraft determines which effects take precedence when multiple beacons are present or when a player interacts with the system. Mastering this logic is key to unlocking the full potential of these powerful blocks.
Establishing the Luminous Core: Beacon Activation Fundamentals
Before any power can be applied, a beacon must first be activated. This isn’t a simple right-click; it requires a specific environmental setup. The beacon block itself acts as the conduit, but its energy source comes from a meticulously constructed pyramid beneath it. This pyramid must be composed entirely of valuable mineral blocks: iron, gold, diamond, emerald, or netherite. Crucially, the type of block used is purely cosmetic; a pyramid of humble iron blocks functions identically to one built from rare netherite.
- Pyramid Construction: The pyramid dictates both the range of the beacon’s effects and the strength of the powers available. There are four distinct levels of pyramids, each requiring an increasingly larger base:
- Level 1: A 3×3 base (9 blocks total).
- Level 2: A 5×5 base on top of a 7×7 base (34 blocks total).
- Level 3: A 7×7 base on top of a 9×9 base (83 blocks total).
- Level 4: A 9×9 base on top of a 11×11 base (164 blocks total).
- Unobstructed Sky Access: Beyond the pyramid, the beacon requires a direct, clear path to the sky above it. This means no opaque blocks should be directly above the beacon. Transparent blocks (like glass) and even bedrock (at the very top of the world) are permitted obstructions, as they do not impede the beacon’s upward-reaching beam. Failure to provide this clear path will prevent the beacon from activating, regardless of pyramid perfection.
The Flow of Power: How Beacon Effects Are Broadcast and Resolved
Once activated, a beacon continuously broadcasts its selected effects to any player within its radius. This isn’t a one-time application; it’s a dynamic, ongoing process governed by specific rules that determine which effects are active at any given moment. Understanding these rules is central to comprehending “application order.”
- Continuous Broadcasting: Beacon effects are not temporary buffs applied once. They are constantly refreshed. Every 4 seconds, as long as a player remains within the beacon’s active range, the effects are renewed. This ensures a consistent benefit during activities within the beacon’s sphere of influence.
- Effect Decay: Should a player leave the beacon’s effective radius, the applied effects do not vanish instantly. Instead, a 9-second timer begins. If the player re-enters the range before this timer expires, the effects are immediately refreshed. If the timer runs out, the effects dissipate.
- Range Determination: The reach of a beacon’s influence directly correlates with its pyramid level:
- Level 1: 20 blocks
- Level 2: 30 blocks
- Level 3: 40 blocks
- Level 4: 50 blocks
- The Critical Rule of Effect Stacking: This is where the concept of “application order” truly comes into play. Minecraft handles multiple beacon effects with a clear priority system:
- Same Effect, Multiple Beacons: If you have multiple beacons within range providing the *same* effect (e.g., two beacons both offering Speed), the game does not add their levels together. Instead, only the highest level of that particular effect will apply. For example, if one beacon provides Speed I and another provides Speed II, you will only receive Speed II. If both provide Speed I, you will simply receive Speed I, not Speed I + Speed I. This “highest level wins” rule prevents additive stacking for identical effects.
- Different Effects, Multiple Beacons: Conversely, if multiple beacons within range are providing *different* effects (e.g., one beacon providing Speed and another providing Haste), all these distinct effects will apply concurrently. There’s no conflict or prioritization here; a player can benefit from Speed, Haste, Resistance, Jump Boost, and Strength all at once, provided they are within range of beacons offering each.
The Player’s Role: Selecting and Activating Beacon Powers
While the game determines how effects are broadcast and resolved, the player dictates which specific powers an activated beacon will provide. This is done through the beacon’s graphical user interface (GUI), a process that requires a material sacrifice.
- Construct the Pyramid and Place the Beacon: As outlined, the first step is to build your desired pyramid and place the beacon block on its center top block. Confirm the beam shoots skyward, indicating activation.
- Open the Beacon GUI: Right-click on the activated beacon block. This will open a dedicated interface with slots for selecting powers and for feeding the beacon.
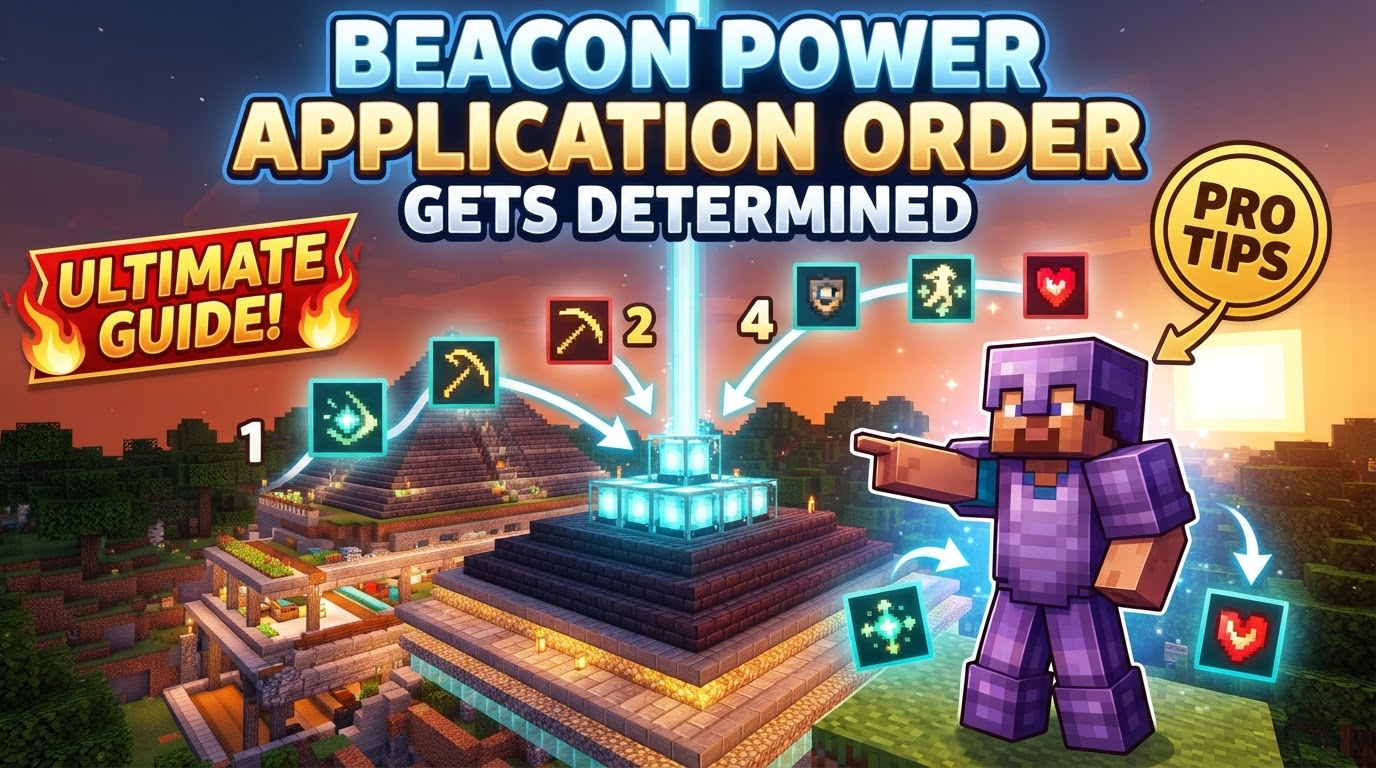
- Choose Your Primary Power: In the GUI, you will see a selection of “Primary Powers” available. The specific options depend on your pyramid’s level:
- All Levels (1-4): Speed and Haste are always available.
- Level 2+: Resistance and Jump Boost become available.
- Level 3+: Strength becomes available.
Select your desired primary effect by clicking its icon.
- Select Your Secondary Power (Level 4 Only): If you have built a full 4-layer pyramid (164 blocks total), an additional “Secondary Power” slot becomes active. Here, you have two choices:
- Regeneration: Gain the Regeneration effect, a powerful health-regenerating buff.
- Upgrade Primary Power: Elevate your chosen Primary Power to Level II (e.g., Speed I becomes Speed II, Haste I becomes Haste II). This is the only way to get Level II primary effects from a beacon.
- Consume an Item to Activate: To finalize your selection and activate the chosen power(s), you must place one of the following items into the empty slot within the GUI: an iron ingot, gold ingot, emerald, diamond, or netherite ingot. This item will be consumed upon confirmation.
- Confirm Your Choice: Click the green checkmark button, typically labeled “Done,” to apply your selections. The beacon will immediately begin broadcasting the chosen power(s). To change the beacon’s powers later, you simply repeat this entire process, consuming another ingot or gem.
Optimizing Your Luminous Advantages: Strategic Tips for Beacon Deployment
Beyond the core mechanics, a few strategic considerations can help you maximize the utility and aesthetic appeal of your beacons.
- Pyramid Material Efficiency: Since the material of the pyramid blocks is purely cosmetic and does not affect the beacon’s functionality, using the most abundant and easily farmable option, such as iron blocks, is highly efficient in Survival mode. Save your diamonds and netherite for tools and armor!
- Maximizing Effects and Range: For the most potent effects and widest area of influence, always aim to build a full 4-layer pyramid. This not only provides the maximum 50-block range but also unlocks the powerful Regeneration effect or the ability to upgrade your primary power to Level II.
- Aesthetic Customization: The beacon’s powerful beam, a signature visual element, can be customized. By placing stained glass blocks directly above the beacon, you can change the color of the beam. Placing multiple colored glass blocks will cause their RGB components to average, creating unique mixed colors.
- Effect Maintenance Strategy: To maintain continuous effects, ensure your activities keep you within the beacon’s radius. For large bases or mines, consider strategically placing multiple beacons to cover different operational zones, or even creating a “beacon highway” of sorts to travel between areas while maintaining buffs.
Navigating Potential Pitfalls: Common Beacon Errors to Avoid
Even with a clear understanding of the application process, simple mistakes can lead to frustration. Being aware of these common pitfalls can save time and resources.
- Obstructed View to the Sky: This is perhaps the most frequent error. Always double-check that no opaque blocks (like dirt, stone, or even other functional blocks) are directly above your beacon. If the beam isn’t shooting straight up, something is in the way.
- Incorrect Pyramid Structure: The pyramid must be perfectly formed with solid, complete layers. Any gaps, incorrect block types, or deviations from the required base sizes will prevent the beacon from activating or reaching its full potential. Ensure each layer is a solid square.
- Misunderstanding Effect Stacking: As highlighted earlier, do not assume that two beacons providing Speed I will result in Speed II. This additive stacking simply does not occur for identical effects. Plan your beacon placement to provide different, complementary effects from multiple sources, or focus on a single, strong beacon for a specific primary effect.
- Forgetting to “Feed” the Beacon: After selecting your desired powers in the GUI, it’s easy to forget the final, crucial step: placing an ingot or gem in the activation slot and clicking “Done.” Without this sacrifice, your selections will not be applied, and the beacon will remain dormant for chosen effects.
By understanding the activation requirements, the clear rules for effect application and stacking, and the precise steps for power selection, you can harness the full, continuous benefits of beacons, transforming your Minecraft world into a realm of enhanced productivity and survivability.
Tags:
YOU MAY ALSO LIKE...