How Beacon Power Application Sequence Works
A fully powered, four-layer Beacon pyramid demands a staggering 164 mineral blocks, representing a significant investment of resources in your Minecraft world. This monumental effort, however, unlocks some of the most powerful and convenient buffs available, transforming gameplay from mining efficiency to combat prowess. Understanding the intricate sequence of how these invaluable Beacon powers are applied is crucial for any player looking to optimize their base and adventures.
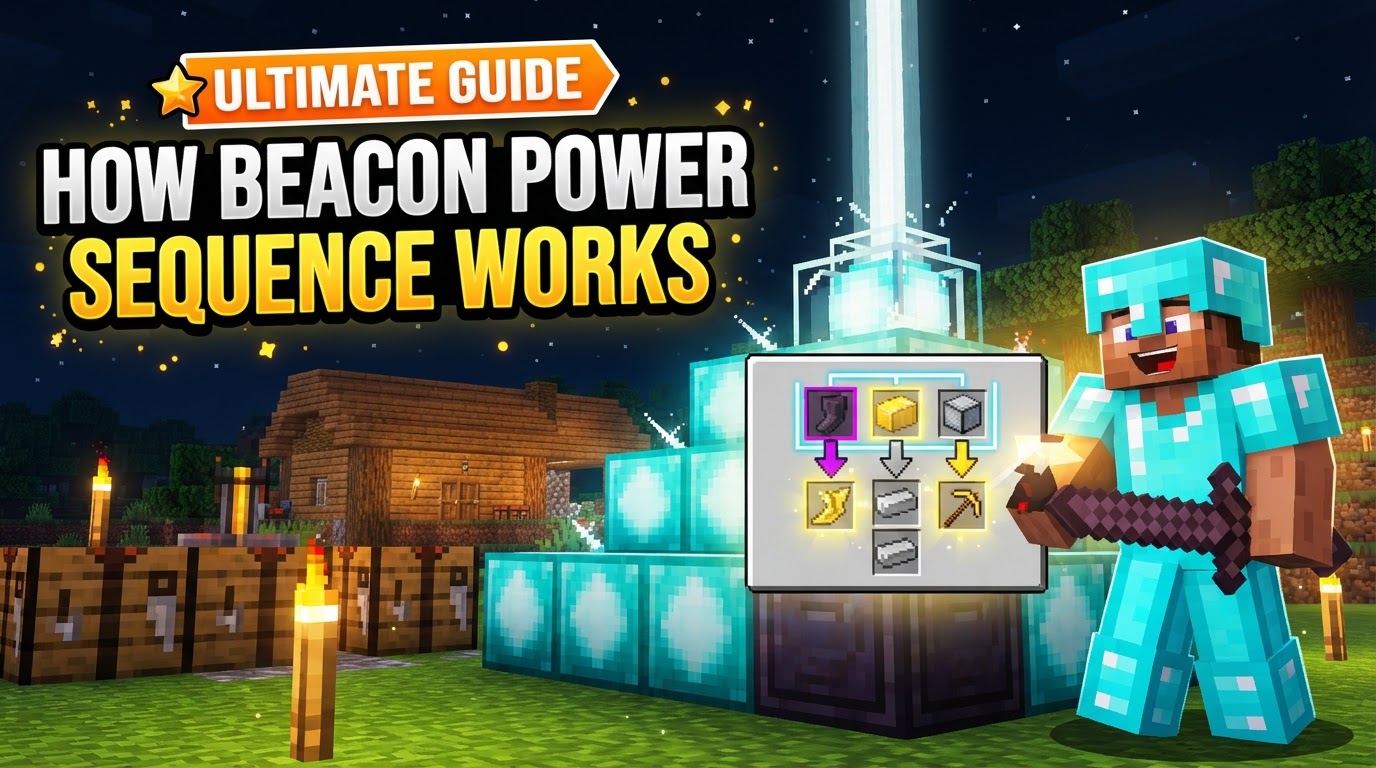
The Beacon’s Core Purpose and Construction
At its heart, a Beacon is a unique block that projects a brilliant beam of light skyward, serving both as an unmistakable landmark and, more importantly, a dispenser of beneficial status effects to players within its radius. This isn’t a simple utility block; it’s a testament to your in-game achievements and resourcefulness.
To acquire this powerful item, you must first craft it using a specific, high-value recipe:
- 5 pieces of Glass: Easily obtained by smelting sand.
- 3 blocks of Obsidian: Mined with a diamond pickaxe after combining water and lava.
- 1 Nether Star: The rarest component, dropped only by defeating the formidable Wither boss. This single ingredient underscores the Beacon’s endgame status.
Once crafted, the Beacon itself is just the beginning. Its true power lies in its activation and the pyramid upon which it rests.
Building the Foundation: Understanding Beacon Pyramids
The Beacon’s functionality is entirely dependent on a pyramid constructed beneath it. This pyramid acts as the power source, dictating the available effects, their strength, and the Beacon’s operational range. The construction materials are flexible, allowing you to use Iron, Gold, Diamond, Emerald, or Netherite blocks. While Netherite is the most prestigious, the type of mineral block used is purely cosmetic and does not affect the Beacon’s functionality or the quality of its buffs. Therefore, mixing different types or opting for the most cost-effective Iron Blocks is a common and viable strategy.
The pyramid’s size determines its tiers of power:
- Tier 1: The Basic Boost (1 Layer)
- Pyramid Structure: A single 3×3 base layer.
- Available Effects: Grants access to primary effects such as Speed (increased movement speed) or Haste (increased mining and attack speed).
- Radius: Players within a 20-block radius will receive the chosen effect.
- Tier 2: Enhanced Utility (2 Layers)
- Pyramid Structure: A 5×5 base layer, topped by a 3×3 layer.
- Available Effects: In addition to Speed and Haste, you can now select Resistance (damage reduction) or Jump Boost (increased jump height).
- Radius: The effective range expands to 30 blocks.
- Tier 3: Greater Might (3 Layers)
- Pyramid Structure: A 7×7 base layer, followed by a 5×5 layer, and finally a 3×3 layer at the top.
- Available Effects: Unlocks the powerful Strength effect (increased melee attack damage), alongside all previously available primary effects.
- Radius: The range extends further to 40 blocks.
- Tier 4: Ultimate Power (4 Layers)
- Pyramid Structure: The largest and most resource-intensive, consisting of a 9×9 base, then 7×7, 5×5, and a 3×3 top layer. This full pyramid requires a total of 164 mineral blocks.
- Available Effects: This tier unlocks a secondary power slot. You can choose to apply Regeneration (health restoration over time) as a secondary effect, or you can upgrade your chosen primary effect (Speed, Haste, Resistance, Jump Boost, or Strength) to Level II, significantly boosting its potency.
- Radius: The maximum operational range is achieved at 50 blocks.
Activating the Beam: Placement and Sky View Requirements
Once your pyramid is meticulously constructed, the next crucial step is to place the crafted Beacon block directly in the center of the top layer. For the Beacon to activate and project its signature light beam, it requires an unobstructed view of the sky. This means there cannot be any solid blocks directly above the Beacon. Transparent blocks, such as glass, stained glass, or even water, are permissible and will not hinder its activation. However, a single dirt block, stone block, or any other opaque material above it will immediately deactivate the Beacon, halting all power application until cleared.
Unlocking the Buffs: The Power Application Interface
With the Beacon active and its beam piercing the sky, players can now interact with it to select and apply the desired status effects. Right-clicking the Beacon opens its graphical user interface (GUI). Within this interface, you’ll find slots for power selection and a crucial “sacrifice” slot.
To activate any power, you must place one valuable item into the designated slot. These sacrificial items can be an Iron Ingot, Gold Ingot, Emerald, Diamond, or Netherite Ingot. The type of item used does not affect the power’s duration or strength; it merely serves as the cost to apply the effect. Once the item is placed, you can then select your primary power from the available options (determined by your pyramid’s tier). If you have constructed a full 4-layer pyramid, you will also have the option to select a secondary power (Regeneration) or upgrade your chosen primary power to Level II.
A Step-by-Step Guide to Beacon Mastery
Implementing a Beacon into your base follows a clear and logical sequence:
- Craft the Beacon: Gather 5 Glass, 3 Obsidian, and the invaluable 1 Nether Star. Combine them in a crafting table to create the Beacon block.
- Build the Pyramid: Construct your mineral block pyramid (Iron, Gold, Diamond, Emerald, or Netherite blocks) to your desired tier (1-4 layers). Ensure it’s correctly shaped and fully formed. Remember, the larger the pyramid, the more powers and range you unlock.
- Place the Beacon: Position the crafted Beacon block precisely in the center of the top layer of your pyramid. Verify that there are no solid blocks obstructing its view to the sky. A vertical beam of light shooting upwards confirms successful activation.
- Select Powers: Right-click the active Beacon to open its GUI. Place one valuable item (Iron Ingot, Gold Ingot, Emerald, Diamond, or Netherite Ingot) into the sacrifice slot. Then, choose your desired primary power. For 4-layer pyramids, decide if you want a secondary power (Regeneration) or an upgraded primary power (Level II). Confirm your selection to begin receiving the buffs.
Advanced Beacon Strategies and Tips
Mastering the Beacon goes beyond mere activation; several tips can enhance its utility:
- Combine Block Types: Don’t feel restricted to a single mineral type for your pyramid. You can freely mix Iron, Gold, Diamond, Emerald, or Netherite blocks within the same pyramid. This is particularly useful if you have an abundance of one resource but are short on another.
- Change Beam Color: For a touch of personalization or to differentiate Beacons, simply place stained glass blocks on top of the Beacon’s beam. The beam will adopt the color of the stained glass it passes through.
- Optimal Mining with Haste II: One of the most coveted effects from a fully powered (4-layer) Beacon is Haste II. This buff allows for instant mining of most common blocks, dramatically increasing your efficiency when clearing large areas or gathering resources.
- Long-lasting Effects: Beacon effects are not instantly removed the moment you step out of range. They persist for a few crucial seconds, allowing for brief excursions from the Beacon’s radius without immediately losing your valuable buffs.
Avoiding Pitfalls: Common Beacon Mistakes
Even experienced players can sometimes stumble when setting up Beacons. Be aware of these common errors:
- Obstructed Sky View: This is perhaps the most frequent mistake. Always double-check that no solid blocks (dirt, stone, wood, etc.) are positioned directly above your Beacon. Transparent blocks are fine, but anything opaque will prevent the beam from firing and the powers from activating.
- Incomplete Pyramid: Ensure your pyramid is fully constructed according to the layer dimensions. Missing a single block on any layer will prevent the Beacon from activating or providing the correct tier of powers.
- Incorrect Centering: The Beacon block must be perfectly centered on the very top layer of its mineral pyramid. An off-center placement will prevent activation.
By understanding these mechanics, from crafting and pyramid construction to power selection and troubleshooting, you can effectively harness the immense power of Beacons, making your Minecraft adventures far more efficient, safer, and enjoyable.
Tags:
YOU MAY ALSO LIKE...