Crafting a Name Tag Under the New Recipe, Explained
Name tags in Minecraft are invaluable tools for any player looking to manage their in-game companions and livestock, or simply to add a touch of personality to their world. Their primary and most crucial function is to prevent named mobs from despawning. This means that once you’ve given a name tag to a creature, it will persist indefinitely, no longer subject to the game’s automatic despawning mechanics for unnamed entities. This is particularly useful for preserving rare finds, cherished pets, or important farm animals.
Beyond preventing despawn, a named mob will proudly display its assigned name above its head when you aim at it, provided you are within a four-block radius. This visual cue makes it easy to identify specific creatures in a crowd or locate a particular animal within your base. The utility of name tags extends further with certain special names that trigger unique visual or behavioral effects. For instance, naming a mob “Dinnerbone” or “Grumm” will cause it to render upside down, creating a whimsical and often amusing sight. Shepherds rejoice, as naming a sheep “jeb_” will transform it into a vibrant, continuously color-changing rainbow sheep. Similarly, bestowing the name “Toast” upon a rabbit will give it a distinct and unique skin. For those daring enough to venture into the more aggressive aspects of the game, naming a Vindicator “Johnny” will imbue it with an aggressive disposition towards all other mobs, with the sole exception of its fellow illagers. It’s important to remember that regardless of the name or its special effect, the name tag itself is a single-use item; it is consumed immediately upon application to a mob.
The Dawn of Craftable Name Tags: Version Requirements
Before embarking on your name tag crafting journey, the most critical first step is to ensure your game is running on the correct version. The ability to craft name tags was not always a feature in Minecraft; it was a significant addition introduced with the “Tiny Takeover” update. This update is also known by its version numbers 26.1 or 26.13, and it was associated with the 2026 snapshots. If your game is not updated to this specific version or a later iteration, you will find that the crafting recipe simply does not work. Many players have, in the past, struggled to understand why their attempts at crafting name tags failed, only to discover they were playing on an outdated game client. Therefore, verify your game version first and foremost to avoid frustration and wasted resources. This “new recipe” fundamentally changes how players acquire name tags, moving beyond relying solely on dungeon chests, fishing, or villager trades to a more reliable, player-driven method.
Gathering Your Essential Materials
Once you’ve confirmed you are on the correct game version, the next step involves gathering the necessary components for crafting. The recipe for a name tag is surprisingly simple and requires only two distinct materials. You will need one piece of paper. Paper is a common item in Minecraft, often found in chests or crafted from sugar cane. The second component is any single metal nugget. This offers flexibility, as you can use an iron nugget, a copper nugget, or a gold nugget. The type of metal nugget chosen does not affect the final name tag in any way, so you are free to use whichever is most readily available in your inventory or world. With these two items in hand, you are ready to proceed to the crafting stage.
Crafting the Blank Name Tag
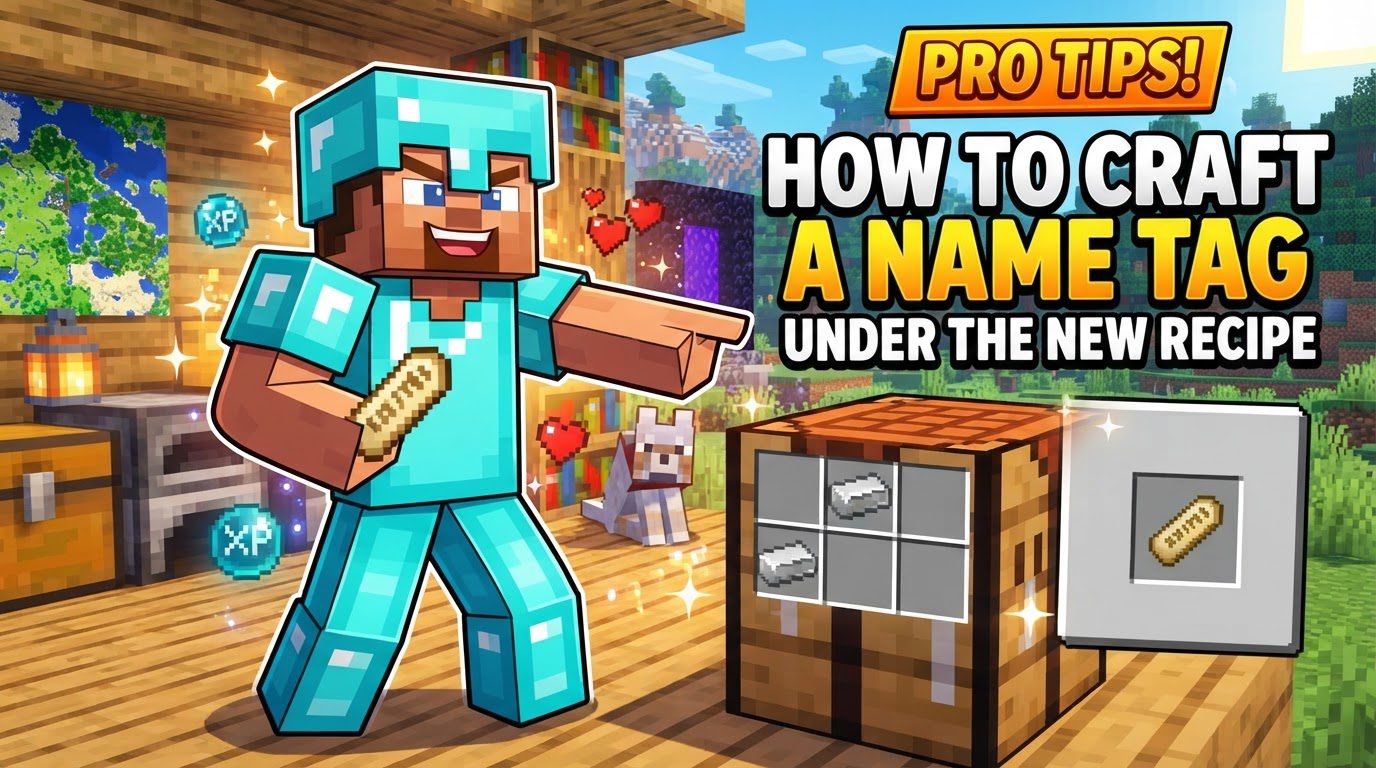
With your materials collected, it’s time to craft the name tag. This recipe is a ‘shaped’ recipe, meaning the precise placement of the items within the crafting grid is crucial. You can perform this crafting operation using either the 2×2 crafting grid found in your inventory or a dedicated 3×3 crafting table. The specific arrangement required is as follows:
- Place one piece of paper in the bottom-left slot of the crafting grid.
- Place one metal nugget (iron, copper, or gold) in either the top-left slot or the top-right slot of the crafting grid.
To illustrate, if you are using a 3×3 crafting table, imagine the bottom-left corner of the entire 3×3 grid. The paper goes there. Then, the nugget can go directly above the paper (top-left of the 2×2 subgrid) or one slot to the right of that (top-right of the 2×2 subgrid). This precise arrangement is mandatory for the game to recognize the recipe. Attempting to place the items in different slots will not yield a name tag. Upon successful crafting, you will receive a blank name tag. It’s important to understand that this newly crafted name tag is not yet functional for naming mobs; it must first undergo a personalization process.
Personalizing Your Tag: The Anvil Process
After crafting your blank name tag, the next crucial step is to personalize it with a specific name. This process requires an anvil. Anvils are crafting stations primarily used for repairing items, combining enchantments, and, in this case, renaming items. To rename your name tag:
- First, place the blank name tag into the left input slot of the anvil’s interface.
- Next, locate the text box within the anvil’s interface. This is where you will type your desired name.
- Type the name you wish to assign to your mob. You have a generous limit of up to 35 characters for your chosen name, allowing for creative and descriptive titles.
- Once the name is entered, you will notice an experience cost displayed, typically indicating a cost of one experience level. This cost must be paid from your current experience levels to complete the renaming process.
- Finally, retrieve the renamed name tag from the right output slot of the anvil. This personalized tag is now ready for use.
The anvil step is non-negotiable; a name tag has no effect on a mob until it has been properly renamed using an anvil. Attempting to use a blank name tag on a mob will simply not work, as it lacks the specific identifier needed to prevent despawning or display a unique name.
Applying Your Renamed Name Tag
With your name tag successfully crafted and personalized, the final step is to apply it to your chosen mob. This is a straightforward process:
- Hold the renamed name tag in your hand.
- Approach the mob you wish to name.
- Right-click on the mob.
Upon right-clicking, the name tag will be consumed, and the mob will instantly be assigned the name you specified. If you aim at the mob from up to four blocks away, its new name will appear above its head, signifying its permanent status within your world.
Strategic Tips for Name Tag Usage
Understanding a few key tips can enhance your efficiency and effectiveness when working with name tags:
- Metal Type Irrelevance: As mentioned during the material gathering stage, the specific type of metal nugget used (iron, copper, or gold) has absolutely no bearing on the final name tag. It does not alter its appearance, its durability (since name tags are consumed upon use, durability is not a factor), or its functionality. Feel free to use whichever nugget is most convenient or abundant.
- Inventory Crafting Convenience: The name tag recipe only requires two input slots, making it perfectly suitable for crafting directly from your inventory’s 2×2 crafting grid. This saves you the trouble of placing down a crafting table, making the initial crafting step highly convenient, especially when you’re out exploring.
- Efficient Stack Renaming: When using an anvil to rename name tags, a particularly useful feature is the ability to rename an entire stack of blank name tags simultaneously, provided they will all bear the exact same name. This process still costs only one experience level, just as it would for renaming a single tag. This is incredibly efficient for players who need to name multiple mobs with the same identifier, such as “Farm Pig 1,” “Farm Pig 2,” etc., or if you’re creating a batch of special “Dinnerbone” tags.
- Mob Cap Exclusion: A significant advantage of naming mobs is that they are excluded from the game’s mob cap count. The mob cap is a system that limits the number of hostile and passive mobs that can naturally spawn in an area. By naming your mobs, you effectively remove them from this count, which can be beneficial in maintaining desired mob populations without affecting natural spawns or preventing new mobs from appearing.
Avoiding Common Pitfalls
Even with a clear understanding of the process, certain mistakes can commonly occur. Being aware of these will help you avoid frustration:
- Not Being on the Updated Version: This is arguably the most common and frustrating mistake. If your game client is not updated to the “Tiny Takeover” (26.1 / 26.13 / 2026 snapshots) version or newer, the crafting recipe for name tags simply will not exist. You will place the paper and nugget in the correct slots, and nothing will appear in the output. Always verify your game version first.
- Trying to Use a Blank Name Tag: A newly crafted name tag is “blank” and has no inherent function. It cannot be used to name a mob until it has been taken to an anvil and given a specific name. Attempting to right-click a mob with a blank name tag will yield no results, leaving the mob unnamed and still subject to despawning. The anvil step is essential for activation.
- Incorrect Crafting Recipe Placement: The name tag recipe is a ‘shaped’ recipe, which means the items must be placed in specific slots within the crafting grid. Simply having the paper and nugget in your inventory or scattered randomly in the grid will not work. Remember the precise placement: paper in the bottom-left slot, and the metal nugget in either the top-left or top-right slot. Any deviation from this specific arrangement will prevent the name tag from being crafted.
By following this comprehensive guide and paying close attention to the version requirements, crafting steps, and important tips, you will be well-equipped to efficiently create and utilize name tags in your Minecraft world, ensuring your favorite mobs remain safe and distinctly identifiable.
Tags:
YOU MAY ALSO LIKE...