

Rebinding Movement Keys (Step by Step)
Minecraft, a game renowned for its boundless creativity and expansive worlds, offers players an extensive degree of customization, extending far beyond in-game builds to the very controls used to navigate its blocky landscapes. Understanding how to tailor these controls, particularly movement keys, can significantly enhance your gameplay experience, making it more intuitive and comfortable. This comprehensive guide will walk you through the process of rebinding your movement keys in both Minecraft Java Edition and Bedrock Edition, ensuring you can play exactly how you prefer.
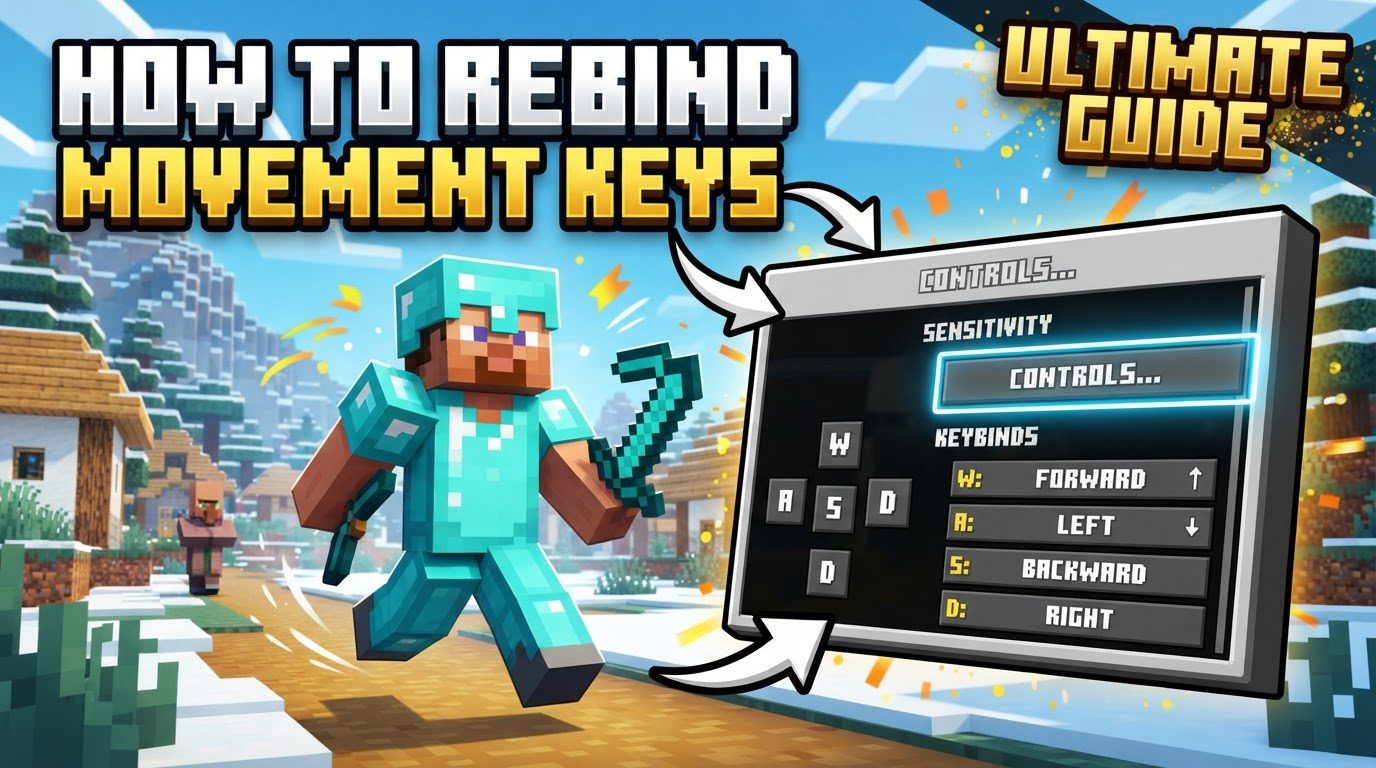
Understanding Minecraft’s Key Mechanics
At its core, Minecraft provides robust options for players to personalize their interaction with the game. Both the Java Edition, popular on PC, and the Bedrock Edition, available across multiple platforms including PC, consoles, and mobile, grant players the ability to customize their keyboard and mouse controls. For Bedrock Edition users, this flexibility also extends to controller and touch controls, offering a truly adaptable experience.
By default, Minecraft Java Edition typically assigns movement to the familiar W, A, S, and D keys for moving forward, left, backward, and right, respectively. Actions like jumping are usually bound to the Space bar, sneaking to Shift, and sprinting to Ctrl. These default settings are widely adopted in PC gaming, but they may not suit everyone. Rebinding, in essence, is the process of assigning a different key to a specific action within the game’s control settings, allowing you to create a control scheme that feels natural for your individual playstyle.
Step-by-Step Guide to Rebinding Movement Keys
The process of customizing your controls is straightforward, though there are slight variations between Minecraft Java and Bedrock Editions. Follow these steps carefully to successfully rebind your desired movement keys.
-
Step 1: Open Minecraft and Navigate to the Main Menu
Begin by launching your Minecraft game. Whether you are playing Java Edition on your computer or Bedrock Edition on any supported device, the first step is to reach the game’s main menu. This is the screen you see immediately after the game loads, typically featuring options like “Singleplayer,” “Multiplayer,” and “Options” or “Settings.”
-
Step 2: Select “Options” or “Settings”
From the main menu, you will need to access the game’s configuration panel. In Minecraft Java Edition, this option is labeled as “Options.” For players of Minecraft Bedrock Edition, the equivalent menu is typically called “Settings.” Click or tap on the appropriate option to proceed.
-
Step 3: Choose “Controls” from the Menu
Once you are within the “Options” or “Settings” menu, you will see a list of various categories for game customization. Look for and select the category labeled “Controls.” This section is specifically designed for managing all input-related settings, including keybinds, mouse sensitivity, and other input preferences.
-
Step 4: Access Keybinding Specifics (Java Edition) or Input Method (Bedrock Edition)
This is where the path diverges slightly between the two editions:
- For Minecraft Java Edition: Within the “Controls” menu, you will find an option specifically titled “Key Binds.” Click on this to open the full list of actions and their currently assigned keys.
- For Minecraft Bedrock Edition: Instead of a “Key Binds” button, Bedrock Edition requires you to first select your input method. You will typically see options such as “Keyboard & Mouse,” “Controller,” or “Touch.” Choose the input method for which you wish to rebind keys. After selecting, you will then see the list of actions and their associated controls for that specific input device.
-
Step 5: Locate the Movement Key You Wish to Change
Scroll through the extensive list of actions until you find the specific movement key you intend to modify. Common movement actions you might want to change include:
- “Walk Forward” (typically W)
- “Walk Back” (typically S)
- “Walk Left” (typically A)
- “Walk Right” (typically D)
- “Jump” (typically Space)
- “Sneak” (typically Left Shift)
- “Sprint” (typically Left Ctrl)
Identify the action whose key assignment you want to alter.
-
Step 6: Click on the Key Assignment Next to the Desired Action
Once you have located the action, you will see its current key assignment displayed next to it (e.g., “W” next to “Walk Forward”). Click on this displayed key. The text will often change to “Press a key…” or similar, indicating that the game is now waiting for your new input.
-
Step 7: Press the New Key You Want to Assign
With the game awaiting input, simply press the new key on your keyboard, controller, or touch interface that you wish to assign to that specific action. For example, if you want to change “Walk Forward” from “W” to “Up Arrow,” you would press the “Up Arrow” key at this point. The displayed key assignment will immediately update to reflect your new choice.
-
Step 8: Confirm Your Changes
After rebinding all desired keys, you must confirm your selections. In Minecraft Java Edition, you will typically find a “Done” button at the bottom of the “Key Binds” screen. Click this to save your changes and return to the previous menu. In Minecraft Bedrock Edition, you often simply need to back out of the menu (using the “Back” button or equivalent) for your changes to be saved automatically.
Important Tips for Customizing Controls
Beyond the basic steps, there are several valuable considerations that can enhance your keybinding experience:
- Customization for Different Playstyles: Rebinding controls isn’t just about personal preference; it can significantly improve accessibility and efficiency. You can customize controls to suit various playstyles, including those of left-handed players who might prefer movement keys on the right side of the keyboard, or streamers who need specific keys free for broadcasting software hotkeys. Tailoring your setup can lead to more comfortable and effective gameplay.
- Scope of Rebindable Controls: It’s important to remember that most default controls in Minecraft can be changed, not just movement keys. This includes actions for hotbar slots (switching between items), inventory access, crafting, and more. Feel free to explore the full list of keybinds to optimize your entire control scheme.
- Resetting Keybinds: If you make a mistake, create an unworkable configuration, or simply want to revert to the game’s original settings, Minecraft provides options to reset your keybinds. There is usually a prominent “Reset” or “Reset Keys” button within the “Key Binds” or “Controls” menu that will revert all keybinds to their default settings. Additionally, some versions or menus might allow you to reset individual keybinds by clicking on them and then selecting an option to “Reset” that specific key. This feature is invaluable for experimentation without permanent commitment.
- Bedrock Edition Specific Settings: For players on Minecraft Bedrock Edition, the “Controls” settings offer additional layers of customization beyond just key assignments. You can adjust crucial input-related features such as camera sensitivity (how quickly your view moves), auto jump (a toggle for automatic jumping over single blocks), and other touch or controller-specific parameters. Exploring these settings can further refine your interaction with the game.
Common Mistakes to Avoid When Rebinding Keys
While keybinding offers immense flexibility, a few common pitfalls can lead to frustration. Being aware of these can help you avoid issues:
- Key Conflicts: One of the most frequent mistakes is assigning the same key to multiple actions. This creates a “key conflict.” When this happens, neither action might work correctly, or one action will override the other, leading to unpredictable behavior. For example, if you assign “E” to both “Inventory” and “Walk Forward,” pressing “E” might open your inventory but prevent you from moving forward, or vice versa, or simply do nothing as the game struggles to decide which action to prioritize. Always ensure each critical action has a unique key assignment. The game often highlights conflicting keys in red or another color to alert you.
- Forgetting Your New Keybinds: After making significant changes to your control scheme, it’s easy to forget what you’ve assigned to which action, especially in the heat of gameplay. It takes time and practice to build muscle memory with custom controls. Don’t get discouraged if you initially find yourself pressing the wrong keys; consistent play will help you adjust. Consider writing down your new keybinds temporarily if you’ve made extensive changes.
- Not All Keys Are Rebindable in Vanilla Minecraft: While Minecraft offers extensive keybinding options, it’s important to note that not every single key on your keyboard or input device can be remapped through the in-game settings. Some specific debug or system-level keys, or certain combinations, might be hard-coded and not exposed to the user for customization within the vanilla (unmodded) game. For instance, certain function keys might have system-level operations that override game input. If you encounter a key that refuses to rebind, it might be one of these exceptions. However, it’s worth noting that the modding community often develops solutions or client modifications that can address these limitations for players who require even deeper control customization.
Tags:
YOU MAY ALSO LIKE...


