Triggering a Trial Spawner (Step by Step)
Understanding and Triggering a Trial Spawner in Minecraft
Trial Spawners are a unique and challenging block introduced to Minecraft, designed to test a player’s combat skills and strategic thinking. Unlike traditional mob spawners, these dynamic blocks offer a structured combat encounter with specific activation conditions and rewarding outcomes. This comprehensive guide will walk you through everything you need to know about locating, activating, and successfully completing a Trial Spawner challenge, ensuring you’re well-equipped for the dangers and rewards they present.
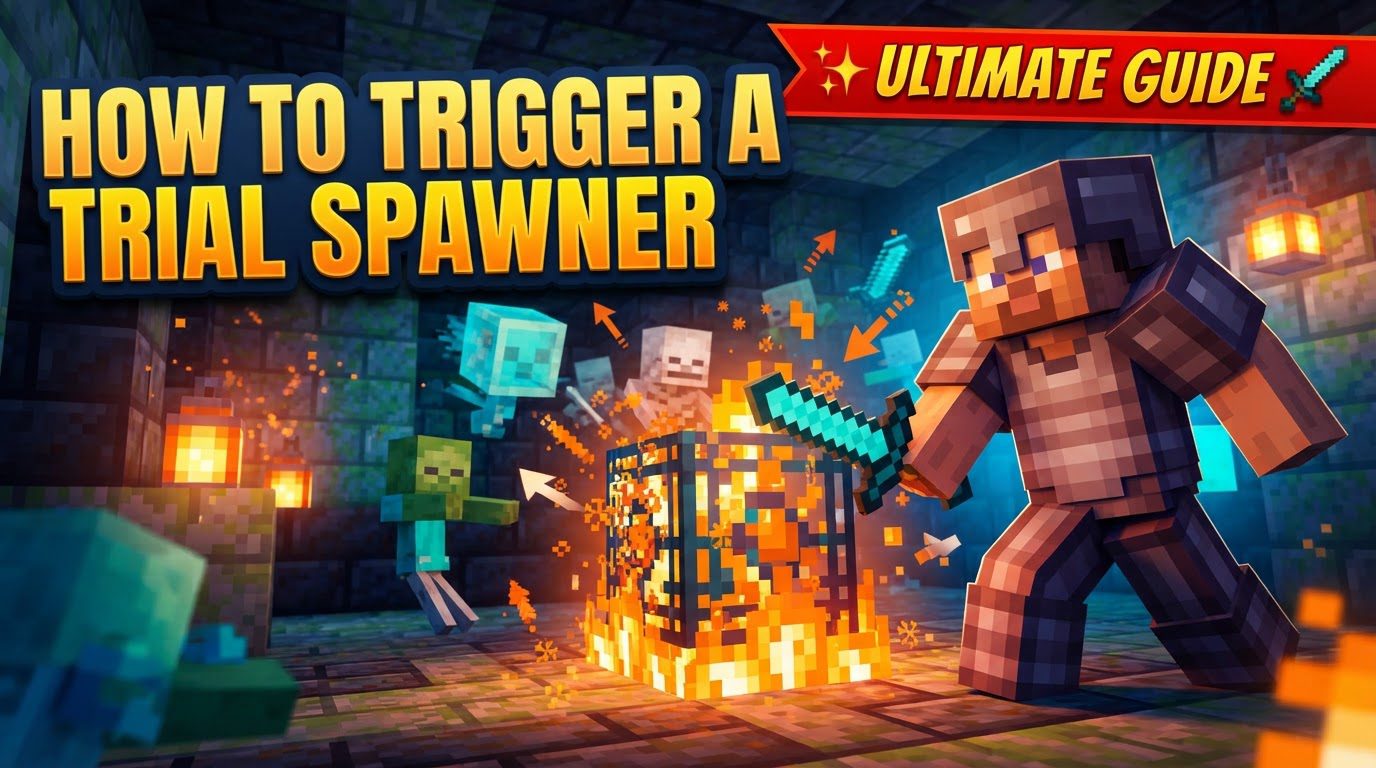
Key Mechanics of Trial Spawners
To effectively engage with Trial Spawners, it’s crucial to understand their core operational mechanics. These specialized spawners function differently from the standard mob spawners found in dungeons or fortresses, offering a more controlled and challenging experience.
- Exclusive Location: Trial Spawners are found exclusively within structures known as Trial Chambers. These sprawling, labyrinthine structures are their sole natural habitat, meaning you must venture into these dangerous areas to encounter them.
- Activation Conditions: A Trial Spawner activates when a player is within a 14-block spherical radius of the spawner and has a direct line of sight to it. This means you must be close enough and have an unobstructed view for the challenge to begin.
- Wave-Based Combat: Once activated, Trial Spawners initiate a series of hostile mob spawns, releasing enemies in waves. This process continues until a predetermined total number of mobs has been defeated by the player(s). The challenge isn’t over until the final mob of the last wave is vanquished.
- Scalable Difficulty and Rewards: An interesting aspect of Trial Spawners is their scalability. The number of mobs spawned during the waves, as well as the quantity and quality of rewards obtained upon completion, directly increase with the number of players nearby during the challenge. This encourages cooperative gameplay and offers greater returns for groups.
- Cooldown Period: After all mobs are defeated and the rewards have been collected from a Trial Spawner, it enters a significant cooldown period. For 30 minutes, the spawner will not activate or spawn additional mobs, regardless of player proximity or line of sight. This enforces a waiting period before the same spawner can be challenged again under normal circumstances.
- Immovable and Indestructible: In Survival mode, Trial Spawners cannot be picked up, crafted, or moved. Attempting to break them is a futile endeavor, as it takes an exceptionally long time and yields absolutely no drops. They are permanent fixtures of the Trial Chambers.
- Mob Type Identification: The specific type of mob a spawner will produce is visually indicated by the unique blocks surrounding its base. By observing these distinctive block patterns, players can anticipate the enemies they will face before activating the spawner.
- Light Level Immunity: Unlike most hostile mob spawning mechanics in Minecraft, mob spawning from a Trial Spawner is not affected by light levels. Placing torches or other light sources around a Trial Spawner will not prevent it from spawning its designated mobs.
- Ominous Trial Spawner Transformation: A Trial Spawner can undergo a transformation into an “Ominous Trial Spawner” under specific conditions. This occurs if a player with the “Bad Omen” effect approaches it within the 14-block activation radius and has a direct line of sight. The “Bad Omen” effect is typically obtained from consuming an Ominous Bottle. This transformation triggers a significantly harder challenge, featuring enchanted mobs, and can even bypass the normal 30-minute cooldown period, allowing for a new challenge immediately.
Step-by-Step Process to Trigger a Trial Spawner
Activating a Trial Spawner is a straightforward process once you’ve located one. Follow these steps to initiate your combat challenge:
- 1. Locate a Trial Chamber: Your first objective is to find a Trial Chamber. These structures are typically generated deep underground, specifically within the deepslate layers. You can expect to find them between Y=0 and Y=-40, with a higher concentration often observed between Y=-20 and Y=-40. Exploration at these depths is key.
- 2. Navigate to a Trial Spawner: Once inside a Trial Chamber, you’ll need to navigate its often complex corridors and rooms to locate a Trial Spawner. These structures are designed with various challenges, so be prepared for encounters even before reaching a spawner.
- 3. Approach and Activate: With a Trial Spawner in sight, approach it cautiously. To trigger its activation, you must be within a 14-block radius of the spawner and ensure you have a clear, direct line of sight to it. As you enter this zone, the spawner will visually react, indicating the challenge has begun.
- 4. Defeat All Hostile Mobs: Your primary objective now is to defeat all the hostile mobs that spawn in waves from the activated spawner. Stay vigilant, manage your resources, and fight through the waves until the spawner is no longer producing enemies.
- 5. Collect Rewards: Once all the designated mobs are defeated, the spawner will cease spawning and will eject its rewards. Approach the spawner to collect the items, which will vary based on the challenge and the number of players involved.
Important Tips for Success
Successfully tackling Trial Spawners often requires more than just combat prowess. Consider these strategic tips to enhance your chances of victory and maximize your rewards:
- Bring Friends: As the difficulty and rewards scale with the number of players, consider forming a group before venturing into Trial Chambers. Having friends not only makes the challenges more manageable but also increases the potential loot.
- Clear Oxidized Copper Bulbs: Trial Chambers often feature oxidized copper bulbs. Use an axe to clear these blocks. This action creates light in the area, which can prevent additional hostile mobs (those not originating from the Trial Spawner itself) from spawning and overwhelming you during a challenge.
- Manage Multiple Spawners: Trial Chambers can contain multiple Trial Spawners, sometimes in close proximity. Be extremely mindful of their locations. It is highly recommended to activate and complete them one at a time to avoid being overwhelmed by an unmanageable number of enemies from multiple simultaneous challenges.
- Consider an Ominous Trial: For players seeking a greater challenge and potentially rarer rewards, consider drinking an Ominous Bottle to gain the “Bad Omen” effect. Approaching a Trial Spawner with this effect will trigger an “Ominous Trial,” a significantly harder encounter featuring enchanted mobs and a chance to earn Ominous Trial Keys, which unlock special vaults.
- Identify Mob Types: Before engaging, take a moment to observe the blocks surrounding the base of the Trial Spawner. These unique block patterns indicate the specific type of mob the spawner will produce. Knowing your enemy in advance allows you to prepare appropriate gear, enchantments, and strategies.
Common Mistakes to Avoid
Navigating Trial Chambers and facing Trial Spawners can be tricky. Being aware of common pitfalls can save you from frustration and ensure a smoother experience:
- Accidental Multiple Activations: A frequent mistake is inadvertently activating multiple Trial Spawners simultaneously, especially if they are located close together. This can quickly lead to being overwhelmed by an unmanageable number of mobs, making the challenge far more difficult than intended. Always check your surroundings.
- Attempting to Break Spawners: Do not waste your time or pickaxe durability trying to break a Trial Spawner. They are not designed to be harvested; they will not drop as an item, cannot be replaced in Survival mode, and breaking them takes an inordinate amount of time.
- Relying on Light Levels: A common misconception is that placing torches or other light sources around a Trial Spawner will prevent it from spawning mobs. This is incorrect. Trial Spawners are immune to light levels and will spawn their designated mobs regardless of how bright the area is.
- Expecting Immediate Reactivation: After successfully completing a challenge, a Trial Spawner enters a 30-minute cooldown period. Do not wait around expecting it to reactivate immediately. It requires this significant waiting period before it can be triggered again under normal circumstances.
- Lack of Preparation: Trial Spawners, especially with multiple players or during an Ominous Trial, can present a significant challenge. Entering a Trial Chamber unprepared with insufficient gear, food, or potions is a recipe for disaster. Always ensure you have appropriate combat gear, healing items, and a well-thought-out strategy.
- Misunderstanding Disabling Mechanics: Placing or breaking blocks within 2 blocks of a Trial Spawner will not disable it or prevent it from resetting. This is not the intended way to interact with or control a Trial Spawner’s functionality. Focus on completing the challenge as designed.
By understanding these mechanics, following the activation process, utilizing helpful tips, and avoiding common mistakes, you’ll be well on your way to conquering the challenges posed by Minecraft’s Trial Spawners and reaping their valuable rewards. Good luck, adventurer!
Tags:
YOU MAY ALSO LIKE...