Iris Shaders Mod (1.19.2, 1.18.2) – Incredible Performance with Shaders
Iris Shaders Mod (1.19.2, 1.18.2) is a modern shaders mod for Minecraft intended to be compatible with existing OptiFine shader packs.
Features:
- Performance: Iris should fully utilize your graphics card when paired with optimization mods like Sodium.
- Correctness: Iris should try to be as issueless as possible in its implementation.
- Mod compatibility: Iris should make a best effort to be compatible with modded environments.
- Backwards compatibility: All existing ShadersMod / OptiFine shader packs should just work on Iris, without any modifications required.
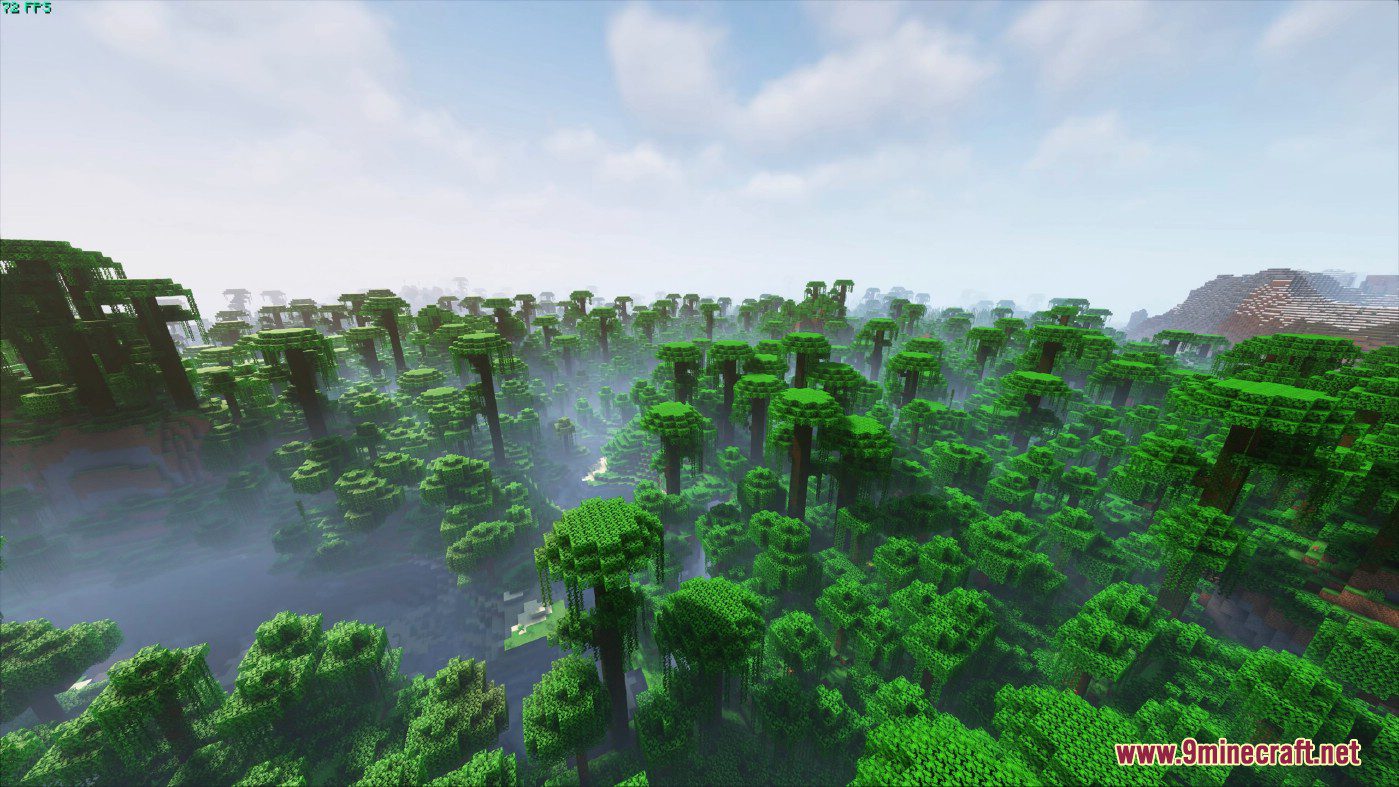
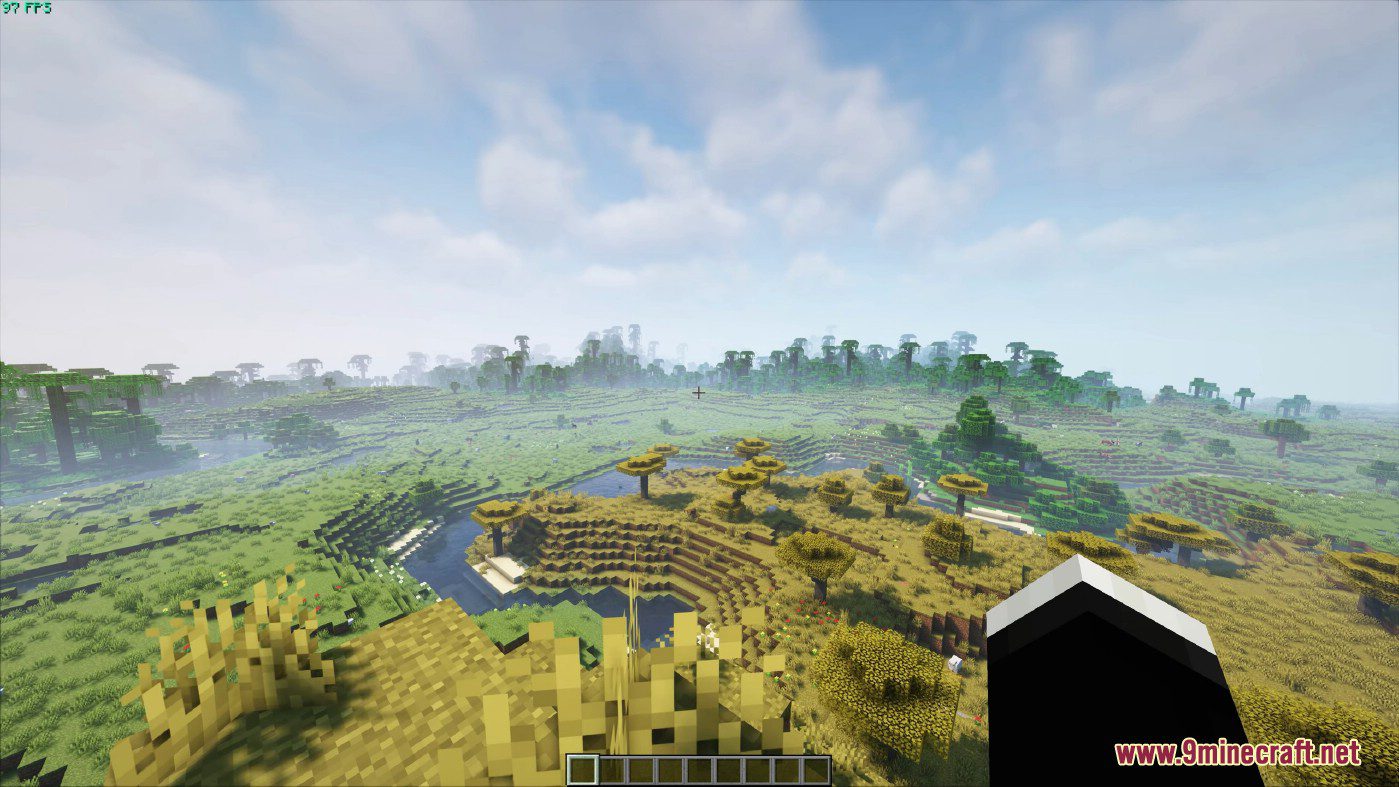
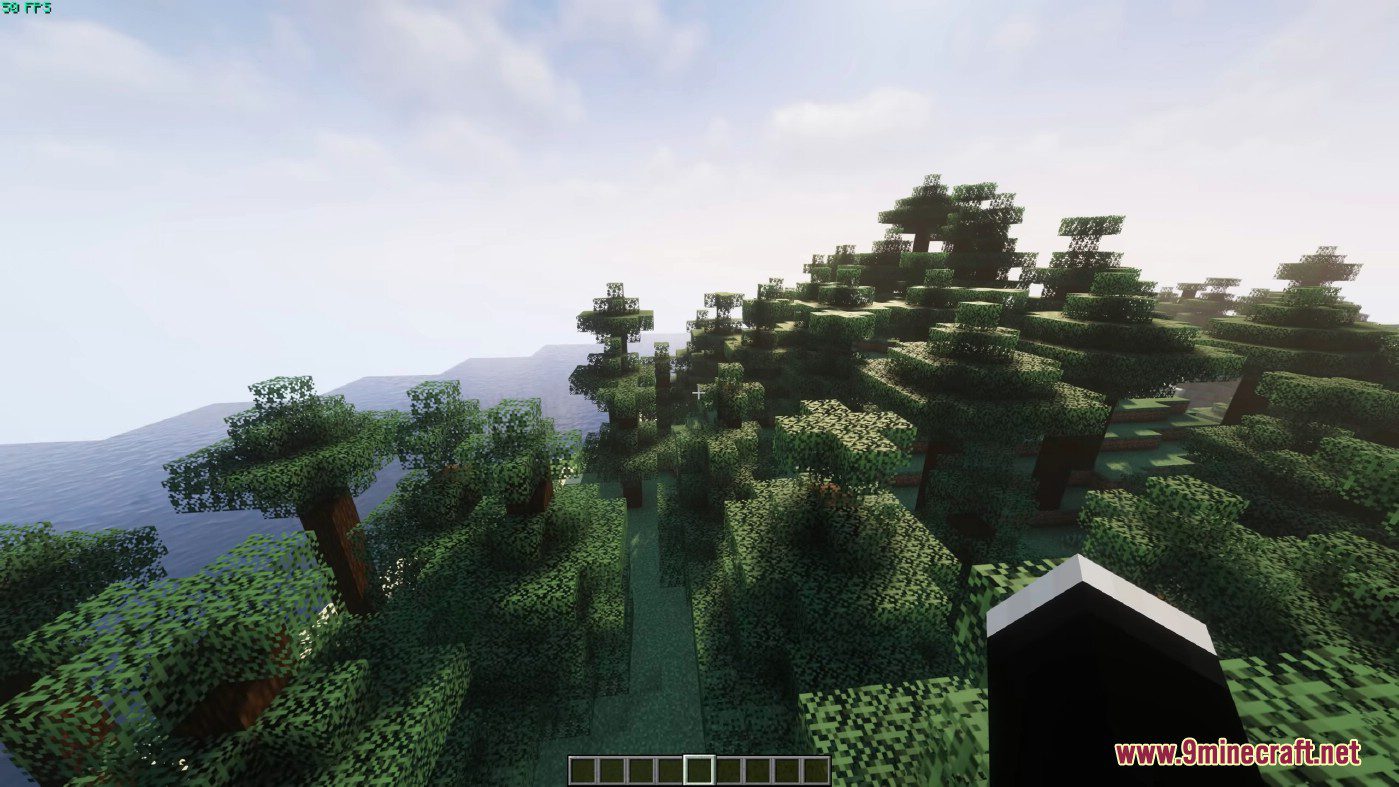
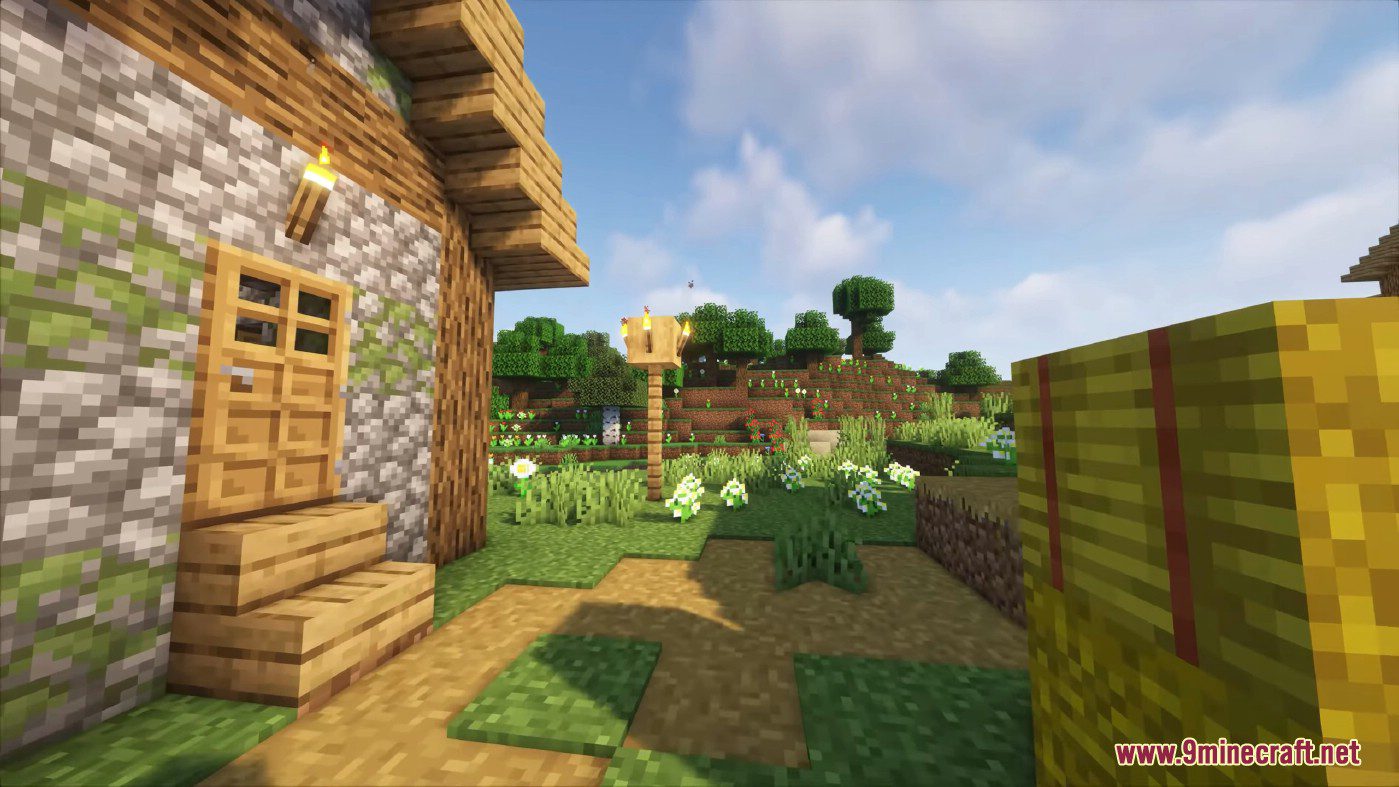
- Vanilla + Sodium + Iris Shaders: Iris builds on both Sodium and Vanilla by providing something that no standalone fabric mod has had before: support for existing custom shaders. And because Iris stacks with Sodium and Vanilla, you can get shaders at remarkable frame rates, without the need for expensive hardware or experimental game modifications. The extra processes that Iris performs only reduce performance by 10-15 percent, and with sodium installed the performance stays well above vanilla performance! This transfers directly to shaders, with most popular shaders consistently running at or above 60 fps, even on 5 and 6 year old hardware.
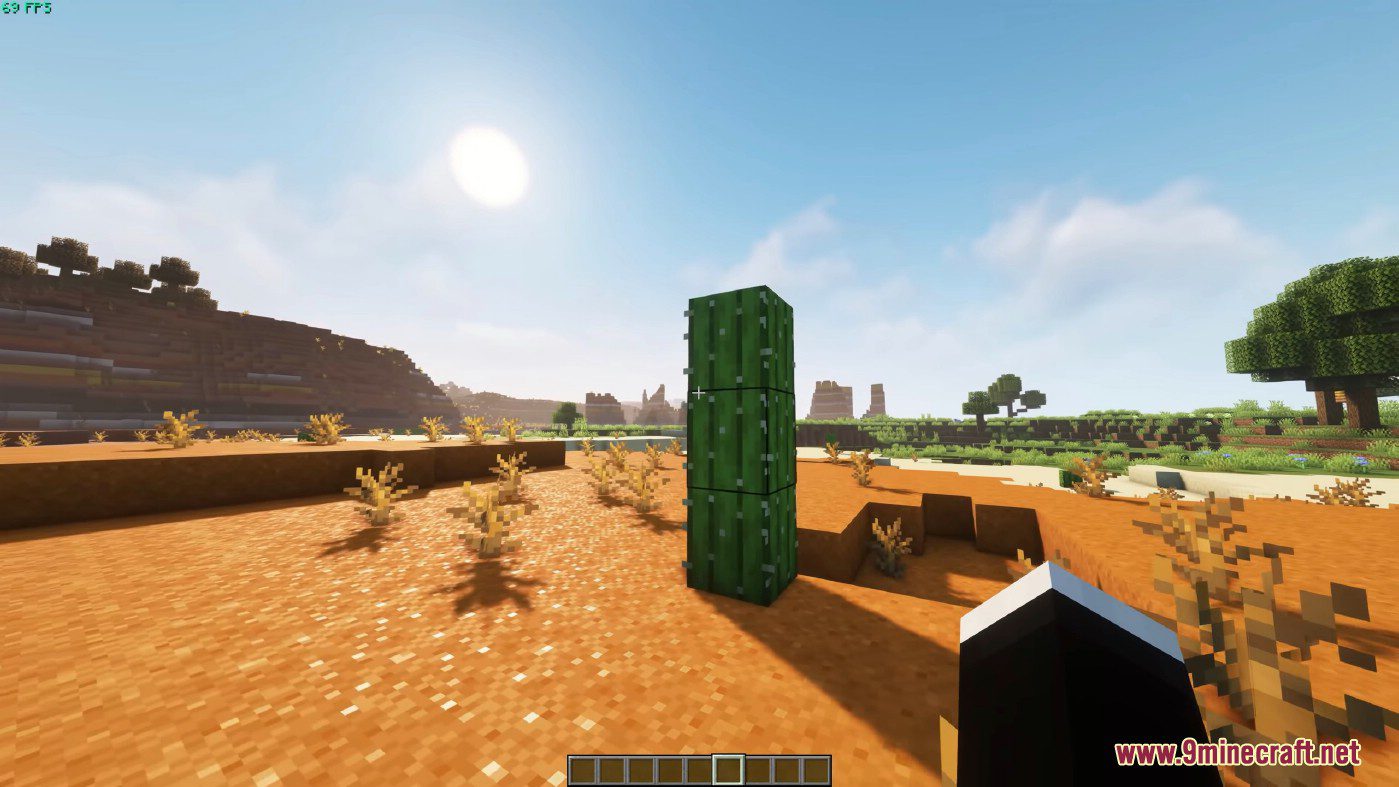
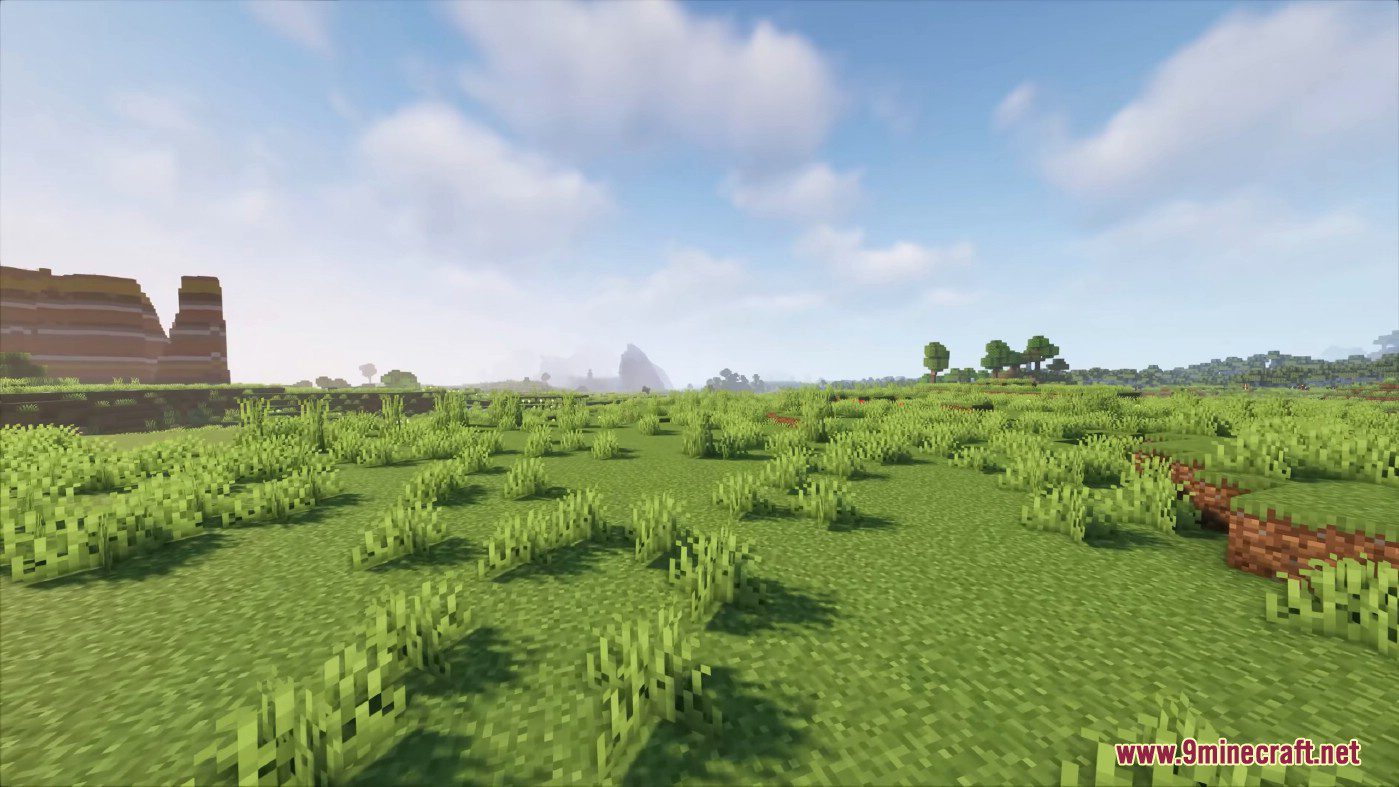
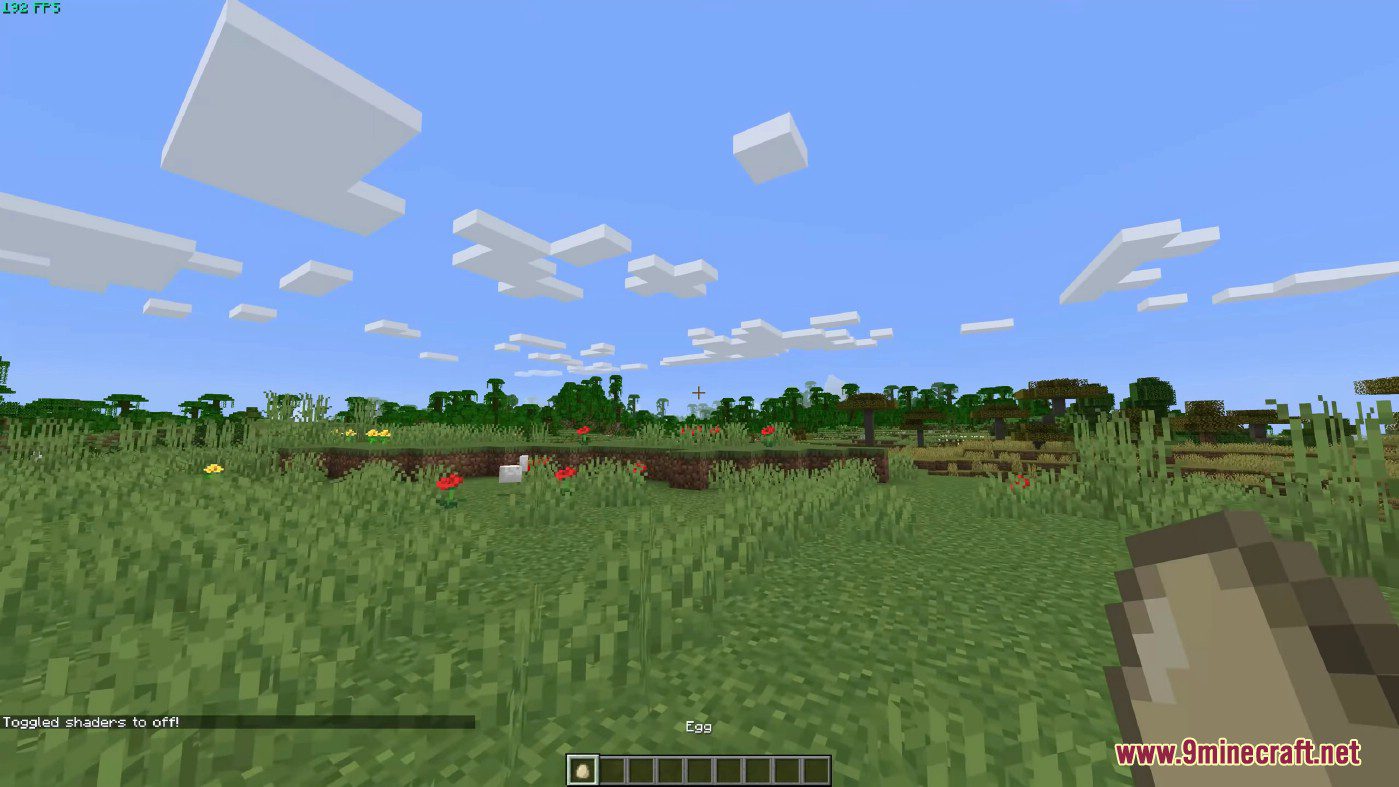
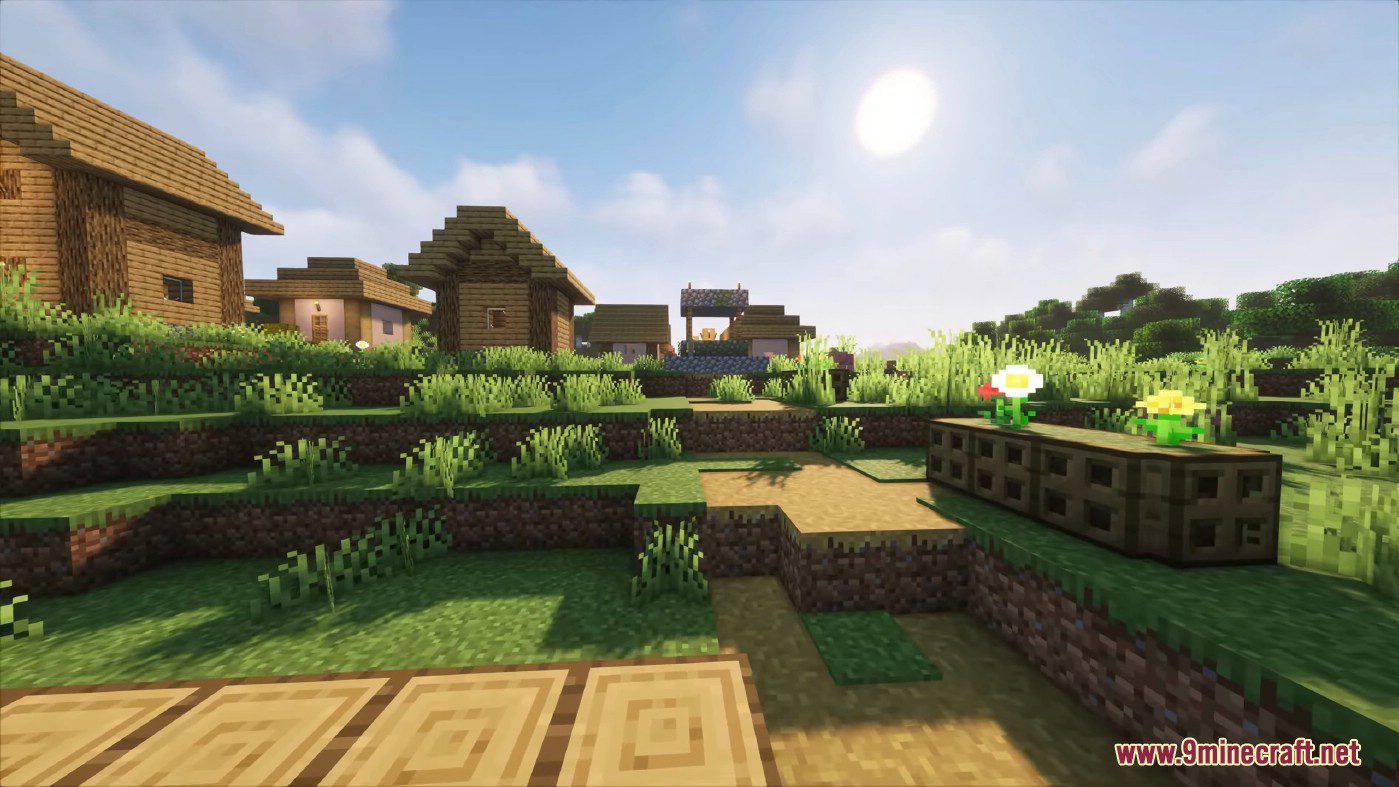
Screenshots:
How to use:
After you install Iris, make sure that it is properly installed by going into the Minecraft video settings. The video settings menu should look like this:
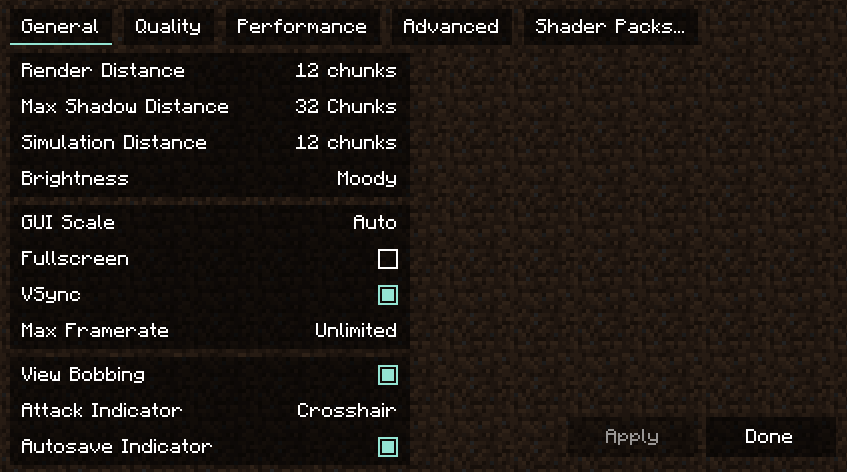
You probably noticed that the menu is completely different. It is a reworked video settings menu provided by Sodium. In the General and Quality tab, you can find all the usual settings from vanilla Minecraft which you can change to fit your preferences. The settings in the Performance and Advanced tabs should not be modified in most cases.
Shader packs are managed in the Shader packs tab. The shader pack menu should look like this:
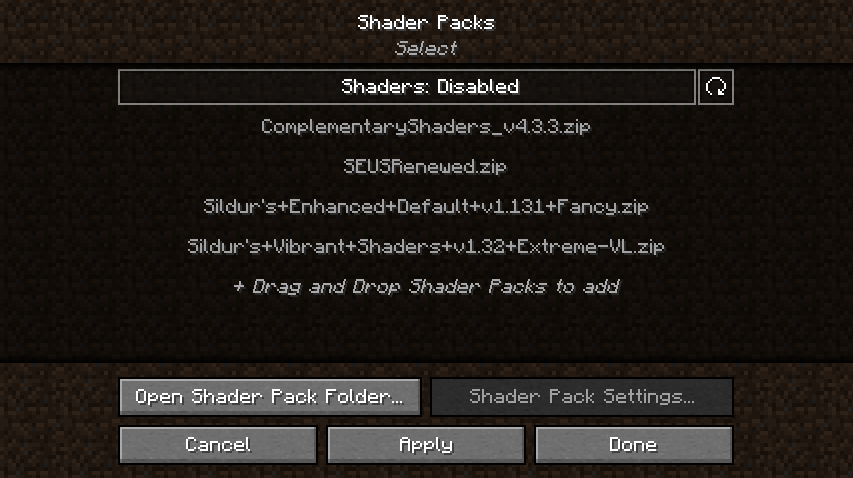
This menu shows shader packs which are in the shader packs folder. You can add new shader packs by dragging and dropping them into this menu, or by clicking the “Open Shader Pack Folder…” button and adding the shader packs into the opened folder. After adding your shader packs to the shader pack folder, click the refresh button in the top right to refresh the list of shaders. To select a shader pack, click on “Shaders: Disabled” to enable them. After that, select the shader pack you want to enable by clicking on it, then enable the selected shader by clicking the Apply button.
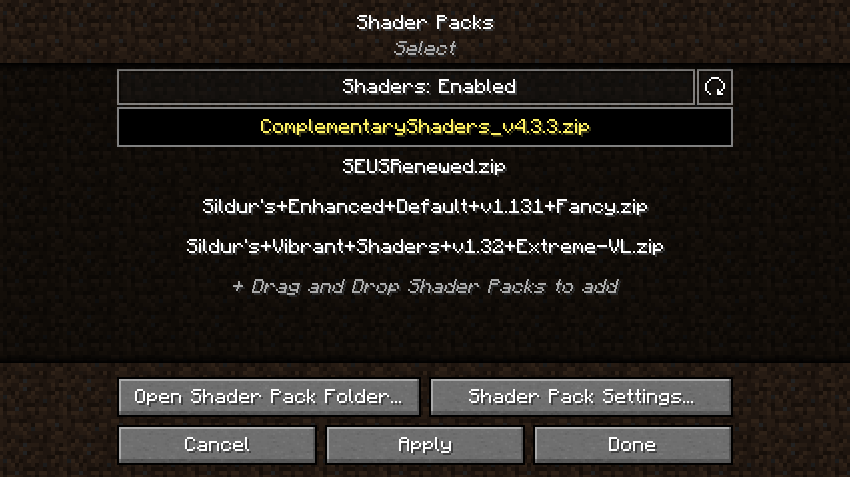
In the following example, we have successfully enabled Complementary Shaders. Notice how the font of the enabled shader changed to yellow – this is used to indicate that the shader is, in fact, enabled:
After enabling the selected shader, you can now configure it by clicking on the “Shader Pack Settings…” button. The shader pack settings menu is going to look different for each shader, since the available options are defined by the shader itself. For example, this is how the menu looks like with Complementary Shaders enabled:
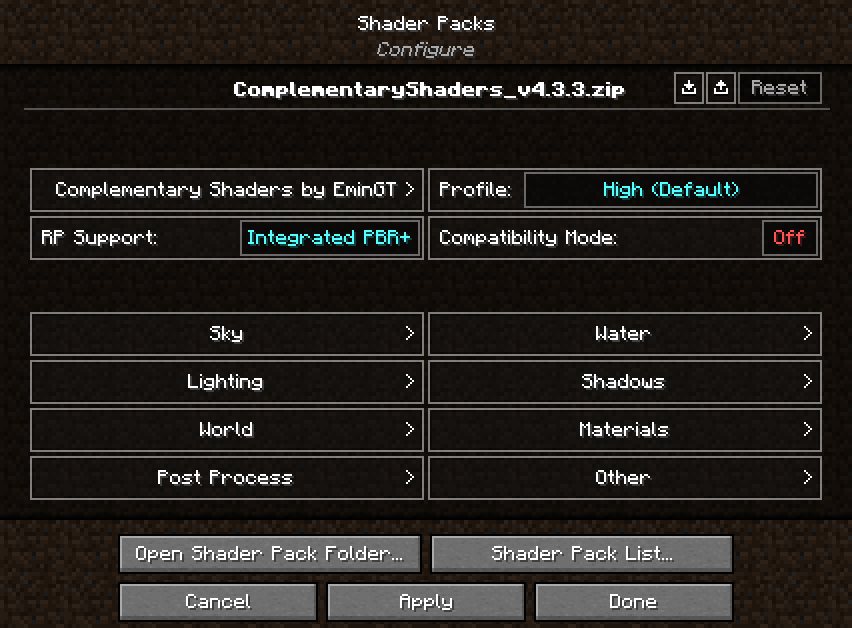
Here you can edit the shader pack options provided by the shader itself. The options in the menu should be the exact same as the options you’d get by loading the shader in Optifine. There are a few additional functions in the top right of the menu, however:
 : Import button: Loads a shader setting file (.txt format) into the currently enabled shader. The button opens up a file selection prompt, letting you select the file. Useful for loading custom shader settings found online.
- Export button: Exports your currently active shader settings to a .txt file. Useful for sharing your custom shader settings.
- Reset button: Hold Left SHIFT and click this button to restore the default settings for the selected shader.
After you’re done with customizing the shader, click Apply to apply the changes. You can now go back to the shader pack list by clicking on the “Shader Pack List…” button, or to the video settings menu by clicking the “Done” button.
You can now load your world and play Minecraft with shaders! While in game, you can use keyboard shortcuts which allow you to quickly manage your shaders:
- Pressing “O” opens up the shader packs menu with a transparent background, so you can see the changes you’re making to the shader settings happen in real time.
- Pressing “K” toggles shaders on and off.
- Pressing “R” reloads the currently active shader pack.
You can rebind these keyboard shortcuts to any other key you want in the Controls menu.
Requires:
Fabric API
Optifine
How to install:
- Download Iris Shaders Mod below
- Save the file anywhere on your computer and run it. Java is required to run the installer. If your system doesn’t have Java installed, download and install Java from Adoptium Java downloads. If you are using Windows and are still unable to run the installer, try using Jarfix.
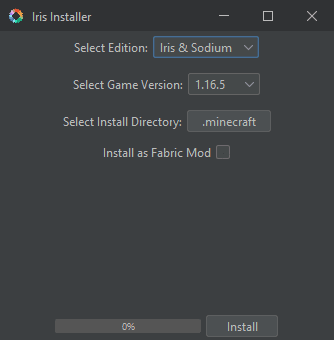
- The following window should open:
- Under the “Select game version” dropdown, select your preferred Minecraft version.
- Click Install.
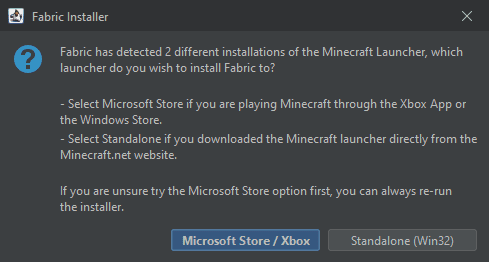
- If you get the following prompt: Select Microsoft Store / Xbox if you have updated to the new launcher. Otherwise, select Standalone (Win32).
- You should see the button say “Installation succeeded!” next to the full progress bar: Close the installer.
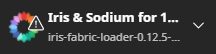
- Next time when you open the Minecraft launcher, you should have the following profile (the version numbers may be different): Play the game with this profile selected to run Iris Shaders.
Iris Shaders Mod (1.19.2, 1.18.2) Download Links
For Minecraft 1.16.5
Fabric version: Download from Server 1
For Minecraft 1.17.1
Fabric version: Download from Server 1
For Minecraft 1.18.1
Fabric version: Download from Server 1
For Minecraft 1.18.2
Fabric/Quilt version: Download from Server 1
For Minecraft 1.19
Fabric/Quilt version: Download from Server 1
For Minecraft 1.19.1
Fabric/Quilt version: Download from Server 1
For Minecraft 1.19.2
Fabric/Quilt version: Download from Server 1 – Download from Server 2

