Minecraft Armor Trim Preview
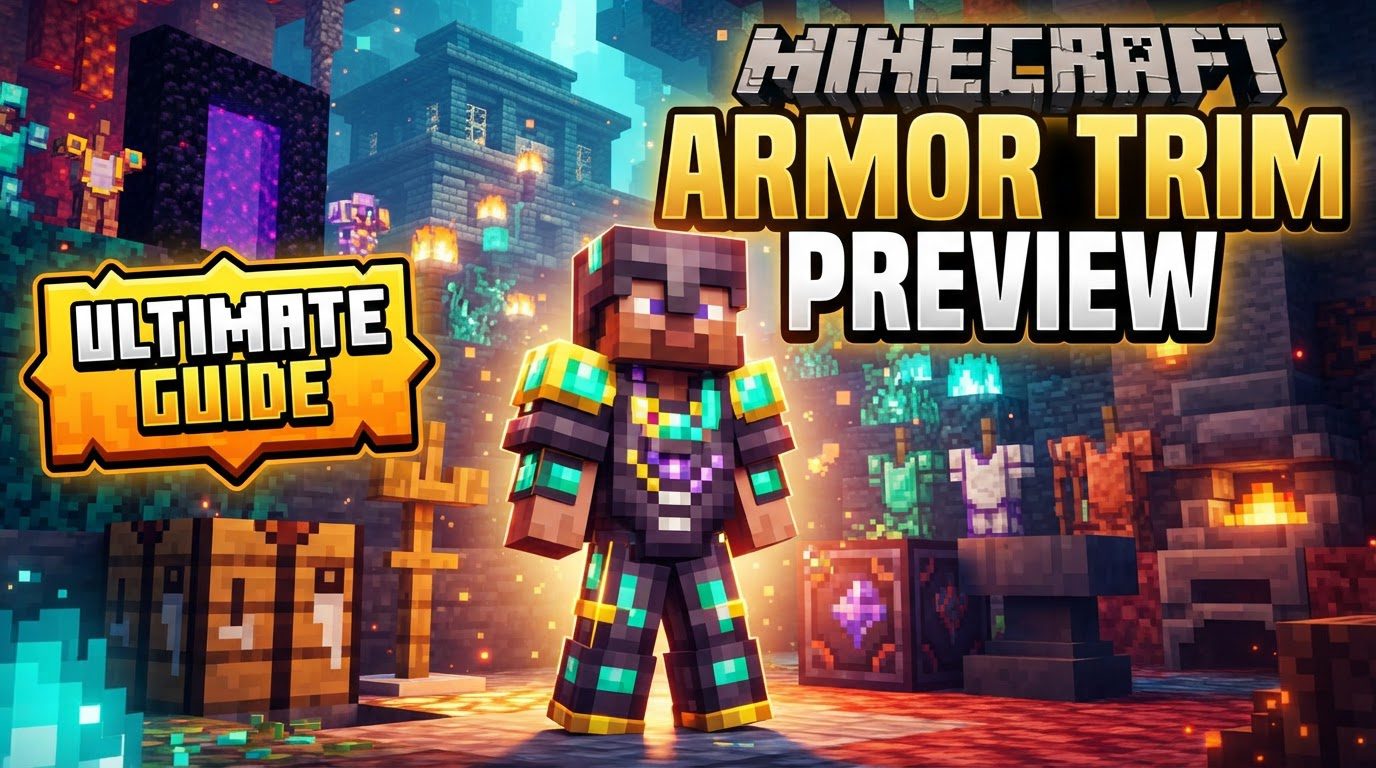
Armor trims in Minecraft are a game-changer for personal expression, yet they offer absolutely no functional benefits. This surprising fact underpins the entire system: these intricate designs, etched onto your gear, are purely for aesthetics. They don’t boost your defense, increase durability, or amplify enchantments. Instead, they provide an unparalleled opportunity to personalize your character’s look, transforming standard armor into a unique statement of your adventures and style. Understanding this core principle is the first step to mastering the art of armor trimming in the blocky world.
The Essence of Armor Trims: What You Need to Know
At its heart, the armor trimming system is a cosmetic addition designed to inject more individuality into player appearances. It leverages existing game mechanics while introducing new elements that encourage exploration and resource gathering. Here’s a breakdown of the fundamental principles:
- Purely Cosmetic Enhancements: Reiterate this crucial point. Armor trims are 100% aesthetic. Your trimmed Netherite chestplate will protect you exactly as much as an untrimmed one. This design choice ensures that customization is a choice, not a competitive advantage.
- Smithing Table Integration: The process of applying trims is familiar to anyone who has upgraded Diamond gear to Netherite. It all happens at a Smithing Table, a versatile block for metalworking and now, personalization.
- Three Key Components: To successfully apply a trim, you’ll always need three distinct items:
- An armor piece (helmet, chestplate, leggings, or boots).
- An Armor Trim Smithing Template (the blueprint for the design).
- A coloring material (which dictates the trim’s hue).
- Templates: Found, Not Fabricated: Unlike many items in Minecraft, Smithing Templates cannot be crafted from scratch. They are treasures, discoverable only through dedicated exploration. Each template is tied to specific structures or mobs, encouraging players to delve into dangerous dungeons, forgotten ruins, and perilous oceans to collect them all.
- Consumable but Duplicable: When you use a Smithing Template to apply a trim, that specific template is consumed in the process. However, the game provides a clever workaround for rare templates: you can duplicate them. By combining an existing template with seven diamonds and a “base material” (often related to the template’s origin structure) in a crafting grid, you can create a copy. This is a vital strategy for anyone planning to trim multiple armor sets or experiment with designs.
- Dynamic Color Customization: The true magic of armor trims lies in their color versatility. The material you choose as your coloring agent will determine the final color of the trim. Options include common resources like Iron, Copper, Gold, Lapis, Emerald, and Quartz, as well as more valuable materials such as Diamond, Netherite, Redstone, and Amethyst. Each offers a distinct shade, allowing for a vast array of visual combinations.
The Art of Application: Your Step-by-Step Guide
Applying an armor trim is a straightforward process once you have the necessary components. The Smithing Table acts as your personal design studio, providing a live preview to ensure satisfaction before committing. Here’s how to do it:
- Obtain a Smithing Table: If you don’t already have one, craft a Smithing Table. This essential block requires 2 iron ingots and 4 wooden planks of any type. Place it in a convenient location, perhaps near your storage or crafting area.
- Acquire an Armor Trim Smithing Template: This is often the most time-consuming step. Templates are found in loot chests across various structures or as rare mob drops. For instance, you might find the “Silence” template in an Ancient City, the “Vex” template in a Woodland Mansion, or the “Tide” template from an Elder Guardian. Each template offers a unique pattern.
- Prepare Your Armor: Decide which piece of armor you wish to customize. Trims can be applied to any helmet, chestplate, leggings, or boots, regardless of their material type (leather, iron, gold, diamond, or netherite). Ensure the armor piece is in your inventory.
- Select a Coloring Material: Choose the material that will give your trim its desired color. Consider the base color of your armor and which material will provide the best contrast or complement. For example, gold will yield a yellow trim, lapis a vibrant blue, and diamond a striking cyan.
- Combine in the Smithing Table: Interact with your Smithing Table. You will see three input slots. Place the Armor Trim Template into the leftmost slot, your chosen armor piece into the middle slot, and your coloring material into the rightmost slot. Crucially, the Smithing Table will display a live preview of your armor with the applied trim in the output slot, allowing you to visualize the final result before you finalize the process. If you’re happy with the preview, simply take the trimmed armor from the output slot, and the template and coloring material will be consumed.
Mastering the Hunt: Tips for Template Acquisition & Usage
Collecting all 18 unique armor trim templates is a journey of epic proportions, requiring strategic exploration and resource management. Here are some expert tips to optimize your efforts:
- Prioritize Trail Ruins: These unique archaeological sites are an excellent starting point for template hunting. By carefully brushing suspicious gravel, you can unearth multiple templates such as Wayfinder, Raiser, Shaper, and Host. Their relative abundance and the concentrated nature of the search make them highly efficient.
- Don’t Overlook Woodland Mansions: While dangerous, Woodland Mansions offer a substantial reward. The Vex trim has a relatively high 50% chance of appearing in their chests, making these formidable structures a worthwhile target for this specific, distinctive pattern.
- Always Duplicate Rare Templates: This cannot be stressed enough. Before applying a trim with a rare template, especially those with low drop chances like the Silence trim (1.2% in Ancient Cities), ensure you duplicate it. This safeguards your hard-won template, allowing you to apply the design to future armor sets or experiment without the fear of losing your only copy. Remember, duplication requires seven diamonds and a specific base material.
- Utilize Exploration Gear: Speed up your template hunt by equipping yourself appropriately. Elytra significantly reduce travel time between distant structures. Night vision potions are invaluable for navigating dark dungeons and Ancient Cities. Water breathing potions are essential for exploring underwater structures where templates might reside.
- Experiment with Colors: The Smithing Table’s live preview is your best friend. Before committing, try out different coloring materials with your chosen template. See how gold looks versus netherite, or lapis versus amethyst. The variety of color combinations is immense, allowing you to find the perfect aesthetic for your character.
Avoiding Pitfalls: Common Mistakes & Crucial Considerations
Even seasoned players can fall into traps when it comes to armor trims. Being aware of these common misconceptions and challenges will save you time, resources, and potential disappointment.
- Expecting Stat Boosts: This is the most frequent misconception. Many new players, upon seeing the intricate designs, assume armor trims provide some form of defensive or functional benefit. Remember, they are purely cosmetic. Do not waste valuable resources expecting an armor advantage.
- Neglecting Template Duplication: As mentioned, using a rare template without first duplicating it is a common and costly mistake. If you want to apply that same trim to another armor piece or a new set, you’ll have to embark on the arduous hunt for another template from scratch. Always duplicate your rare finds!
- Underestimating the Grind: Finding all 18 unique armor trim templates is a significant challenge. Some templates, like the Silence trim in Ancient Cities (a mere 1.2% chance), require immense dedication and luck. Be prepared for a substantial time investment if you aim to collect them all. The journey is part of the reward.
- Ignoring the Live Preview: The Smithing Table provides an invaluable service by showing you exactly what your trimmed armor will look like before you confirm the change. Failing to check this preview might lead to dissatisfaction with the final look, especially if your chosen color clashes with the armor or the trim pattern isn’t what you expected.
- Worrying About Changing Trims: There’s no penalty, cooldown, or cost associated with changing an existing armor trim. If you apply a new trim to an already trimmed armor piece, the old design is simply replaced by the new one. This encourages experimentation and allows you to update your style whenever you wish without fear of permanent choices.
Minecraft’s armor trims represent a fantastic step forward in player customization, offering a new layer of personalization to your in-game identity. By understanding their cosmetic nature, mastering the application process, and employing smart hunting strategies, you can transform your armor into a truly unique expression of your Minecraft journey.
Tags:
YOU MAY ALSO LIKE...