

Minecraft Can You Oxidize Copper Faster
Many Minecraft players, eager to add a touch of verdigris to their builds, often make a critical mistake: they assume copper oxidizes uniformly regardless of its placement. While time is undoubtedly a factor, simply placing copper and waiting is the slowest possible approach. The secret to dramatically accelerating copper oxidation in Minecraft lies not just in patience, but in understanding and manipulating the game’s core mechanics, primarily air exposure.
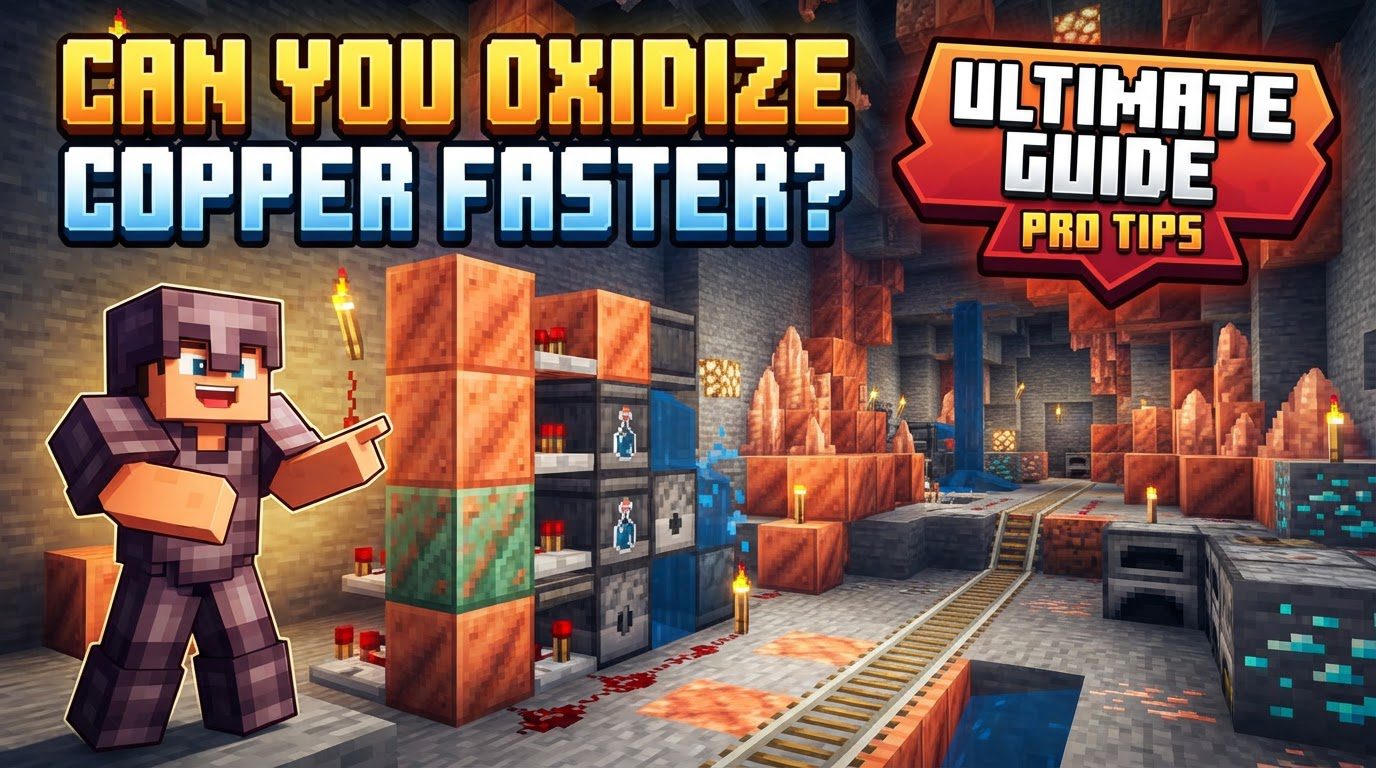
The Journey of Patina: Understanding Copper’s Transformation
Copper in Minecraft is unique among building blocks for its dynamic visual transformation. From the moment it’s placed, it embarks on a journey through four distinct stages of oxidation, each offering a different aesthetic:
- Fresh Copper: Its initial bright, reddish-orange hue.
- Exposed Copper: A slightly duller, less vibrant orange, showing the first signs of change.
- Weathered Copper: Characterized by noticeable green patches, indicating partial oxidation.
- Fully Oxidized Copper: A beautiful, rich verdigris green, the final stage of its natural aging process.
Naturally, this process is quite gradual, often taking several weeks of in-game time for a single block to reach full oxidation. Each copper block has a chance to advance its oxidation stage whenever it receives a “random tick.” These ticks are a fundamental game mechanic, occurring intermittently and affecting various blocks in loaded chunks, from plant growth to the spread of fire. For oxidation, the key is to maximize the chances of these random ticks having an effect.
Unlocking Rapid Oxidation: The Power of Air Exposure
The single most impactful factor in accelerating copper oxidation is its exposure to air. This isn’t just about being in an open space; it’s about how many of a copper block’s six faces are directly adjacent to air blocks. The more exposed faces a copper block has, the higher its individual chance to progress to the next oxidation stage with each random tick it receives. This mechanism is crucial for anyone looking to speed up the process significantly.
Placing copper blocks in large, solid masses, or even just side-by-side, severely limits their exposed surface area. A block surrounded on all six sides by other blocks, for instance, will never oxidize. To truly harness the power of air exposure, you need to isolate your copper blocks as much as possible.
A Blueprint for Accelerated Patina: Step-by-Step Implementation
Achieving rapid oxidation requires a methodical approach. Here’s how to set up your copper for the fastest possible transformation:
- Strategic Placement: Begin by placing your copper blocks in your desired location. While the environment doesn’t directly influence the speed (like rain or humidity in the real world), ensuring they are in a chunk that remains loaded is paramount.
- Maximize Air Isolation: This is the most critical step. Instead of placing copper blocks directly next to each other, create space. The optimal strategy is to place individual copper blocks with at least four, and ideally five, air blocks between each copper block. This ensures that every face of your copper block (except the one it’s sitting on, if placed on the ground) is exposed to air, maximizing its chances of receiving an oxidation-triggering random tick.
- Allow Game Time to Flow: Oxidation is fundamentally a time-dependent process. Once your copper blocks are optimally spaced, they need to remain within loaded chunks for game days to pass. This means either staying in the area yourself, having other players nearby, or setting up your oxidation chamber near frequently visited areas or AFK farms. The more time passes with the chunks loaded, the faster the process will naturally unfold.
- Consider Oxidized Neighbors (Optional): While air exposure is king, placing already oxidized copper blocks adjacent to fresh copper can slightly increase the probability of the fresh blocks oxidizing. This effect is marginal compared to air exposure but can contribute a minor boost if you have oxidized blocks readily available.
Mastering the Process: Tips for Efficient Oxidation & Control
Beyond the fundamental steps, several tips can further refine your copper oxidation efforts and give you precise control over the aesthetic outcome:
- Dedicated Oxidizing Chambers: Consider constructing specific areas for oxidation. These “chambers” could be simple grid structures designed for optimal spacing, perhaps located under your main base or adjacent to your AFK farms. This ensures the chunks remain loaded for extended periods, facilitating continuous oxidation.
- Preserving Stages with Wax: Once a copper block reaches your preferred oxidation level, you can permanently lock that stage by using a honeycomb on it. This “waxes” the copper, preventing any further oxidation or de-oxidation. It’s an invaluable tool for maintaining a consistent aesthetic in your builds.
- Efficient Waxing Strategy: To conserve honeycomb, it’s always more efficient to wax full copper blocks *before* crafting them into stairs, slabs, or other cut forms. Waxing a single block will save you from using multiple honeycombs on its crafted derivatives.
- Reversing and Controlling Stages: If you accidentally overshoot a desired oxidation stage, or simply change your mind, an axe is your tool of choice. Using an axe on an oxidized copper block will revert its oxidation stage by one level per use. This also removes any wax applied to the block.
- Crafting with a Stonecutter: For all your copper crafting needs, always use a stonecutter. It is significantly more resource-efficient than a crafting table for producing cut copper blocks, stairs, and slabs, yielding more items from the same amount of raw copper.
Common Blunders to Sidestep
Even with the best intentions, several common mistakes can hinder your copper oxidation efforts:
- Clustering Copper: The most frequent error is placing copper blocks directly adjacent to each other or in large, solid masses. This severely limits air exposure and drastically slows down the oxidation process.
- Impatience: While these methods accelerate the process, oxidation is still not instantaneous. Expecting results within minutes or even a single in-game day will lead to disappointment. It still takes a substantial amount of in-game time, often several days or weeks, even with optimal setup.
- Ignoring Lightning: Lightning strikes pose a unique threat to copper. A direct strike on a copper block will not only de-wax it but also reduce its oxidation level. If you’re building large copper structures in open, lightning-prone areas, consider installing lightning rods nearby to divert strikes.
- Misunderstanding Waxing’s Role: Some players mistakenly believe waxing an already oxidized block will reverse its oxidation. Waxing only locks the *current* stage; it does not alter it.
- Fully Enclosing Copper: A copper block completely surrounded on all six sides by other non-air blocks will never oxidize. Ensure at least one face, and ideally as many as possible, are exposed to air.
By understanding these mechanics and implementing the strategies outlined, you can take control of copper’s natural aging process, transforming weeks of passive waiting into a much more predictable and efficient journey towards the perfect verdigris aesthetic for your Minecraft creations.
Tags:
YOU MAY ALSO LIKE...


