Minecraft How to Build Youtube
Transforming the iconic red and white YouTube logo or even an entire content creation studio into a block-by-block masterpiece within Minecraft is a rewarding challenge for any builder. Whether you aim for a colossal emblem visible from miles away or a detailed, functional-looking set for your in-game roleplay, the possibilities are as limitless as your imagination.
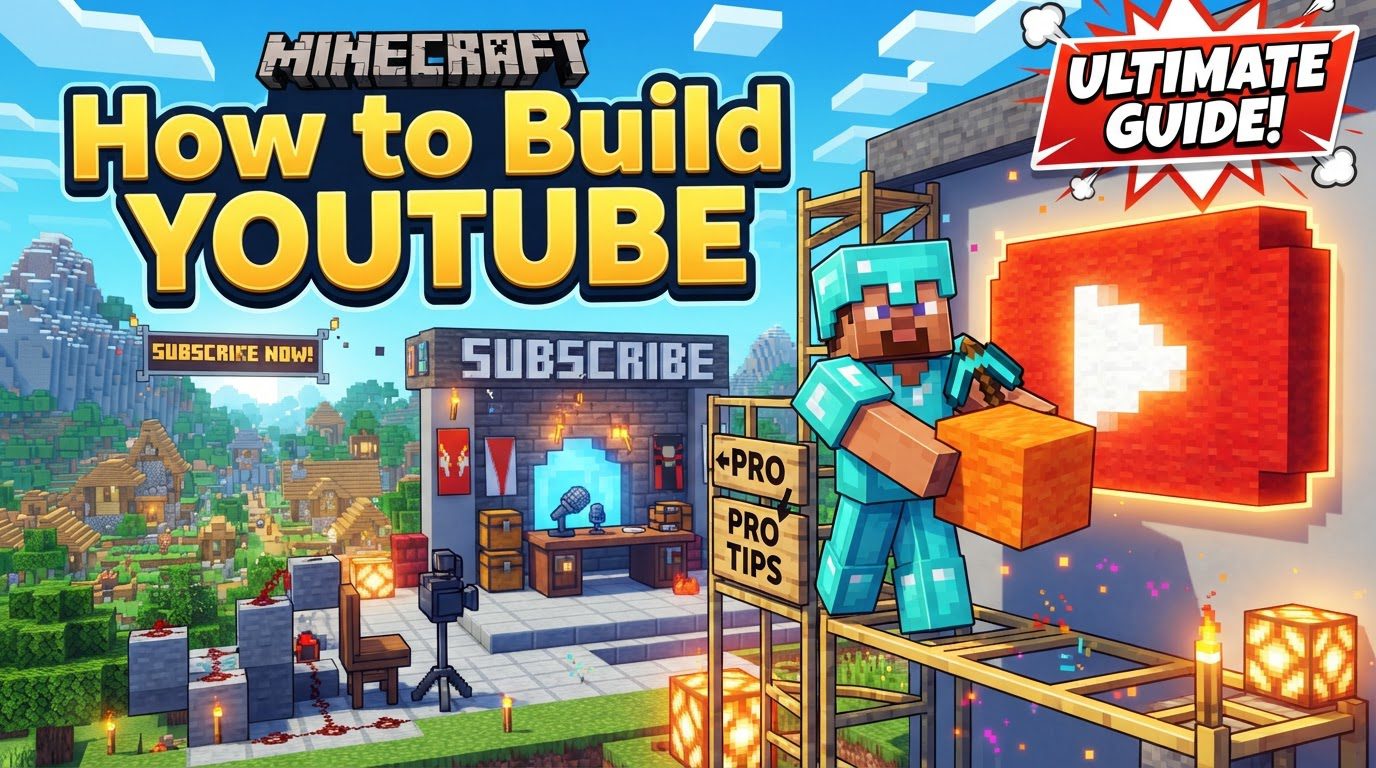
This guide will walk you through the process of conceptualizing, designing, and constructing various YouTube-themed structures in Minecraft, offering practical advice and creative inspiration to bring your digital media dreams to life in the blocky world.
Planning Your YouTube Architectural Marvel
Before placing your first block, a little foresight goes a long way. Deciding what specific YouTube element you want to build and how grand it will be is crucial for a smooth construction process.
- What to Build?
- The Classic Logo: The most straightforward option. A giant 2D or 3D rendition of the red play button logo.
- A YouTube Studio: A more ambitious project, featuring a green screen, camera setups, editing bays, and perhaps a commentary booth.
- Play Buttons: Replicas of the Silver, Gold, Diamond, or even Red Diamond Play Buttons as decorative elements or focal points.
- Themed Area: A larger zone incorporating multiple elements, like a “creator’s plaza” with various YouTube-related structures.
- Size and Scale: Will your logo be a humble 10×10 block sign, or a sprawling 100×100 pixel art marvel? Larger builds require more materials and time but offer greater detail. Consider sketching your design on graph paper or using in-game tools like WorldEdit (if available) for pre-visualization.
- Location, Location, Location:
- Creative Mode: Ideal for large, complex builds where resources are infinite and flying is enabled. A superflat world provides an unhindered canvas.
- Survival Mode: A greater challenge, requiring resource gathering. Choose a flat, open area or terraform a suitable spot. Ensure it’s safe from hostile mobs.
- Material Selection: The right blocks can make or break your build. For the YouTube logo, vibrant reds and clean whites are essential.
Crafting the Iconic YouTube Logo: A Step-by-Step Guide
The YouTube logo, with its distinctive red rectangle and white play arrow, is instantly recognizable. Recreating it in Minecraft is an excellent starting point for any YouTube-themed build.
Essential Materials:
- Red Blocks: Red Concrete, Red Terracotta, or Red Wool are excellent choices for their vibrant color. Concrete offers a smooth texture, while wool can be more readily available early in survival.
- White Blocks: White Concrete, White Terracotta, or White Wool for the play button arrow.
- Black/Gray Blocks: Black Concrete, Gray Concrete, or Coal Blocks can be used for an outline or background if desired, to make the logo pop.
Construction Steps:
- Outline the Base: Start by laying out the basic rectangular shape of the logo. A common aspect ratio is 16:9, but for block art, aim for a ratio that looks good and is easy to scale (e.g., a width of 32 blocks and a height of 18 blocks, or 48×27). Use a temporary contrasting block for your outline.
- Fill the Red Rectangle: Once satisfied with the dimensions, fill the entire rectangle with your chosen red blocks. For a 2D logo, this forms the background. For a 3D logo, build up the walls to your desired thickness.
- Position the White Play Button: The play button is essentially a triangle pointing to the right.
- Find the exact center of your red rectangle.
- From the center, count out blocks to form the apex and base of your triangle. For a clean look, the triangle should not touch the edges of the red rectangle.
- Start with the left-most point of the triangle (the tip) and extend two diagonal lines outwards and downwards/upwards to form the base.
- Fill in this triangular shape with your white blocks. Ensure it is perfectly symmetrical.
- Refine and Detail: Step back and assess your creation. Are the lines crisp? Is the triangle centered? You might add a subtle black or dark gray outline around the entire logo to give it more definition against the surrounding environment.
Beyond the Logo: Expanding Your YouTube World
Once your iconic logo stands tall, consider expanding your build into a more immersive YouTube experience.
The Minecraft YouTube Studio
A dedicated studio allows for roleplay, creative videos, or simply a cool place to hang out. Think about different zones within your studio:
- The Green Screen Area: Construct a large wall using Lime Concrete or Lime Wool. This can be a simple flat wall or curved for a more realistic effect. Place some “studio lights” using Glowstone or Sea Lanterns on the ceiling or on stands (fences with light blocks on top).
- Camera Setups: Use blocks like Stone Bricks or Black Concrete for the camera body. Attach levers or buttons for lenses and trapdoors for viewfinders. Tripods can be made from fences or iron bars.
- Microphone Booth: A small, sound-proofed room (use wool for insulation effect) with an iron bar acting as a microphone stand, topped with a pressure plate or button for the mic itself.
- Editing Bay: Create desks using slabs or stairs. Monitors can be represented by paintings on walls or item frames with maps or custom textures. Add chairs (stairs with signs on the sides) and storage for “files” (chests or barrels).
- Decoration: Use item frames with custom maps or banners to represent awards, subscriber plaques, or channel art. Add bookshelves, potted plants, and carpets for a cozy, professional feel.
Grand Play Button Replicas
Showcase your (aspirational) subscriber milestones with giant Play Button replicas:
- Silver Play Button: Use Iron Blocks for the button and Gray Concrete for the plaque.
- Gold Play Button: Gold Blocks for the button, Yellow Concrete or Gold Blocks for the plaque.
- Diamond Play Button: Diamond Blocks for the button, Light Blue Concrete or Diamond Blocks for the plaque.
- Red Diamond Play Button: Redstone Blocks or Red Concrete for the button, Red Concrete or Netherrack for the plaque.
These can be built as large 2D pixel art on a wall or as freestanding 3D statues, adding a touch of grandeur to your YouTube headquarters.
Subscriber Count Display
While dynamic, real-time subscriber counts require complex Redstone or server plugins, you can create a static, impressive display:
- Build large numbers using Redstone Lamps for the digits.
- Use levers or buttons to “light up” the lamps, creating your desired subscriber count (e.g., “100M”, “1M”).
- Encase the display in glass or a frame to make it look like a digital screen.
Lighting, Details, and Ambiance
No build is complete without careful attention to lighting and detail. These elements elevate your creation from a mere structure to a vibrant, living space.
- Interior Lighting: For studios, bright, even lighting is key. Use hidden Glowstone, Sea Lanterns, or Shroomlights above ceilings or behind walls to prevent dark spots. Redstone Lamps can be incorporated as functional or decorative lights.
- Exterior Lighting: Illuminate your giant logo or studio exterior with torches, lanterns, or strategically placed Redstone Lamps to make it visible and impressive at night.
- Furnishings: Add chairs, tables, shelves filled with books or custom heads, and potted plants to make your studio feel lived-in.
- Landscaping: If your build is outdoors, consider paths leading to it, surrounding trees, flower beds, or even a small pond to enhance its aesthetic appeal.
- Signage: Use signs or item frames with custom maps to label different areas of your studio or to display channel names.
Showcasing Your Creation
Once your YouTube-themed build is complete, don’t forget to share it! Take some amazing screenshots from various angles, capture a cinematic video tour, and share it with friends, on Minecraft forums, or on your own social media channels. The satisfaction of a well-executed build is amplified when others can appreciate your hard work and creativity.
Building “YouTube” in Minecraft is more than just stacking blocks; it’s an expression of creativity, an homage to a platform, and a fun way to engage with the game’s endless possibilities. Whether you’re a seasoned builder or just starting, these ideas provide a solid foundation for bringing your vision to life.
Tags:
YOU MAY ALSO LIKE...