Minecraft How to Make a 2×2 Piston Door
One of the most common pitfalls for budding redstone engineers attempting their first automated entrance is a simple yet critical oversight: mistaking a regular piston for its stickier counterpart. A 2×2 piston door, a hallmark of hidden bases and sophisticated builds in Minecraft, hinges entirely on the unique retracting ability of the sticky piston. Without it, your carefully constructed blocks will extend but never return, leaving you with an open, rather than concealed, doorway.
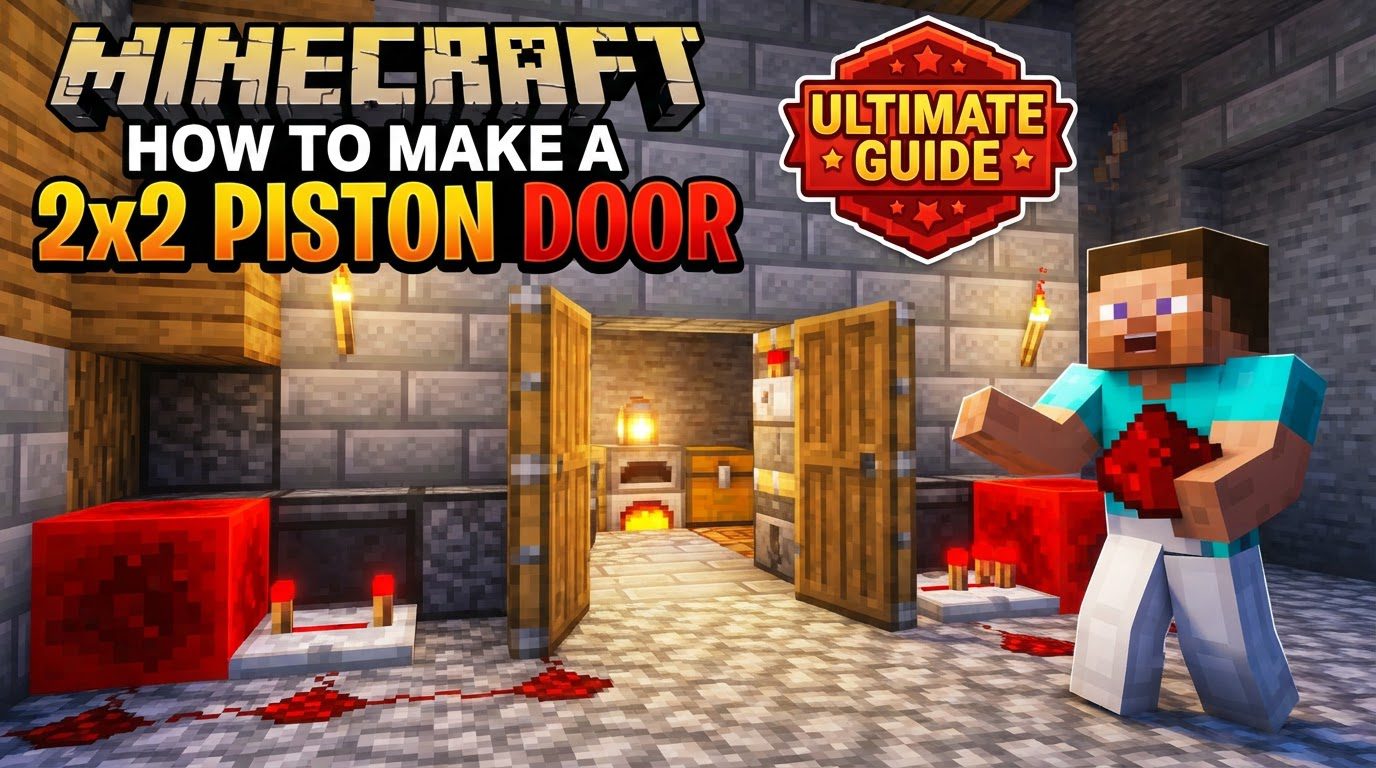
Creating a functional 2×2 piston door is a rewarding redstone project, offering both utility and a touch of mystery to your builds. Whether you’re aiming for a seamless, flush entrance to a secret lair or simply a convenient, automated gateway to your home, understanding the core principles of redstone and piston mechanics is key. This comprehensive guide will walk you through the process, from gathering essential components to troubleshooting common issues, empowering you to build your very own dynamic entrance.
The Essential Components of Automation
Before diving into construction, it’s crucial to understand the roles of the key redstone components you’ll be employing. Each piece plays a vital part in the synchronized dance of your piston door.
- Sticky Pistons: These are the true workhorses of your door. Unlike regular pistons, which merely push blocks, sticky pistons will pull the block back with them when they retract. For a standard 2×2 door that moves blocks into and out of the wall, you’ll typically need anywhere from 8 to 12 sticky pistons, depending on whether you want a flush design.
- Redstone Dust: The veins of your redstone circuit, redstone dust transmits power from your activation switch (like a lever or button) to all other components. Think of it as electrical wiring, carrying the signal that tells your pistons what to do.
- Redstone Repeaters: These versatile blocks serve two primary functions. Firstly, they refresh and extend a redstone signal, preventing it from fading over long distances. Secondly, and critically for piston doors, they introduce a delay. By setting appropriate delays (measured in “ticks,” with 1 tick being the shortest and 4 ticks the longest), you can precisely control the timing of your pistons, ensuring a smooth, synchronized opening and closing sequence. A common setting is 2 ticks for many piston door designs.
- Redstone Torches: These can act as a constant power source, always emitting a redstone signal. More importantly for complex circuits, they can invert a signal. If a redstone torch is powered by redstone dust, it will turn OFF. If it’s not powered, it remains ON. This “NOT gate” functionality is essential for certain advanced wiring techniques.
- Door Blocks: These are the blocks that will physically form your door. They can be any solid block you desire – stone, wood, glass, or even obsidian (though that’s a bit overkill for a simple door!). Choose blocks that fit the aesthetic of your build.
Constructing the Core Mechanism: A Step-by-Step Guide
While designs can vary in complexity and compactness, the fundamental principles remain the same. Here’s a general process to build a basic 2×2 piston door.
1. Placing the Foundation: The Piston Layout
Begin by establishing the framework for your door. Place two sticky pistons stacked vertically. Then, leave a 2-block gap directly in front of them – this gap will be where your door blocks reside. On the other side of this 2-block gap, place another two sticky pistons stacked vertically, facing the first pair. These four pistons form the basic retraction mechanism for your door blocks.
2. Adding the Door Blocks
Now, fill the 2-block gap between the faces of your sticky pistons with your chosen door blocks. When the pistons are activated, these blocks will be pushed out, and when the pistons retract, they will be pulled back, creating your doorway.
3. Initial Wiring: Powering the Bottom Pistons
Behind each of the bottom sticky pistons, place a solid block. On top of these blocks, place redstone dust. This dust will directly power the bottom pistons when activated. Ensure the dust is placed so it makes contact with the piston block itself.
4. Advanced Wiring: Activating the Top Pistons with Timing
The top pistons often require a slight delay to ensure a smooth operation. Break the blocks directly behind each of the top sticky pistons. In their place, position redstone repeaters, ensuring they are facing towards the pistons. Set these repeaters to a 2-tick delay (click them once). Connect redstone dust from these repeaters to power the top pistons, often by placing a block directly behind the piston and dust on top of it, with the repeater feeding into that block.
5. Connecting the Control Circuit
Now, you need to link both sides of your piston mechanism. Dig a trench (typically one block deep) underneath your door blocks or to the side, where you can run redstone dust. Connect the redstone dust from the bottom piston wiring on one side to the repeater input on the other side, and vice-versa, ensuring that a single signal can reach all four pistons (via the repeaters for the top ones). The goal is to create a unified circuit that powers all pistons simultaneously, or with the intended delays.
6. Implementing Your Switch
Choose your activation method: a lever for a toggle switch, or a button for a momentary pulse. Place your switch in a convenient location and connect it to your main redstone circuit using redstone dust. For advanced users, integrating a T-flip-flop can allow a button to act like a lever, toggling the door state with each press.
7. Testing and Iteration
With your circuit complete, it’s time to test! Activate your switch. Observe how the door opens and closes. If blocks get stuck, or the movement isn’t synchronized, adjust the delays on your redstone repeaters. A common issue is the top pistons activating too early or too late, causing blocks to collide or not retract properly. Experiment with 1, 2, 3, or 4-tick delays until the action is smooth.
Refining Your Design: Tips for a Seamless Entrance
Once you have a basic functional door, you can enhance its appearance and functionality.
- Achieving Compactness: Aim to minimize the footprint of your redstone wiring. This often involves clever routing of redstone dust, stacking components, and using blocks to transmit power vertically. Compact designs are easier to conceal.
- The Art of the Flush Door: For a truly hidden entrance, the door blocks (and the pistons themselves) must retract completely into the wall, leaving a flat, uninterrupted surface. This typically requires additional sticky pistons. These “side” pistons will pull the primary pistons (and their attached door blocks) sideways into the wall after they’ve retracted the door blocks. This adds complexity but results in an invisible doorway when closed.
- Concealing Your Activation: For secret bases, a visible lever or button defeats the purpose. Consider hidden inputs like a button behind a painting, a pressure plate disguised as part of the floor, or using a T-flip-flop connected to a disguised button or even a hidden item frame.
- Resource Considerations: While the basic design is relatively resource-friendly, flush doors and more complex circuits will demand more sticky pistons, repeaters, and redstone dust. Plan your resource gathering accordingly.
- Leveraging External Resources: Redstone can be highly visual. Don’t hesitate to consult video tutorials on platforms like YouTube. Seeing the wiring in action, especially for specific designs (like a flush 2×2 door), can clarify concepts much faster than text alone. Many creators offer step-by-step visual guides that complement written instructions perfectly.
Troubleshooting Common Issues
Even experienced builders encounter issues. Here’s a rundown of common mistakes and how to rectify them.
- Piston Predicaments: The most frequent error is using regular pistons instead of sticky pistons. Regular pistons will push blocks but won’t pull them back. Always double-check that you’ve crafted and placed sticky pistons for any block retraction.
- Power Problems: Redstone signals have a limited range of 15 blocks. If your wiring is too long, the signal will “die out.” Use redstone repeaters every 15 blocks (or less) to refresh and extend the signal, ensuring all parts of your circuit receive power.
- Timing Troubles: If your door blocks get stuck, collide, or don’t move smoothly, your repeater delays are likely incorrect. Experiment with the delay settings on your redstone repeaters (right-click them to cycle through 1 to 4 ticks). Often, the top pistons need a different delay than the bottom ones, or one side of the door needs to activate slightly before the other.
- Wiring Woes: Misplaced redstone dust or incorrect connections can lead to parts of the door not functioning. Ensure redstone dust is placed on top of blocks where it needs to transmit power and that it correctly connects to repeaters, torches, or the pistons themselves (via an adjacent block). Sometimes a single block obstructing a dust line can break the entire circuit.
- Flush Door Frustrations: If your flush door isn’t retracting fully into the wall, you likely haven’t accounted for enough sticky pistons. A basic 2×2 door needs four main pistons. A flush 2×2 often requires an additional four to eight sticky pistons to pull the primary pistons and their blocks sideways into the wall cavity, making it truly invisible.
- Input Interference: The redstone line from your switch might accidentally power or depower parts of your main circuit in unintended ways. Ensure your switch’s wiring is isolated and only connects to the intended input point of your door mechanism. Sometimes a simple block separation or rerouting of dust can solve this.
Mastering the 2×2 piston door is a significant step in your Minecraft redstone journey. With patience, experimentation, and a solid understanding of these principles, you’ll be able to create sophisticated and functional automated entrances that enhance both the aesthetics and security of your world.
Tags:
YOU MAY ALSO LIKE...