

Minecraft Villager House
A single bed is the true heart of any Minecraft villager’s house. While players might envision grand designs and intricate structures, the core mechanic that defines a “house” for a villager revolves almost entirely around this simple piece of furniture. Understanding this fundamental concept is the first step toward creating functional and thriving villager communities in your Minecraft world.
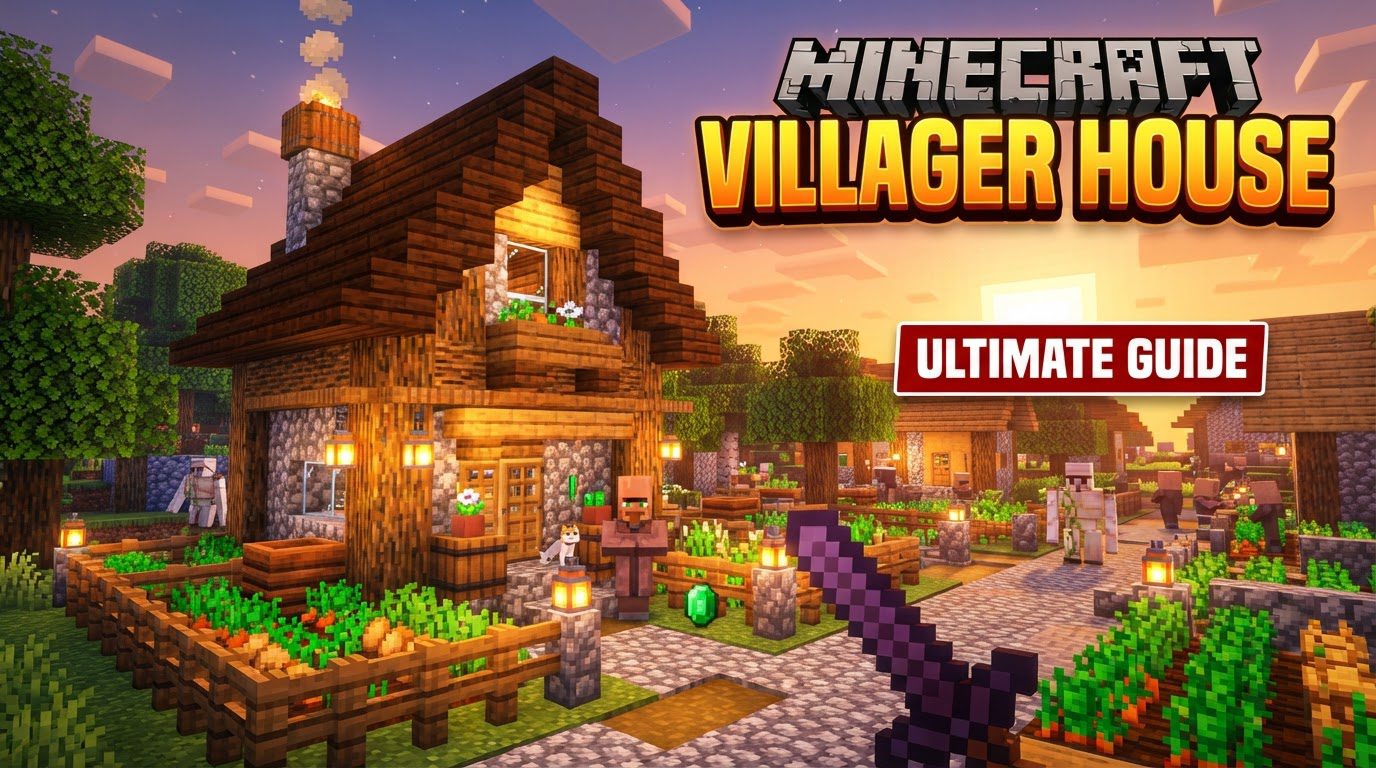
Far more than just a place to sleep, a bed claimed by a villager signifies their personal dwelling, offering a sense of security and contributing to the overall health and functionality of a village. This guide will delve into the essential elements, construction processes, and expert tips for building effective villager houses, ensuring your pixelated inhabitants are happy, productive, and well-housed.
Understanding the Villager’s Definition of “Home”
Before laying a single block, it’s crucial to grasp what a “house” means from a villager’s perspective. For game mechanics, a villager’s home is primarily defined by the presence of a bed. When a villager claims an available bed, that bed, and by extension, the structure around it, becomes their recognized dwelling. The structure itself serves as a vital element, providing essential shelter from hostile mobs and environmental hazards. Without a claimed bed, a structure, no matter how elaborate, is merely an empty building in the eyes of a villager.
The Foundational Build: Crafting the Structure
Building a villager house, whether a simple dwelling or a complex abode, follows a logical progression. Starting with a solid plan ensures efficiency and a successful outcome.
Establishing the Blueprint: Floor and Foundation
The very first step in constructing any villager house is to establish its floor and foundation. This initial layout dictates the overall size and shape of the structure. For beginners, a simple rectangular footprint is often the easiest to manage, offering a clear space to build upon. More experienced builders might experiment with complex floor plans, incorporating curves, multi-level sections, or irregular shapes to add character and visual interest. Regardless of complexity, ensure the foundation is level and provides ample space for the interior elements you plan to include.
Raising the Walls: Defining the Enclosure
Once the foundation is set, the next phase involves constructing the walls. Walls serve to enclose the space, providing the necessary shelter for the villager. They should be built to a desired height, typically at least three blocks high to allow for player and villager movement. As you construct the walls, remember to strategically leave openings for doors and windows. This planning prevents having to tear down sections later. Consider using a variety of materials for the walls, such as different types of wood planks, cobblestone, or even more decorative blocks like terracotta, to enhance the aesthetic appeal.
Crowning the Structure: The Roof
Completing the enclosed structure requires adding a roof. The roof provides overhead protection from the elements and hostile mob spawns. Many traditional villager homes in Minecraft feature a distinctive triangular roof design, often flattening at the top. This style is both practical and aesthetically pleasing, offering a classic village look. However, flat roofs or more elaborate designs can also be used, as long as they fully enclose the space and prevent light from entering directly from above, which can lead to mob spawns inside.
Furnishing and Functionality: Doors, Windows, and Interiors
With the basic shell complete, it’s time to add the crucial elements that make the structure functional and livable for a villager.
The Gateway: Doors
Installing a front door is essential for any house. Doors allow villagers to enter and exit their homes while providing a barrier against most hostile mobs. While any door type works, wooden doors are common. Ensure the door is placed correctly, facing outwards, and that there are no blocks immediately obstructing its swing, which could prevent the villager from using it effectively.
Bringing in Light: Windows
Windows are important for allowing visibility from inside the house and for adding to the overall aesthetic. They can be simple openings, or filled with glass panes or blocks. Strategically placed windows can lighten the interior, reduce the need for excessive artificial lighting during the day, and make the house feel more open and inviting. They also contribute significantly to the external appearance of the building.
Interior Design and Job Sites
The interior of a villager house is where true functionality and character come to life. The absolute most critical element to place inside is a bed. Villagers will claim available beds within suitable structures, making the bed the unequivocal centerpiece of their home. Beyond the bed, furnishing the interior includes adding a job site block relevant to the villager’s profession. For instance, a Fletcher needs a Fletching Table, a Farmer needs a Composter, and a Weaponsmith needs a Grindstone. These blocks allow villagers to perform their trades and restock their inventories. Additionally, decorative elements like lanterns, potted flowers, chests, or even small balconies can be added to enhance the living space and make each house unique.
Elevating Your Builds: Advanced Tips for Aesthetic and Utility
Beyond the basic requirements, several considerations can significantly improve the quality and appeal of your villager houses.
Embracing Material Variety
While a simple wooden box might function, using a range of materials dramatically improves the aesthetic appeal of your builds. Combine different types of wood (oak, spruce, dark oak), various stone blocks (cobblestone, stone bricks, polished andesite), and decorative elements like terracotta, concrete, or even different colored wool. This variety adds depth, texture, and visual interest, making each house feel more unique and integrated into a vibrant village.
Strategic Space Planning
Always ensure adequate space within and around your villager houses. While a villager only needs a bed to claim a home, their job site block, storage, and movement patterns require more room. Some builds, particularly for specific professions, can be quite large; for example, a Cleric’s house might effectively utilize a 13×1 area for its brewing stand setup, even if the primary structure is smaller. Planning for this extra space from the outset prevents cramped interiors and potential pathfinding issues for villagers.
Profession-Specific Customization
A highly effective tip is to consider the villager’s profession when designing their house. Customizing houses to reflect their trade adds realism and functionality. A farmer’s house, for example, might include a small attached crop field, a composter, and perhaps even a decorative windmill. A weaponsmith’s house could feature barrels, an anvil, a grindstone, and a small forge area. This not only looks good but also helps you remember which villager lives where and what their trade is, making village management much easier.
Illuminating the Interior
Incorporating sufficient lighting sources is crucial for both functionality and safety. Torches are the most basic and common lighting element, but lanterns, glowstone, sea lanterns, or even strategically placed lava can also be used. Proper lighting prevents hostile mobs from spawning inside the house, ensuring the villager’s safety, especially at night. It also makes the interior more inviting and easier to navigate for both players and villagers.
Avoiding Common Pitfalls: Mistakes to Steer Clear Of
Even experienced builders can sometimes make mistakes that hinder villager functionality. Being aware of these common errors can save you time and frustration.
Underestimating Space Requirements
One of the most frequent mistakes is not allocating enough room. This can manifest as insufficient space within the house for the villager to move freely, place their job site block, or even for players to interact with them. It can also mean not leaving enough external space for decorations, extensions, or surrounding pathways. Always err on the side of slightly more space than you think you’ll need, especially if you plan to incorporate profession-specific elements.
Overlooking the Essential Bed
As repeatedly emphasized, the single most critical element for a villager to recognize and claim a “home” within a structure is a bed. Building an elaborate, beautiful house but forgetting to place an accessible bed inside will result in villagers ignoring it. They will not consider it a home, and their behavior and productivity will suffer. Always double-check that every house has at least one properly placed and claimable bed.
Ignoring Professional Identity
Building generic houses that don’t accommodate or reflect the specific needs of a particular villager profession is another common oversight. Placing a job site block that conflicts with the intended villager’s profession, or simply not providing one at all, means the villager cannot work or restock their trades. This leads to inefficient trading and a less productive village. Always consider the villager’s role and design their home to integrate their job site block seamlessly and logically.
By understanding these principles and avoiding common pitfalls, you can create not just structures, but true homes for your Minecraft villagers. These well-designed dwellings will contribute to a thriving, productive, and aesthetically pleasing village, enhancing your overall gameplay experience.
Tags:
YOU MAY ALSO LIKE...


