Understanding Why Armor Durability Repairs Inconsistently
The seemingly erratic nature of armor durability repair in Minecraft often puzzles players, leading to frustration when valuable gear doesn’t behave as expected. Far from being a bug, this perceived inconsistency stems from a sophisticated interplay of distinct repair mechanics, each with its own rules, costs, and limitations. Understanding these underlying systems is key to mastering armor longevity and ensuring your most cherished enchanted items remain functional for countless adventures.
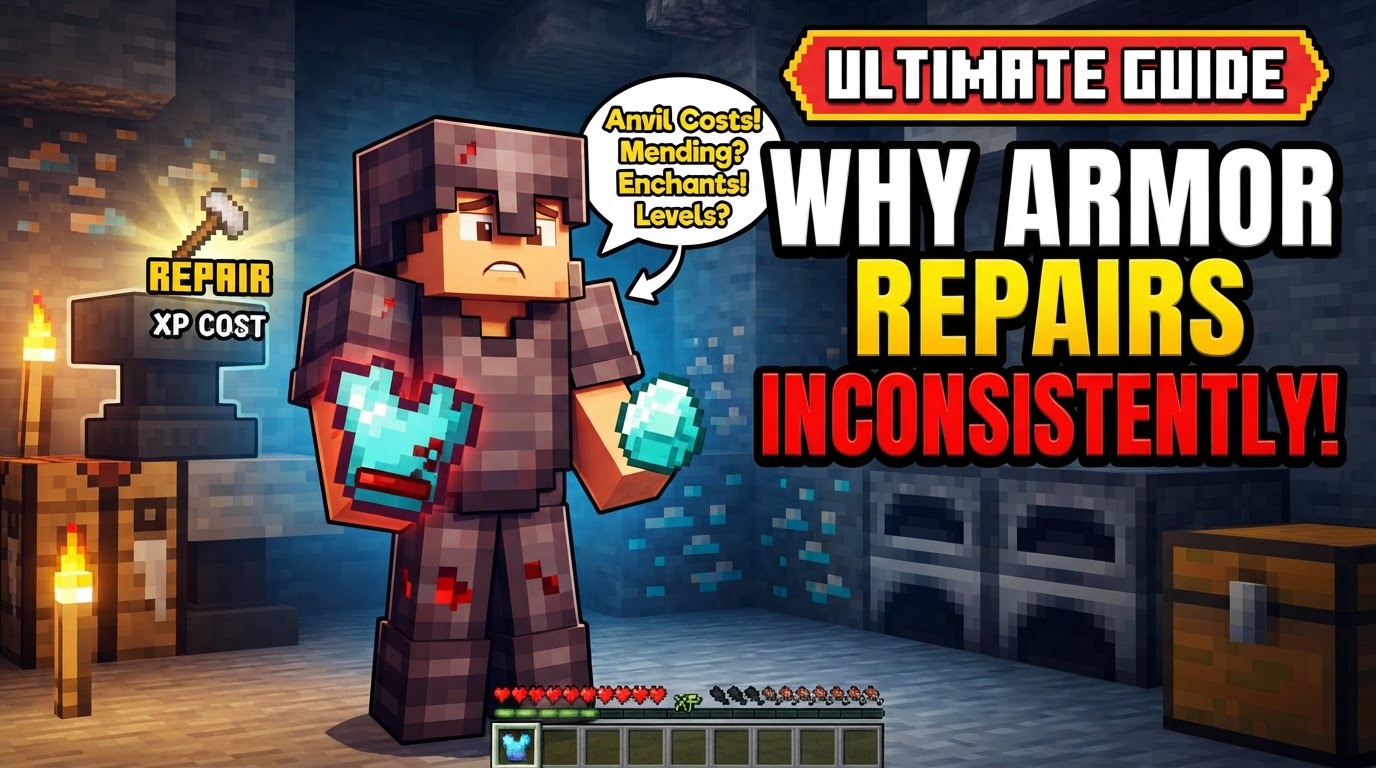
The Foundational Mechanics of Armor Repair
Minecraft provides several methods for restoring your armor’s durability, each suited to different situations and carrying unique implications. Knowing when and how to use each is paramount.
Mending: The Experience-Fueled Lifeline
The Mending enchantment is arguably the most powerful tool in a player’s arsenal for maintaining gear. Classified as a “treasure enchantment,” Mending automatically repairs an item using experience (XP) orbs collected by the player. For every XP point gained, a Mending-enchanted item restores 2 durability points. This makes items virtually indestructible as long as the player continues to accumulate XP.
- How it Works: When you collect an XP orb, the game first checks for any damaged items equipped in your main hand, off-hand, or armor slots that have the Mending enchantment. If such items exist, the XP is prioritized for repairing them before any excess XP is added to your experience bar.
- Acquisition: Mending enchantment books are rare. They are primarily obtained through chest loot (dungeons, strongholds, temples, etc.), fishing, drops from raids, or, most reliably, by trading with Librarian villagers.
Anvil Repair: Precision with a Price
Anvils offer a more controlled method of repair, allowing players to preserve or even combine enchantments. However, this comes at the cost of experience levels and introduces a significant long-term penalty.
- Material Repair: You can place a damaged armor piece in the first slot of an anvil and the corresponding crafting material (e.g., diamonds for diamond armor, iron ingots for iron armor) in the second slot. Each unit of material restores 25% of the item’s maximum durability. This method is straightforward but can be resource-intensive for high-tier items.
- Item Combination: Alternatively, you can combine two identical, damaged armor pieces. The durability of the second item is added to the first, and any enchantments from both items can be combined onto the primary item. This is often used to merge lower-level enchantments into higher-level ones or to consolidate damaged enchanted gear.
- The “Prior Work Penalty”: Every time an item is repaired or modified on an anvil, it incurs a “prior work penalty.” This penalty increases the XP cost of all subsequent anvil operations on that specific item. After approximately six repairs or modifications, the item can become “too expensive” to repair, meaning the XP cost exceeds the maximum experience level a player can spend in a single anvil transaction (typically 39 levels). This is a major source of perceived inconsistency, as an item that was repairable before suddenly isn’t.
Grindstone and Crafting Grid: Simple, But with Sacrifice
These methods are quick and require no XP, but they come with a significant drawback for enchanted gear.
- How they Work: By placing two identical, damaged armor pieces into either a grindstone or a crafting grid, you can combine them into a single, repaired item. The output item’s durability will be the sum of the input items’ remaining durability, plus a small bonus.
- The Cost: The primary downside is that both the grindstone and the crafting grid will completely remove all enchantments present on the input items, with the sole exception of curse enchantments (Curse of Binding, Curse of Vanishing). While the grindstone does grant a small amount of XP for disenchanting, it’s generally not worth losing valuable enchantments. These methods are best reserved for non-enchanted items or when you specifically want to strip enchantments.
Unraveling the Perceived Inconsistencies
The feeling that armor repairs are inconsistent often arises from a misunderstanding of the specific rules governing each repair method and how they interact.
The Elusive XP of Mending
One common source of confusion with Mending occurs when a player has multiple damaged items enchanted with Mending. The game does not repair all items simultaneously or prioritize the most damaged one. Instead, for each collected XP orb, the game randomly selects one damaged Mending item to repair. This means if you have, for instance, a damaged Mending pickaxe, chestplate, and sword, XP might consistently go to the pickaxe even if your chestplate is critically low on durability. This randomness can lead to the perception that Mending isn’t working consistently on a specific item, when in reality, it’s just distributing XP across your available Mending gear.
The Anvil’s “Too Expensive” Trap
The “prior work penalty” associated with anvil repairs is the most frequent cause of perceived inconsistency. Players might repair an item several times with ease, only to find it suddenly becomes “too expensive” to repair further. This isn’t an inconsistency; it’s a built-in mechanic designed to prevent infinite, cheap repair of heavily enchanted items. The cumulative XP cost eventually makes further anvil repairs prohibitive, forcing players to either acquire a new item or rely on Mending.
The Unseen Cost of Convenience: Enchantment Loss
Many players, especially those new to advanced mechanics, mistakenly use grindstones or the crafting grid to repair enchanted items. They see the durability restored but are dismayed to find all their valuable enchantments gone. This isn’t an inconsistent repair; it’s the intended function of these specific repair methods. The game consistently removes enchantments when these tools are used, a fact often overlooked until it’s too late, leading to the perception that the repair process “failed” or was inconsistent.
Durability Bonuses: More Than Just Simple Addition
When combining items on an anvil or grindstone, the resulting item often has slightly more durability than the sum of the two input items’ remaining durability. This is due to a small, built-in durability bonus. While generally beneficial, this bonus can sometimes lead to unexpected total durability values that don’t perfectly align with a player’s mental arithmetic, creating a subtle feeling of inconsistency.
Material Repair Nuances
Not all items can be repaired with their generic crafting material. For example, an Elytra cannot be repaired with leather or any standard material; it requires specific rare items like phantom membranes. This can feel inconsistent if a player expects all items to follow the same repair logic as diamond or iron armor, which use their base ingots/gems. Each unique item has its own repair material requirements.
Mastering Armor Longevity: Strategic Repair Tips
By understanding these mechanics, you can develop effective strategies to keep your armor in top condition.
- Combine Mending with Unbreaking: The Unbreaking enchantment reduces the rate at which an item loses durability. When paired with Mending, this synergy is incredibly powerful. Unbreaking makes each XP orb used by Mending “last” longer, significantly extending the item’s lifespan and reducing the overall XP needed for maintenance.
- Prioritize Mending for Valuable Gear: For any highly enchanted or irreplaceable piece of armor, Mending is the most sustainable long-term repair solution. It completely bypasses the “too expensive” limit of anvil repairs, making your gear virtually immortal.
- Strategic Anvil Use: When combining items on an anvil, the order can sometimes subtly affect the XP cost. If combining two identical, damaged items, experiment by placing each one in the primary slot to see if one combination is more cost-effective. Remember that combining two damaged items can sometimes be more efficient than repairing a single item with raw materials, especially if both items have useful enchantments.
- The Villager Connection: Librarian villagers are your most reliable source for Mending enchantment books. Set up a villager trading hall and reset their trades until Mending appears. This initial investment pays dividends in the long run.
Avoiding Common Pitfalls
Being aware of common mistakes can save you frustration and valuable resources.
- Guard Against Enchantment Loss: Never use a grindstone or crafting grid to repair armor that has valuable enchantments unless your explicit goal is to remove those enchantments. These methods are designed to strip enchantments, not preserve them.
- Understand the Anvil’s Limits: Be mindful of the “too expensive” limit. Once an item approaches this threshold via anvil repairs, transition to Mending as your primary repair method, or be prepared to craft a new item. Don’t expect an item to be infinitely repairable via anvil.
- Managing Mending’s Randomness: If you have multiple Mending items and need a specific one repaired quickly, consider temporarily unequipping other Mending items. This focuses the incoming XP on the single item you want to prioritize.
In conclusion, the perceived inconsistencies in Minecraft’s armor repair system are, in fact, a series of logical and predictable mechanics. By understanding the distinct roles of Mending, Anvils, Grindstones, and the crafting grid, along with their individual rules and limitations like the prior work penalty and enchantment removal, players can confidently manage their gear and ensure their most powerful armor sets endure for countless adventures in the blocky world.
Tags:
YOU MAY ALSO LIKE...