

Earning the “How Did We Get Here?” Advancement
Understanding the “How Did We Get Here?” Advancement
The “How Did We Get Here?” advancement in Minecraft is one of the game’s most challenging and elusive achievements. It demands a deep understanding of game mechanics and meticulous planning. To earn this advancement, a player must simultaneously have every available status effect active on themselves. This means being under the influence of positive, negative, and neutral effects all at once. The exact number of required effects can fluctuate with game updates, typically ranging from 26 to 33 effects, making it a dynamic target. This particular advancement is hidden, meaning it will not appear in your advancement list until you have successfully completed it.
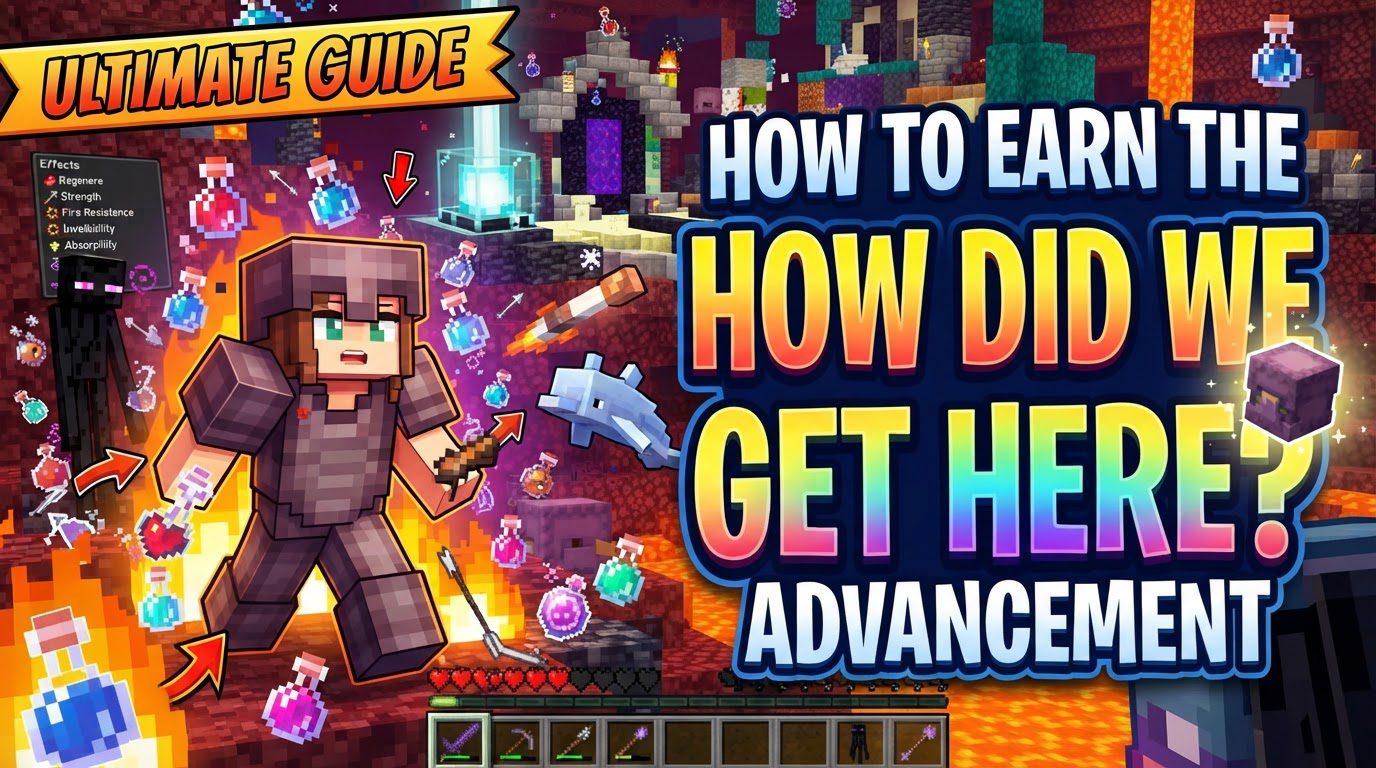
Earning this advancement is not merely about collecting effects; it’s about precise timing, careful setup, and an efficient application strategy. Effects are sourced from a diverse array of origins, including potions, specific food items, interactions with various mobs, the presence of beacons, and activated conduits. Success hinges on a well-orchestrated plan to acquire and maintain all these effects within a fleeting window of opportunity.
Setting Up Your Achievement Hub
Before attempting to gather effects, a robust and dedicated setup area is crucial. This central location will serve as your base of operations for applying all necessary status effects. Careful planning here will save immense time and frustration during the execution phase.
- Beacon Pyramid: Construct a full, properly powered beacon pyramid. This is essential for generating multiple primary status effects. Ensure it’s active and ready to provide effects.
- Conduit Activation: Create an environment suitable for an activated conduit. This requires the conduit to be surrounded by prismarine blocks in water.
- Mob Containment: Designate secure, accessible spots for specific mobs that will be necessary for certain effects. This might involve setting up reinforced enclosures or pits.
- Dispenser Racks: Prepare an array of dispensers, strategically placed and loaded with various splash potions. This will allow for rapid and simultaneous application of multiple potion effects.
- Clear Area: Ensure your entire setup is in a clear, unobstructed space, allowing for easy movement and precise execution without environmental interference.
Acquiring Long-Duration Effects
The strategy for this advancement involves prioritizing effects based on their duration. Begin by obtaining effects that last a long time, as these will be the foundation upon which shorter-duration effects are layered.
- Bad Omen: Obtain this by defeating a Pillager Captain. This effect is crucial as it leads to others.
- Hero of the Village: After acquiring Bad Omen, initiate and successfully complete a raid. This will grant you the Hero of the Village effect.
- Raid Omen: This is a newer effect associated with triggering raids.
- Trial Omen: Acquired from Ominous Bottles, this effect is also a key long-duration component.
Beacon and Conduit Effects
Your prepared beacon and conduit will provide several vital effects. Ensure these are active and within range in your designated area.
- Beacon Effects: A fully powered beacon can provide a selection of primary status effects. For this advancement, ensure you can access Haste, Jump Boost, Regeneration, Speed, and Strength. These effects are passively applied when you are within the beacon’s range.
- Conduit Power: The activated conduit, placed in water, will grant you Conduit Power when you are in its vicinity and submerged.
- Dolphin’s Grace: While near a dolphin in water, you can acquire the Dolphin’s Grace effect. This requires having a dolphin present in your water setup.
Mob-Induced Status Effects
Several critical effects can only be obtained by interacting with specific hostile mobs. This often requires transporting these dangerous creatures to your setup, which can be a complex undertaking.
- Mining Fatigue: This effect is inflicted by an Elder Guardian, typically found within an ocean monument. You will need to either bring an Elder Guardian to your base or briefly visit an ocean monument to acquire this.
- Levitation: A Shulker’s projectiles inflict Levitation. Transporting a Shulker from the End dimension to your overworld setup can be challenging but necessary.
- Darkness: Encountering a Warden or stepping near an active sculk shrieker will apply the Darkness effect. Similar to other mobs, bringing a Warden to your controlled environment is advisable.
- Wither: Simply stepping on a Wither Rose will grant you the Wither effect. Ensure you have one placed strategically for easy activation.
Potion Application Strategy
Potions are a cornerstone of this advancement, providing a wide array of effects. The key is to apply them rapidly and, ideally, simultaneously. Splash potions are paramount for this stage.
- Prepare Splash Potions: Craft or brew various splash potions. Essential effects include Fire Resistance, Invisibility, Night Vision, Water Breathing, Slow Falling, Slowness, Strength (if not covered by beacon), Weakness, Poison, and Regeneration (if not covered by beacon).
- Utilize Dispensers: Load your prepared splash potions into dispensers arranged around your player position. Activating multiple dispensers with a single button or lever press allows for near-instantaneous application of many effects at once, minimizing the chance of effects expiring before all are applied.
- Manual Application: For any remaining potion effects not suited for dispensers, be prepared to quickly throw splash potions manually.
Food and Item-Induced Effects
A few unique effects are acquired through the consumption of specific food items or interaction with special projectiles.
- Absorption: Consume a Golden Apple to gain the Absorption effect.
- Hunger and Nausea: Eating a Pufferfish will inflict both Hunger and Nausea. Be mindful of the Nausea effect’s disorientation.
- Blindness: Craft and consume Suspicious Stew made with an Azure Bluet flower to acquire Blindness.
- Glowing: Being hit by a Spectral Arrow will apply the Glowing effect. You may need a dispenser or a friendly mob to shoot you with one.
Execution: The Moment of Truth
With all preparations complete, the execution phase requires precision and timing. The goal is to have every single required effect active on you at the exact same moment.
- Prioritize Shorter Durations Last: Begin by securing all long-duration effects (Bad Omen, Hero of the Village, Raid Omen, Trial Omen).
- Activate Passives: Position yourself to receive beacon effects (Haste, Jump Boost, Regeneration, Speed, Strength), conduit power, and Dolphin’s Grace.
- Trigger Mob Effects: Engage with the necessary mobs to gain Mining Fatigue, Levitation, Darkness, and Wither.
- Rapid Potion Application: This is the most critical step for simultaneous application. Trigger your dispenser setup to apply all splash potion effects at once. Immediately follow up with any manually applied potions.
- Consume Food Items: Quickly eat the Golden Apple, Pufferfish, and Suspicious Stew.
- Spectral Arrow Hit: Ensure you are hit by a Spectral Arrow to gain Glowing.
- Timing is Everything: The window for all effects to be active concurrently is often very brief, especially for the shortest-duration potion effects. Practice and quick reflexes are key.
Important Tips for Success
- Meticulous Planning: Dedicate significant time to planning your setup, item gathering, and the order of effect application. A well-thought-out plan is half the battle.
- Longer Durations First: Always prioritize obtaining effects with longer durations at the beginning of your attempt. This provides a stable base for the more fleeting effects.
- Splash Potions and Dispensers: These are indispensable tools. Splash potions allow for immediate effect application, and dispensers enable multiple effects to be applied simultaneously, drastically improving your chances.
- Milk Bucket Readiness: Keep a bucket of milk readily accessible. Once the advancement pops up, you can drink the milk to clear all status effects, which is useful if some negative effects are hindering your vision or movement.
- Mob Transportation: Transporting mobs like Shulkers or Wardens to your central setup is often necessary but can be incredibly complex and dangerous. Plan routes and containment carefully.
- Stay Updated: Minecraft updates can introduce new status effects. Always check the current list of required effects to ensure your plan is up-to-date.
Common Mistakes to Avoid
- Incomplete Effect List: One of the most common pitfalls is simply not having all required effects active at the exact same moment. Double-check your list against current game requirements.
- Poor Duration Management: Failing to manage effect durations effectively will lead to some effects expiring before others are even applied. This is why a tiered approach (long-duration first) is vital.
- Underestimating Preparation Time: Gathering all necessary items, brewing potions, setting up structures, and transporting mobs can take many hours. Do not rush the preparation phase.
- Ignoring New Effects: Game updates frequently add new status effects. Forgetting to account for these newly added effects can lead to failed attempts.
- Premature Nausea: Consuming nausea-inducing items like Pufferfish too early can severely hinder your movement, aiming, and overall coordination, making it difficult to apply subsequent effects. Save these for the very end.
- Manual Potion Application Only: Relying solely on manually throwing splash potions is highly inefficient and makes achieving simultaneous effects extremely difficult due to the slight delay between throws. Always use dispensers for bulk application.

