Exporting a Cinematic Video From Replay Mod (Step by Step)
The Replay Mod for Minecraft offers an unparalleled way to capture and showcase your in-game adventures, transforming raw gameplay into stunning cinematic videos. Far beyond simple screen recording, this powerful tool allows you to revisit your Minecraft sessions from any perspective, manipulate time, and craft intricate camera paths to tell your story. Mastering Replay Mod involves understanding its core mechanics and following a structured process, ensuring that your final video is polished and professional.
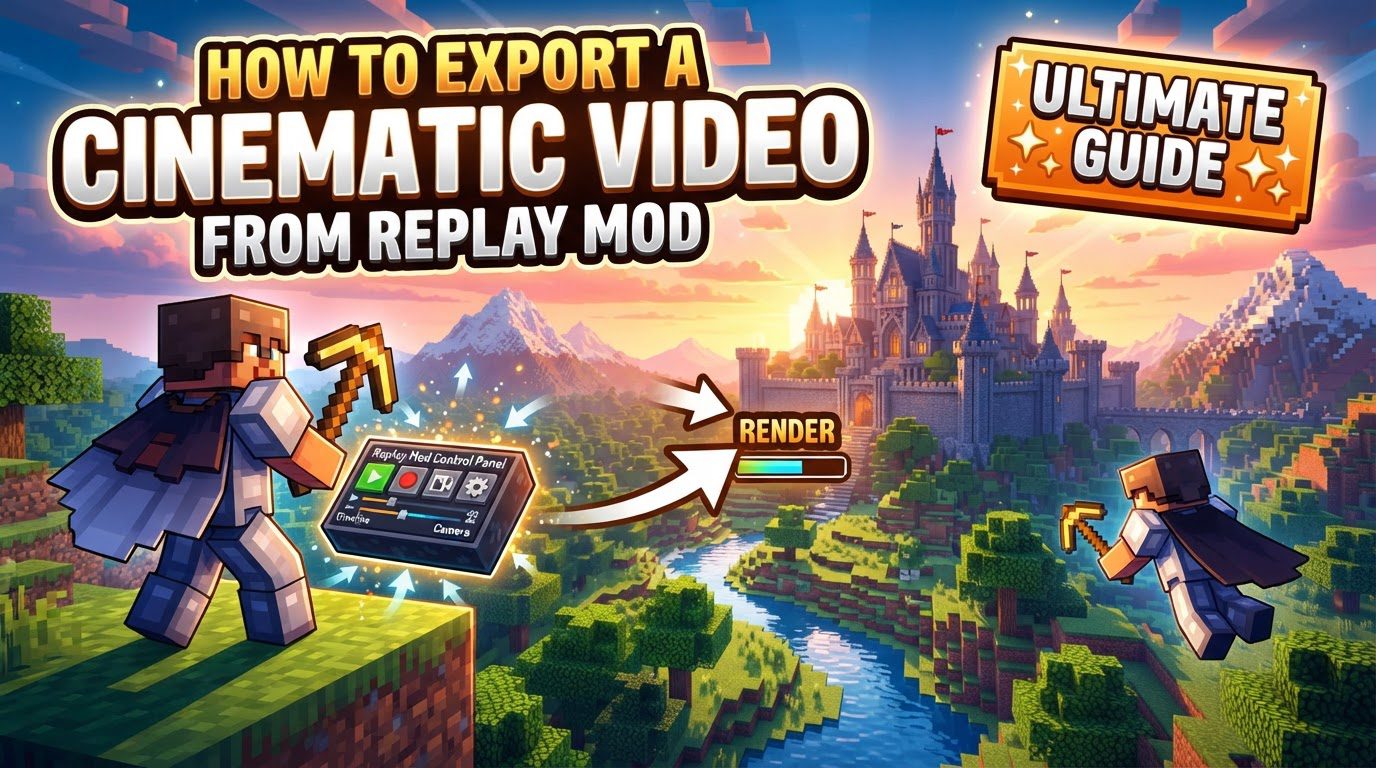
At its heart, Replay Mod functions by recording your Minecraft gameplay sessions. These recordings are not video files themselves, but rather data logs that can be replayed within the game. This unique approach means you can replay the action from any angle, control the speed with slow motion or fast forward effects, and even fly through the scene with a free camera. The magic of cinematic creation comes from defining precise camera movements using a system of keyframes, which dictate the camera’s position and orientation over time. It’s crucial to note that while Replay Mod excels at visual capture, it does not record or render audio; sound must be captured separately using external tools like OBS and then synchronized in a video editing suite. Furthermore, Replay Mod relies on an external program called FFmpeg, which is a mandatory dependency for rendering your replays into actual video files. To get started, you’ll need to have a mod loader like Fabric (or Forge for older Minecraft versions) installed in your Minecraft client.
Installation and Setup
Before diving into cinematic creation, proper installation and configuration are paramount.
- Installation: Begin by installing the necessary components. This typically involves downloading the Fabric Loader, Replay Mod, and Fabric API. Once downloaded, place these
.jarfiles directly into your Minecraft’s/modsfolder. Ensure that the versions of these mods are compatible with your Minecraft client version. - FFmpeg Setup: As Replay Mod cannot render videos without it, you must download and install FFmpeg. After installation, it’s critical to ensure its executable files are correctly placed and, most importantly, that the path to FFmpeg is configured within Replay Mod’s settings. This step is often overlooked but is absolutely essential for successful video rendering.
Recording Your Gameplay
With the mod installed and FFmpeg configured, you’re ready to capture your moments.
- Record Gameplay: Within your Minecraft world, you can initiate recording. Replay Mod often allows for automatic recording upon joining a server or world, or you can manually start and stop recording using a designated keybind. Perform the actions, build your creations, or engage in the battles you wish to immortalize. Once your desired segment is complete, stop the recording.
Crafting Your Cinematic Path
This is where the artistry of Replay Mod truly shines, allowing you to design dynamic camera movements.
- Load Replay: From the Minecraft main menu, access the “Replay Viewer.” Here, you’ll find a list of your saved recordings. Select the recording you wish to work with and load it.
- Create Camera Path:
- Navigate to the exact starting point in your replay where you want your cinematic sequence to begin. Position the camera precisely as you envision the opening shot. At this point, set both a “position keyframe” and a “time keyframe.” The position keyframe marks the camera’s location and orientation, while the time keyframe links it to a specific moment in the replay.
- As the replay progresses, move your camera to subsequent desired locations and moments. For each new vantage point and time, add new position and time keyframes. These keyframes will define the camera’s journey through your recorded gameplay.
- To achieve smooth and professional transitions between your keyframes, take the time to adjust speed curves and path smoothing. These settings allow you to control how quickly the camera moves and whether its path is a sharp angle or a gentle curve.
Configuring and Rendering Your Video
Once your camera path is perfected, it’s time to turn it into a video file.
- Configure Render Settings: Locate and click the “Render Camera Path” button within the Replay Viewer interface. A settings window will appear, offering various options:
- Video Format: Choose your preferred video format, such as MP4, which is widely compatible.
- Resolution: Select your desired output resolution. For cinematic quality, 1920×1080 (Full HD) or even 4K is recommended.
- Bitrate: This setting directly impacts video quality and file size. Opt for a higher bitrate for better visual fidelity, especially for detailed Minecraft scenes.
- Framerate: Decide on your video’s framerate. 30 frames per second (FPS) is standard, but 60 FPS will result in much smoother motion, ideal for cinematic sequences.
- Output File and Destination: Specify a name for your video file and choose the folder where it will be saved.
- Optional Settings: You might want to disable player nicknames or other name tags to maintain a clean, cinematic look. Consider adjusting anti-aliasing settings, which can help to smooth out jagged edges in the final video.
- Render Video: After configuring all settings to your satisfaction, initiate the rendering process by clicking the “Render” button. This process can take some time, depending on the length of your replay, your chosen resolution, and your computer’s processing power.
- Access Video: Once rendering is complete, your finished video will be saved in the designated output folder, typically found within your Minecraft directory (e.g.,
.minecraft/replay_videos).
Important Tips for Enhanced Cinematics
To elevate your Replay Mod videos, consider these expert recommendations:
- FFmpeg Verification: Always double-check that FFmpeg is correctly installed and its path is accurately set in Replay Mod’s settings. This is the most common reason for rendering failures.
- Preview Before Rendering: Utilize the “Play camera path from cursor position” or “show preview” function. This allows you to review your cinematic sequence in real-time before committing to a full render, saving significant time if adjustments are needed.
- Leverage Shaders: Replay Mod renders frame-by-frame, meaning that using shaders will not negatively impact your recording performance. Instead, they will dramatically enhance the visual quality of your final video, adding depth and atmosphere.
- Dynamic Camera Movements: Experiment with various camera techniques. Incorporate elevation changes, track specific players or entities, and use camera tilting (often controlled by default keys J and L) to create more engaging and dynamic shots.
- High-Quality Render Settings: For professional-looking cinematics, aim for higher bitrates, 1080p or 4K resolution, and 60 frames per second during rendering. These settings will produce a crisp, smooth, and visually appealing video.
- Separate Audio Recording: Since Replay Mod does not handle audio, record your game audio separately using an external program like OBS. Afterwards, synchronize this audio with your rendered video in a post-production editor for a complete experience.
- Allocate More RAM: Increase Minecraft’s allocated RAM to approximately half of your system’s total RAM. This can lead to smoother operation and better performance when working with Replay Mod, especially during rendering.
Common Mistakes to Avoid
Be aware of these pitfalls to ensure a smooth and successful rendering process:
- Not Installing FFmpeg: This is a frequent and critical error that will prevent any video rendering. Ensure FFmpeg is installed and correctly configured.
- Insufficient Keyframes: A renderable cinematic sequence requires a minimum of two position keyframes and two time keyframes to define a path. Anything less will result in an error.
- Incorrect Keyframe Order: Placing keyframes out of chronological sequence can lead to unexpected camera movements, jumps, or rendering errors. Always ensure your keyframes progress logically through time.
- Skipping Preview: Neglecting to preview your camera path before initiating a full render is a common mistake. This can lead to wasted rendering time if the path isn’t as intended, requiring you to re-render.
- Low-Quality Render Settings: Relying on default or low-resolution/bitrate settings will not produce a cinematic quality video. Always adjust these settings for optimal visual results.
- Expecting In-Mod Audio: It’s a mistake to anticipate audio in the final Replay Mod export. Remember that audio requires external recording and subsequent editing to sync with your video.
- Camera Clipping: Ensure that your camera paths do not pass through solid blocks or terrain. This can cause unsightly visual glitches. Adjust keyframes as needed to keep the camera in open space.
- Poor Upload Quality: If your video quality appears low after uploading to platforms like YouTube, the issue might not be Replay Mod. It could be due to the platform’s processing or your video editor’s export settings. Always ensure high-quality output from your editor and allow sufficient processing time on the platform for optimal playback.
By diligently following these steps and heeding the advice, you will be well-equipped to export professional-grade cinematic videos from Replay Mod, transforming your Minecraft experiences into compelling visual stories.
Tags:
YOU MAY ALSO LIKE...