

Layering Banner Patterns Using a Loom
Banners in Minecraft offer a powerful way to personalize your world, from marking territory to adding decorative flair. The loom is an essential tool for customizing these banners, simplifying the process of applying intricate designs. Understanding how to layer patterns effectively is key to creating unique and striking banners. This guide will walk you through the process, from obtaining the necessary materials to mastering advanced layering techniques and avoiding common pitfalls.
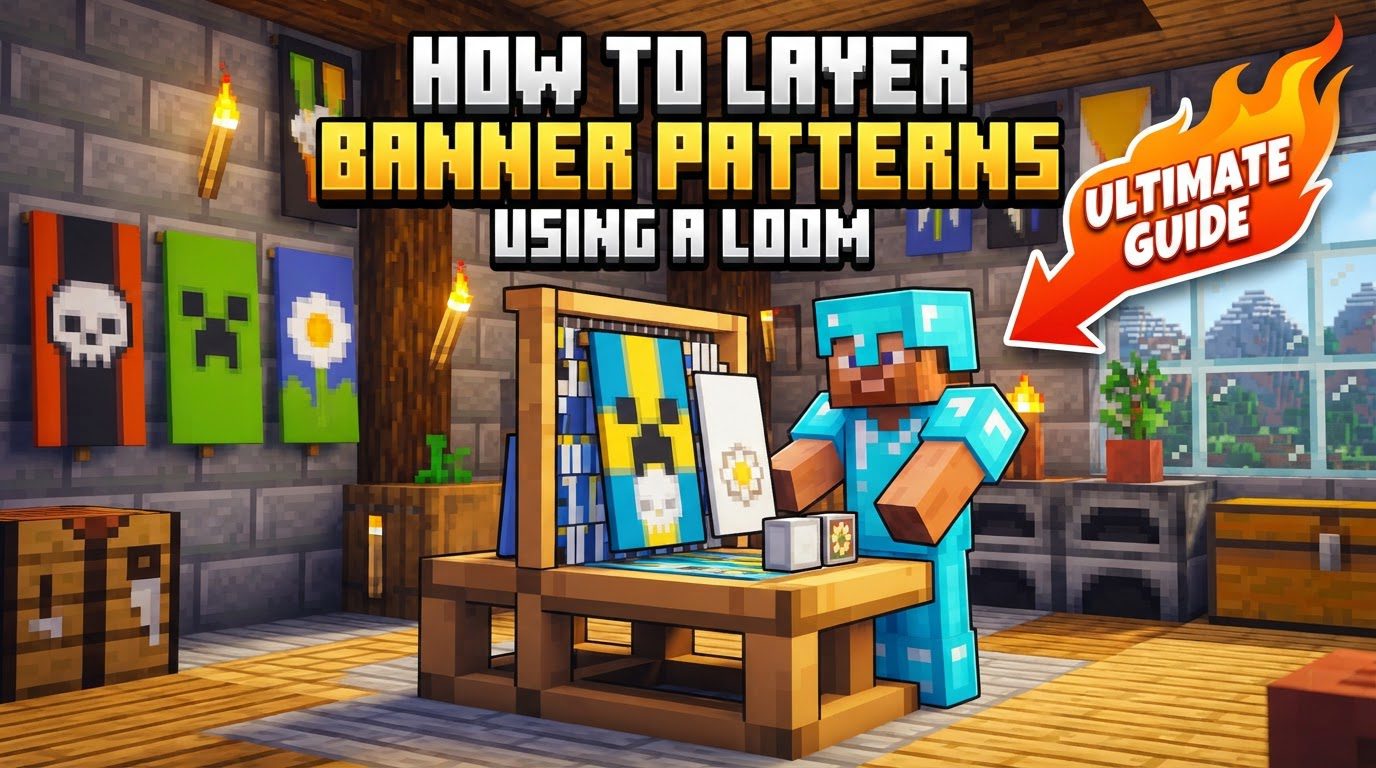
Understanding Banner Customization with the Loom
The loom is the primary tool for customizing banners, significantly streamlining the pattern application process compared to older crafting table methods. This dedicated block allows players to apply various designs with ease and precision. A fundamental aspect of banner customization is the layering system:
- Banners can hold a maximum of six pattern layers in survival mode.
- Each new layer is placed on top of the previous ones, meaning the order of application is crucial for the final design.
- The base color of the banner acts as the first layer. This initial color is permanent and cannot be changed once the banner is created.
- Dye is consumed each time a pattern is applied to a banner. However, special banner pattern items, such as a Creeper Head for a Creeper Charge pattern or an Enchanted Golden Apple for a Thing pattern, are reusable and are not consumed during the process.
- Should you make a mistake or wish to alter a design, patterns can be undone. Using a cauldron filled with water will remove the topmost pattern layer from a banner, allowing for corrections.
- Once you’ve created a patterned banner, you can easily duplicate it. By placing a patterned banner alongside a blank banner of the same base color in a crafting grid, you can create a copy.
Step-by-Step Guide to Layering Banner Patterns
Creating a layered banner involves a straightforward sequence of actions:
- Obtain a Loom: Your journey begins with acquiring a loom. You can craft one using two strings and two wooden planks of any type. Alternatively, looms can often be found in shepherd’s houses within villages, offering a convenient way to acquire one early in your game.
- Create a Base Banner: Before applying any patterns, you need a base banner. Craft this in a crafting table by placing six wool blocks of the same color in the top two rows and one stick in the center bottom slot. The color of the wool you choose will determine the base color of your banner, which, as mentioned, cannot be changed later.
- Gather Dyes: Collect the various dyes corresponding to the colors you intend to use for your patterns. Dyes are obtained from various sources, such as flowers, specific mobs, or crafting.
- Open the Loom: Once you have your loom, right-click it to access its interface. The interface features several slots: one for the banner, one for dye, and an optional slot for a banner pattern item. It also includes a preview area where you can see your design as you build it, and a selection of available patterns.
- Apply First Pattern: Place your newly crafted base banner into the banner slot of the loom. Next, place a dye of your chosen color into the dye slot. From the available options, select the pattern you wish to apply. If you are using a special pattern that requires an item (e.g., a Creeper Head for the Creeper Charge pattern), place that item into the pattern item slot. Observe the preview to ensure it’s the desired design.
- Retrieve Banner: After confirming your first pattern, take the newly patterned banner from the output slot of the loom. It is crucial to retrieve it before attempting to apply another layer.
- Layer Additional Patterns: To add more layers, place your now-patterned banner back into the loom’s banner slot. Add a different dye (and/or a new pattern item if required) and select another pattern. Repeat this process up to the maximum of six layers to build complex and unique designs. Remember that each new pattern will overlay the ones beneath it.
Important Tips for Effective Banner Design
To maximize your banner design potential and avoid frustration, consider these essential tips:
- Plan Ahead: Visualize or sketch out your banner layers before you begin. Since patterns applied later will always overlay earlier ones, the order of application is paramount to achieving your desired aesthetic. A well-thought-out plan can save time and resources.
- Contrast is Key: For your patterns to truly stand out and be discernible, use contrasting dye colors against the existing banner design. A lack of contrast can make intricate patterns blend together and become indistinguishable.
- Utilize “Cut Out” Method: For more intricate or refined shapes, leverage the “cut out” method. This involves using later layers in the same color as the banner’s base. By strategically applying patterns in the base color, you can effectively trim or refine the edges of previously placed patterns, creating negative space or sharper lines.
- Online Editors: Before committing precious in-game resources, consider experimenting with third-party online banner editors. These tools allow you to design and visualize complex layered banners without consuming any dyes or banner items in Minecraft.
- Versatile Uses: Remember the many applications of banners. They can be used for practical purposes like territorial marking or creating map markers, purely for decoration in your builds, or even to customize shields in Java Edition, adding a personal touch to your combat gear.
Common Mistakes to Avoid
While banner customization is generally straightforward, certain errors can hinder your progress. Be mindful of these common mistakes:
- Missing Ingredients: Always double-check that you have all the necessary components: a base banner, the correct dye colors, and any specific banner pattern items (like a Creeper Head) before attempting to apply a pattern. Running out mid-design can be frustrating.
- Incorrect Layering Order: A frequent oversight is forgetting that new patterns are always placed on top of existing ones. This can lead to earlier, carefully placed designs being obscured or completely covered if not planned with foresight.
- Exceeding Layer Limit: In survival mode, banners are limited to six pattern layers. Attempting to add more than this will not be permitted by the loom, so keep this limit in mind during your design process.
- Not Collecting Output: After applying a pattern, it’s easy to forget to retrieve the customized banner from the loom’s output slot. Always ensure you take your banner before closing the interface or attempting another action.
- Placing and Picking Up Banners: Be cautious when repeatedly placing and picking up banners that have patterns. This action can inadvertently change their NBT (Named Binary Tag) tags, which might prevent them from stacking with other visually identical banners.
- Confusing Pattern Items: Understand the distinction between patterns that are default options in the loom interface and those that require a specific item in the pattern slot (e.g., a Creeper Head, Skull, Flower, or Mojang logo banner pattern item). Confusing these methods can lead to wasted dye or unsuccessful attempts.
By following this comprehensive guide, you’ll be well-equipped to design and layer intricate banner patterns using the loom, adding a unique touch to your Minecraft adventures.

