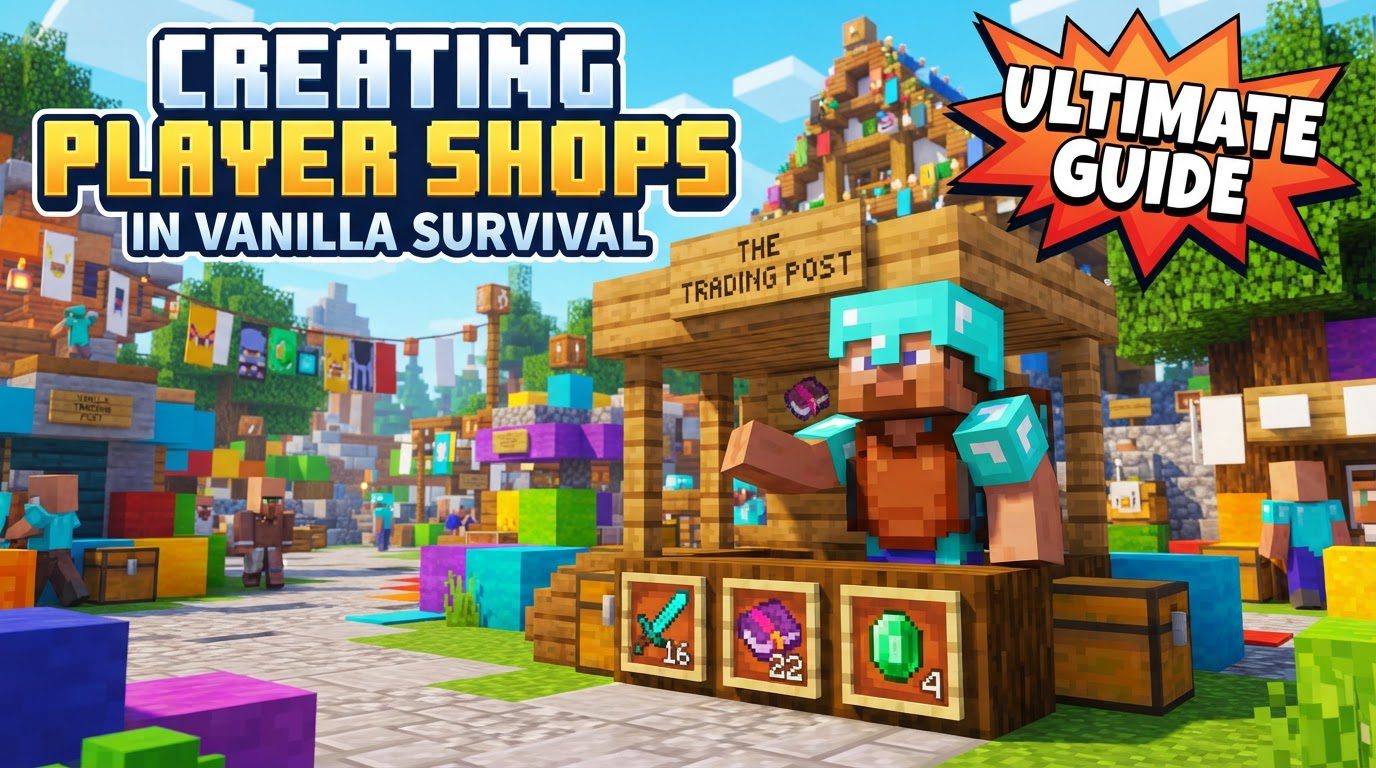
Creating Player Shops in Vanilla Survival
A common misconception among new Minecraft players is that a dedicated “shop block” exists for automated trading in vanilla survival. The reality is far more ingenious and deeply integrated into core game mechanics. Creating a robust and efficient player shop in Minecraft’s vanilla environment primarily involves mastering the art of villager trading. While direct player-to-player commerce relies on an honor system, the true bedrock of an in-game economy for item acquisition and exchange lies with the intelligent, emerald-loving inhabitants of the villages.
The Heart of Commerce: Villager Trading Dynamics
In vanilla Minecraft, your primary “shop” is a meticulously crafted villager trading hall. These passive mobs offer a dynamic marketplace where emeralds serve as the universal currency, and specific items can be bought or sold. Understanding their behavior and needs is paramount to building a thriving trade empire.
- Villager Professions & Workstations: Each villager profession is intrinsically linked to a specific workstation block. For instance, a Librarian requires a Lectern, an Armorer needs a Blast Furnace, and a Butcher uses a Smoker. Placing these blocks near an unemployed villager assigns them a profession, unlocking their unique set of trades. Breaking and replacing these blocks allows you to cycle through a villager’s potential trade offers until you find the exact item or exchange you desire.
- Emeralds: The Universal Currency: Emeralds are the lifeblood of the villager economy. You’ll either be selling goods to villagers for emeralds or spending emeralds to acquire their wares. This makes farming resources that villagers want (like paper for Librarians, or crops for Farmers) crucial for generating wealth.
- Job Sites and Beds: For villagers to function optimally and refresh their trades throughout the day, they require both their specific job site block and access to a bed. These elements allow them to “work” and rest, ensuring their trades are available.
- Strategic Zombification and Curing: One of the most powerful mechanics for optimizing your shops is the zombification and subsequent curing of villagers. If a villager is attacked and turned into a zombie villager, curing them with a Potion of Weakness and a Golden Apple provides significant, permanent discounts on all their trades. This technique is indispensable for establishing highly cost-effective shops.
- Storage and Display: Even in a villager-based system, proper organization is key. Chests are essential for storing all the items you’ll trade with villagers and the valuable goods you acquire from them. For visual clarity, item frames and signs can be used to label specific villager cells or display what’s being offered, making your trading hall intuitive to navigate.
- Redstone Integration (Advanced): For those seeking maximum efficiency and automation, redstone can be incorporated into trading hall designs. This allows for automated systems like moving villagers, controlling access to trade stations, or even setting up complex sorting systems for your goods.
Constructing Your Trading Hall: A Step-by-Step Blueprint
Building an effective villager trading hall is a multi-stage process that combines careful planning with practical execution.
- Establish a Villager Breeding Farm: Your first step is to ensure a sustainable supply of villagers. Construct a villager breeder, typically requiring at least two initial villagers, three beds, and a steady food source like potatoes or carrots. This farm will continuously produce new villagers for your shops.
- Design Your Trading Hall Structure: Before populating, build the physical structure of your trading hall. This can range from simple, compact individual cells to expansive, multi-story complexes. The critical design element is ensuring each cell is escape-proof and provides enough space for the villager and their workstation.
- Transport Villagers Efficiently: Once new villagers are bred, you’ll need to transport them from your farm to their designated cells. Minecarts, boats, and even water streams are common methods for safely moving villagers across distances.
- Assign Professions to Each Villager: Inside each cell, place the appropriate workstation block to assign the villager a profession. For example, if you want a Librarian, place a Lectern. The villager will typically link to the nearest available workstation.
- Cycle and Lock Desired Trades: This is where patience pays off. Break and replace the workstation block repeatedly. Each time, the villager may offer a different set of trades. Continue this process until they offer the specific trades you want (e.g., Mending books from a Librarian). Once you complete a trade with a villager, that specific trade will “lock” into place, preventing it from changing further.
- Apply Trade Discounts through Curing (Optional but Recommended): For the best prices, intentionally expose a villager to a zombie to zombify them. Then, swiftly cure them using a Potion of Weakness (applied with a splash potion or dispenser) and a Golden Apple. The resulting trade discounts are substantial and permanent, making this an invaluable step for any serious trader.
Optimizing Your Villager Shops for Maximum Gain
Beyond the basic setup, several strategies can enhance the efficiency and security of your trading operations.
- Expandable Design: Plan your trading hall with future growth in mind. An expandable design allows you to easily add more villager cells and introduce new trade options as your needs evolve.
- Ample Light Sources: Villagers are vulnerable to hostile mobs. Ensure your entire trading hall is brightly lit to prevent mob spawns, protecting your valuable traders from harm.
- Villager Pathfinding Tricks: Utilize trapdoors or other blocks to trick villagers’ AI. You can create compact designs where villagers perceive a path to their workstation or bed, but cannot actually escape their enclosure.
- Prioritize High-Value Villagers: Focus on professions that offer the most utility or easiest emerald generation. Librarians are highly sought after for enchanted books (especially Mending), while Armorers, Toolsmiths, and Weaponsmiths provide high-tier diamond gear. Farmers and Fletchers are excellent for converting common farm produce into emeralds.
- Secure Containment: Villagers have a tendency to wander. Use sturdy, escape-proof cells. Blocks that they cannot open, such as solid blocks, fences with carpets on top, or trapdoors, are ideal for containment.
The Honor System: Player-to-Player Trading
While villagers handle automated commerce, player-to-player trading in vanilla Minecraft is a different beast entirely. Without server plugins or modifications, there are no built-in mechanics for secure, automated transactions between players. Instead, it relies entirely on mutual trust and clear communication.
To facilitate player-to-player trades:
- Designated Trading Areas: Create a specific, safe area where players can meet to trade.
- Chests for Goods: Items are typically placed in chests. One player puts their item in, the other puts their payment in, and they trust each other to take only what’s theirs.
- Signs for Pricing: Clearly label chests with signs indicating the item for sale and its price.
- Reliance on Trust: This system is entirely an honor system. There’s no in-game mechanism to enforce payments or prevent theft. It thrives in communities with established rules and trusted members.
Avoiding Common Pitfalls in Your Vanilla Shops
Even the most experienced Minecraft player can fall victim to common mistakes when setting up their trading infrastructure.
- Escaping Villagers: A frequent issue is inadequate villager containment. Ensure cells are fully secure; a single open block or poorly placed door can lead to your valuable traders wandering off or being killed by mobs.
- Incorrect Workstation Linking: Villagers can sometimes link to workstations that are not intended for them, especially if multiple are within range. Strategically place workstations and use solid blocks to break line of sight, ensuring each villager links to their designated job block.
- Hostile Mob Spawns: Insufficient lighting in your trading hall creates dark spots where hostile mobs can spawn. These mobs will attack and kill your villagers, undoing all your hard work. Torch spam or glowstone is your friend.
- Overlooking Trade Discounts: Skipping the zombification and curing process means you’re paying significantly more for items and earning less for your sales. This is a crucial step for efficient trading.
- Lack of Planning: Rushing into building a trading hall without considering layout, expansion, or villager flow can result in a chaotic, inefficient, and difficult-to-manage setup in the long run. Plan your design carefully from the outset.
Mastering villager trading transforms your vanilla survival experience, turning resources into emeralds and emeralds into powerful enchantments and gear. While player-to-player commerce remains a social contract, the villager shop offers a reliable and deeply rewarding economic backbone to any Minecraft world.
Tags:
YOU MAY ALSO LIKE...