Minecraft Farm 4×4
Many aspiring Minecraft farmers mistakenly believe a small farm means simple hydration. In reality, understanding how water truly functions can drastically improve even the most compact agricultural setups, making a 4×4 farm far more efficient than it might initially appear.
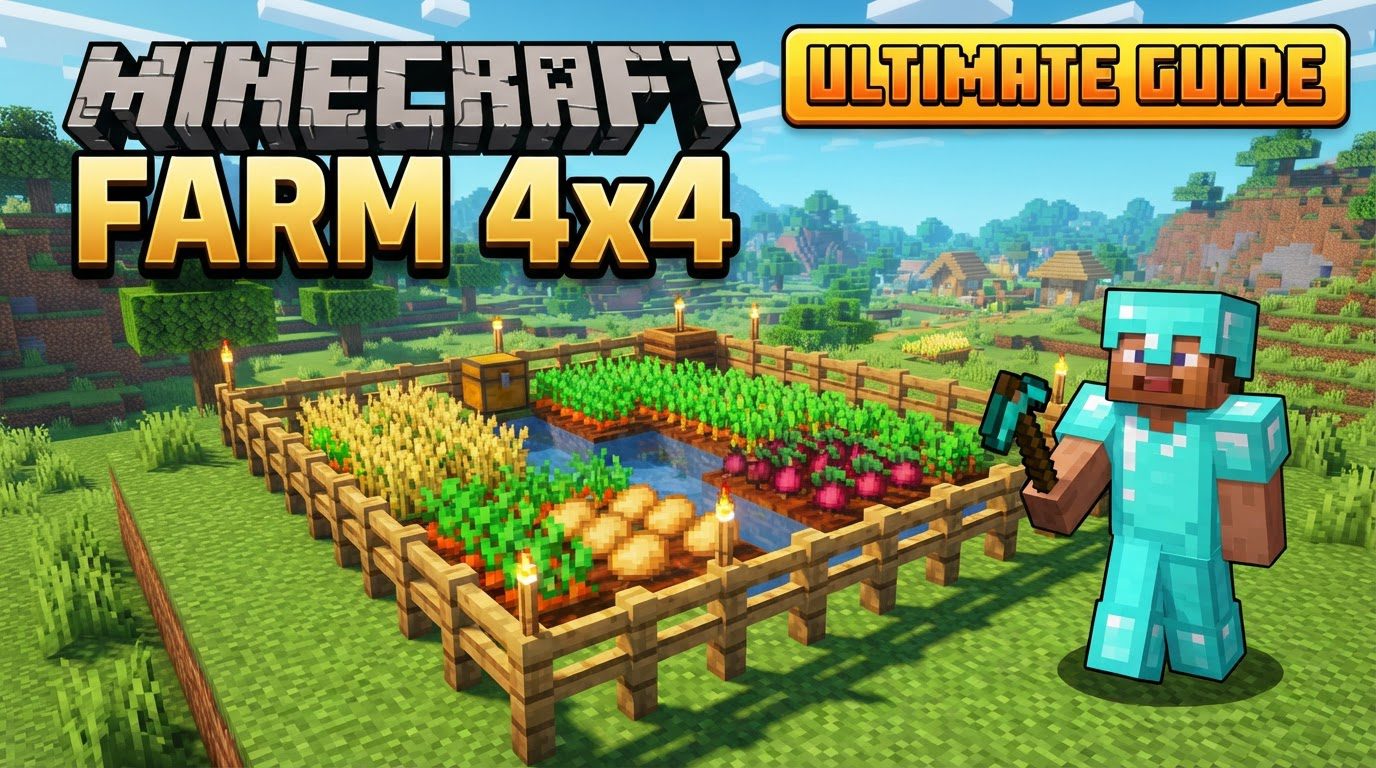
The Essence of a 4×4 Minecraft Farm
At its core, a 4×4 farm in Minecraft refers to a patch of 16 tilled farmland blocks specifically dedicated to growing crops. While seemingly small, this compact design is incredibly versatile and can be highly efficient, especially when automated. It serves as an excellent foundational farm for early-game resource gathering or as a modular unit in larger agricultural complexes. Primarily, this guide focuses on crop farms, which benefit most from this specific dimension due to Minecraft’s inherent hydration mechanics.
Fundamental Principles of Crop Cultivation
Understanding the core mechanics behind crop growth is paramount to designing an effective 4×4 farm. Ignoring these can lead to slow growth, wasted effort, and ultimately, an unproductive plot.
- Hydration is Key: Farmland requires water to remain moist and allow crops to grow. Crucially, a single water source block can hydrate an astonishing 9×9 square of farmland around it, including itself. This means your 4×4 plot can be fully hydrated by placing a single water source block either centrally within a larger 9×9 area that encompasses your 4×4, or immediately adjacent to the 4×4 plot itself. Proper water placement prevents farmland from drying out, which would otherwise halt crop growth.
- The Role of Light: Crops need a certain light level to grow. While natural sunlight provides this during the day, enclosed or underground farms, or even surface farms during the night, require artificial light sources. Torches, glowstone, sea lanterns, or shroomlights can provide the necessary illumination, ensuring crops grow continuously, day and night. Without adequate light, crops will either grow extremely slowly or not at all.
- Automated Farming with Villagers: One of the most powerful tools for automating a 4×4 farm is the villager farmer. These diligent NPCs can be employed to automatically harvest mature crops and replant new seeds, turning your small plot into a self-sustaining food or resource generator. Their AI allows them to identify ripe crops, break them, and then plant any compatible seeds they possess.
- Efficient Item Collection: Once crops are harvested, whether by a player or a villager, they become dropped items. To prevent these items from despawning (disappearing after 5 minutes) or being scattered, a robust collection system is essential. Hoppers, placed directly beneath the farmland, or minecart hoppers running on rails underneath, are the primary methods for gathering these items and funneling them into chests for storage.
Constructing Your Basic Automated 4×4 Crop Farm
Building an efficient, automated 4×4 farm is a straightforward process when approached systematically. Follow these steps to establish a productive agricultural unit:
- Site Preparation: Begin by clearing a 4×4 block area of dirt or grass for your farm. For optimal water efficiency, consider clearing a 9×9 area, even if you only plan to till the central 4×4 initially. This larger space provides flexibility for water placement.
- Strategic Water Placement: Dig a single-block hole. For a 4×4 farm, you can place the water source block adjacent to any side of your 4×4 plot, or if you’ve cleared a larger area, place it centrally within a 9×9 grid to hydrate all surrounding blocks. Ensure the water source is placed before tilling to prevent accidental tilling of the water block.
- Tilling the Soil: Equip a hoe and right-click on the 16 dirt blocks within your 4×4 area to convert them into farmland. This tilled earth is where your crops will grow.
- Planting Your Yield: Plant your desired seeds or crops on the tilled farmland. Common choices include wheat, carrots, potatoes, or beetroot. Each plot will hold one seed.
- Illuminating Growth: Place light sources around or above your 4×4 farm. Torches placed on the ground around the perimeter, or glowstone/sea lanterns embedded in the ceiling above (if underground), will ensure a consistent light level, promoting continuous growth.
- Villager Automation Integration: This step elevates your farm from manual to automatic.
- Enclosure and Access: Build walls or fences around your 4×4 farm to contain your farmer villager and prevent mobs from entering. Ensure there’s a way for you to access the collection system.
- Farmer Profession Assignment: Place a composter block within the enclosed farm area. A jobless villager will claim this composter as their workstation and become a farmer. If you already have a villager, lead them into the enclosure.
- Initial Seeding: Give your farmer villager some seeds or crops (e.g., 8-16 wheat seeds for a wheat farm). They will pick these up and begin planting them on available farmland.
- Item Collection System: This is critical. Dig out the blocks directly underneath your 4×4 farmland. Place hoppers beneath each farmland block, all leading into a main hopper chain that feeds into a chest. Alternatively, create a rail system underneath with a minecart with a hopper running back and forth to collect items. For advanced collection, place another villager (without a workstation) in an adjacent, accessible space near the farmer. When the farmer’s inventory is full, they will attempt to throw excess crops to the other villager, which can then fall into hoppers placed strategically below the throwing point.
Maximizing Efficiency: Expert Tips for Your 4×4 Farm
- Water Placement Mastery: Always utilize the 9×9 hydration radius. Even for a 4×4, placing the water source optimally (e.g., in the center of a potential 9×9 grid or adjacent to the 4×4) ensures all farmland remains hydrated without needing multiple water sources.
- Embrace Villager Power: Villagers are the heart of automation. A well-set-up farmer villager will endlessly harvest and replant, making your farm completely self-sustaining for crop production.
- Secure Your Harvest: Double-check your hopper or minecart hopper setup. Ensure every potential drop location for harvested crops is covered, preventing valuable items from despawning.
- Fortify Against Threats: Mobs can be a major nuisance. Build walls or fences around your farm to prevent zombies from attacking villagers, creepers from destroying blocks, or other mobs from trampling crops. Light up the surrounding area to deter hostile mob spawns.
Common Pitfalls to Avoid in 4×4 Farm Design
Even seasoned players can make mistakes. Being aware of these common issues will save you time and resources:
- Dehydrated Farmland: Forgetting or misplacing water sources will cause farmland to dry out. Dry farmland looks lighter brown and will not allow crops to grow.
- Insufficient Illumination: Crops require a light level of at least 9 to grow. If your farm is too dark, especially at night or underground, growth will stall.
- Misconfigured Villagers: Villagers can be finicky. Ensure they have a clear path to their workstation (composter), enough seeds to start, and are properly enclosed. If they don’t link to the composter or don’t start farming, check for other workstations nearby or ensure they have an empty inventory slot for seeds.
- Lost Items: A collection system that misses even a few spots can lead to a significant loss of harvested items as they despawn. Test your collection system thoroughly.
- Mob Menace: Hostile mobs can destroy your farm. Creepers explode, zombies attack villagers, and even passive mobs can trample crops if they jump on them. Secure your farm.
- Ignoring Game Mechanics: Not understanding how villagers interact with crops, how water spreads, or how light levels affect growth are fundamental errors that lead to inefficient or broken farms. Always review core game mechanics if your farm isn’t performing as expected.
A 4×4 farm might seem modest, but with proper planning and understanding of key game mechanics, it transforms into a highly efficient and often automated source of essential resources. By focusing on water, light, villager automation, and secure collection, you can establish a robust agricultural backbone for your Minecraft adventures.
Tags:
YOU MAY ALSO LIKE...