Focus Sash Cobblemon
Many aspiring Cobblemon trainers often overlook one crucial detail about the Focus Sash: it isn’t permanently consumed after use, a common misconception that deters many from embracing its full potential. This powerful held item, easily crafted within your Minecraft world, serves as a pivotal tool in turning the tide of battle, ensuring your most vulnerable yet vital Cobblemon can withstand an otherwise fatal blow and strike back.
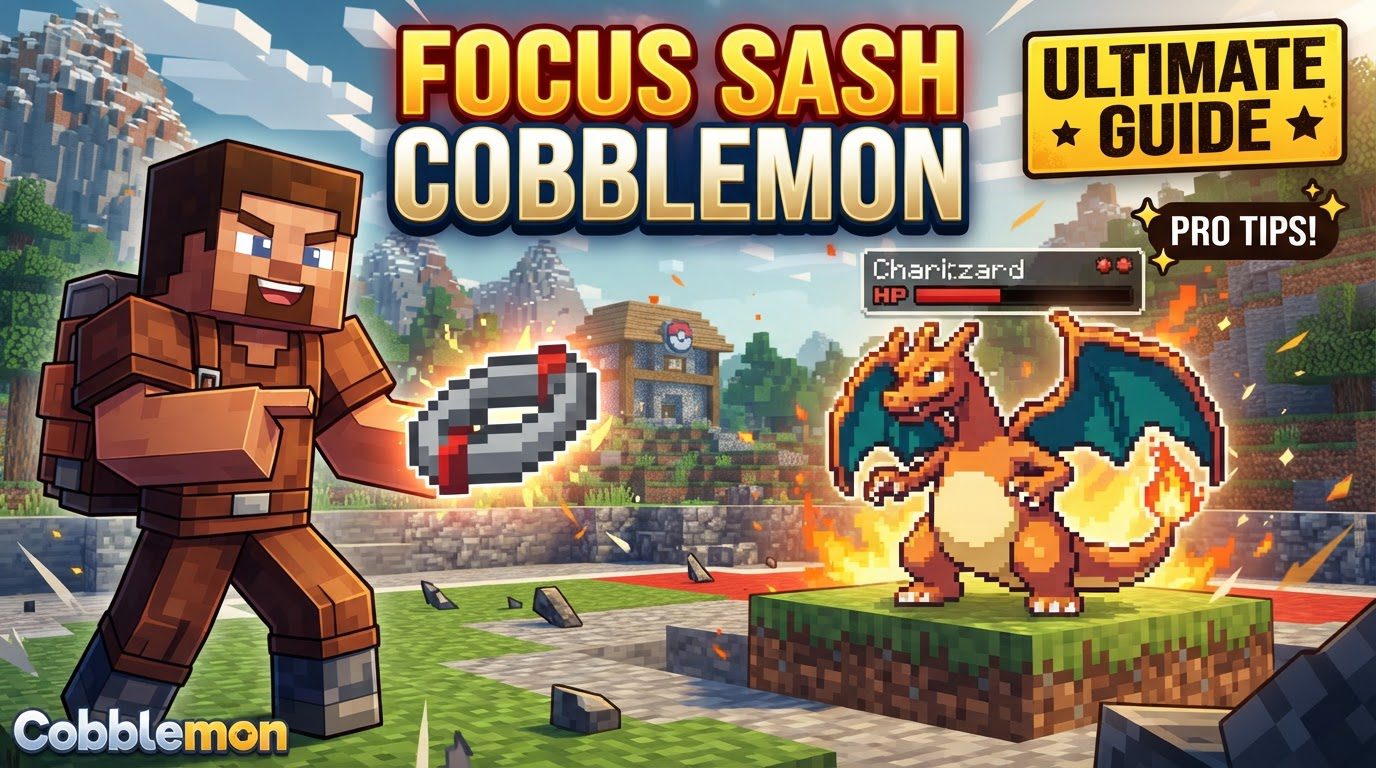
The Cobblemon Focus Sash: An Overview
The Focus Sash is a highly coveted held item in Cobblemon, renowned for its ability to grant a Pokémon a second chance in battle. Its core function is straightforward yet incredibly impactful: if a Pokémon holding a Focus Sash is at full HP and is hit by an attack that would normally cause it to faint, the item intervenes, preventing the KO and leaving the Pokémon with precisely 1 HP remaining instead. This single-use effect is a game-changer, but it’s important to remember that it activates only once per battle. After its effect is triggered, the Focus Sash remains on your Pokémon, ready to be used again in a subsequent encounter, making it a sustainable and invaluable asset to any trainer’s inventory.
Forging Your Advantage: Crafting the Focus Sash
Unlike some rare drops, the Focus Sash offers a reliable path to acquisition through crafting, making it accessible to diligent trainers. To craft this essential item, you’ll need to utilize a standard crafting table with a specific arrangement of materials. The recipe generally calls for a combination of durable and potent components:
- Two pieces of Red Wool: Often representing vitality or the “red bar” of health, these pieces form the core of the sash.
- Two pieces of Blaze Powder: Sourced from Blaze rods found in the Nether, Blaze Powder signifies power and resilience, fitting for an item that prevents KOs.
- One Copper Ingot: A versatile metal, Copper Ingots provide the structural integrity needed for the sash.
By arranging these items correctly in your crafting grid, you can reliably produce Focus Sashes, ensuring you always have one on hand for critical battles. This crafting accessibility means you don’t have to rely on luck, but rather on resourcefulness, to equip your team with this life-saving item.
Mastering the Battlefield: Strategic Uses
The true power of the Focus Sash lies in its strategic application. Understanding when and how to deploy this item can drastically alter your battle outcomes, allowing you to overcome seemingly insurmountable challenges.
Preventing One-Hit KOs (OHKOs) for Frail Powerhouses
One of the most common and effective uses for the Focus Sash is on Pokémon that boast incredibly high offensive stats (Attack or Special Attack) but suffer from low defensive capabilities. These “glass cannons” often have the potential to sweep an opponent’s team but are equally susceptible to being knocked out in a single hit. By equipping them with a Focus Sash, you guarantee they can survive one powerful attack, allowing them to retaliate with their own devastating move. This can be crucial for setting up a win condition or taking down a key opposing threat.
Leading the Charge: Strategic Leads
In competitive Cobblemon battles, the lead Pokémon often sets the tone for the entire encounter. The Focus Sash is an excellent choice for “lead” Pokémon whose primary role is to set up entry hazards (like Stealth Rock or Spikes) or inflict status conditions (such as Thunder Wave for paralysis or Sleep Powder for sleep). By holding a Focus Sash, these Pokémon are guaranteed to survive at least one hit, ensuring they can execute their crucial setup move before potentially being knocked out. This guarantees an early-game advantage that can snowball into a victory.
Unleashing Synergies with Abilities and Moves
The Focus Sash truly shines when paired with specific abilities or integrated into specialized battle strategies:
- Weak Armor Synergy: Certain Pokémon possess the ability Weak Armor, which lowers their Defense but drastically increases their Speed when hit by a physical attack. If a Pokémon with Weak Armor holds a Focus Sash and takes a physical hit that would have KO’d it, it survives with 1 HP, and Weak Armor activates, providing a significant Speed boost. This allows the Pokémon to outspeed many opponents and potentially sweep or finish off weakened foes.
- The F.E.A.R. Strategy: A classic and often surprising strategy, F.E.A.R. stands for Focus Sash, Endeavor, And Really fast Quick Attack. This tactic typically involves a very low-level (often Level 1) Pokémon with access to the moves Endeavor and Quick Attack. The Focus Sash allows the Level 1 Pokémon to survive an attack with 1 HP. Endeavor then drops the opponent’s HP to match the user’s (which is now 1 HP). Finally, Quick Attack, a priority move, finishes off the opponent before they can act again. This strategy can unexpectedly take down much stronger opponents.
Conquering Challenging Encounters: Gym Battles
Beyond competitive play, the Focus Sash proves invaluable in challenging single-player scenarios, particularly during Gym Battles. Gym Leaders often employ strong, over-leveled Pokémon with powerful moves that can easily one-shot your team members. Equipping a Focus Sash to a key Pokémon can provide that extra turn needed to land a super-effective hit, heal another team member, or set up a crucial support move, making the difference between victory and defeat against tough Gym Leaders or other boss-like encounters in your Minecraft world.
Clearing the Air: Common Misconceptions and Clarifications
Despite its utility, the Focus Sash is often misunderstood. Clarifying these points is crucial for trainers to fully leverage its potential.
Not a One-Time Investment: Consumption vs. Loss
As mentioned earlier, one of the most widespread misconceptions is that the Focus Sash is permanently consumed or lost after its effect activates in battle. This is incorrect. While its effect is single-use per battle, the item itself is not permanently lost from your inventory. After the battle concludes, the Focus Sash returns to its normal state, ready to be used again in your next encounter. This makes it an incredibly cost-effective and sustainable item to rely on.
The Full HP Mandate: A Crucial Requirement
The Focus Sash has a stringent activation condition: it only works if the Pokémon holding it is at full HP when hit by a move that would otherwise cause it to faint. If your Pokémon has taken even a single point of damage prior to the potentially fatal blow, the Focus Sash will not activate, and your Pokémon will faint as usual. This makes proper HP management and healing outside of battle vital for its effective use.
Sash vs. Band: A Crucial Distinction
Do not confuse the Focus Sash with the Focus Band. While both are held items designed to prevent KOs, their mechanics are vastly different:
- The Focus Sash guarantees survival at 1 HP from full health, making it a reliable strategic tool.
- The Focus Band, on the other hand, offers only a 10% chance of preventing a KO, regardless of HP. This makes the Focus Band a gamble, whereas the Focus Sash is a calculated safety net.
Understanding this distinction is paramount for effective item selection.
Sturdy’s Priority: Interaction with Abilities
In Cobblemon, as in the main Pokémon games, abilities often interact with held items. For Pokémon with the ability Sturdy (which also prevents one-hit KOs from full HP), the intended behavior is for Sturdy to activate first if both it and a Focus Sash are present. This means Sturdy will save the Pokémon, leaving the Focus Sash intact for a potential future use if Sturdy is bypassed or the Pokémon takes damage later. While there might have been instances of bugs or specific version interactions where both could consume, the standard and intended game logic prioritizes the ability, ensuring efficiency.
The Indispensable Lifeline
The Focus Sash stands out as a deceptively simple yet profoundly powerful item in the world of Cobblemon. Its ability to grant a second chance, ensure critical setups, and enable unique strategies makes it an indispensable tool for trainers of all skill levels. By understanding its mechanics, mastering its crafting, and appreciating its strategic nuances, you can unlock a new level of tactical depth in your Cobblemon battles, turning potential defeats into glorious victories.
Tags:
YOU MAY ALSO LIKE...