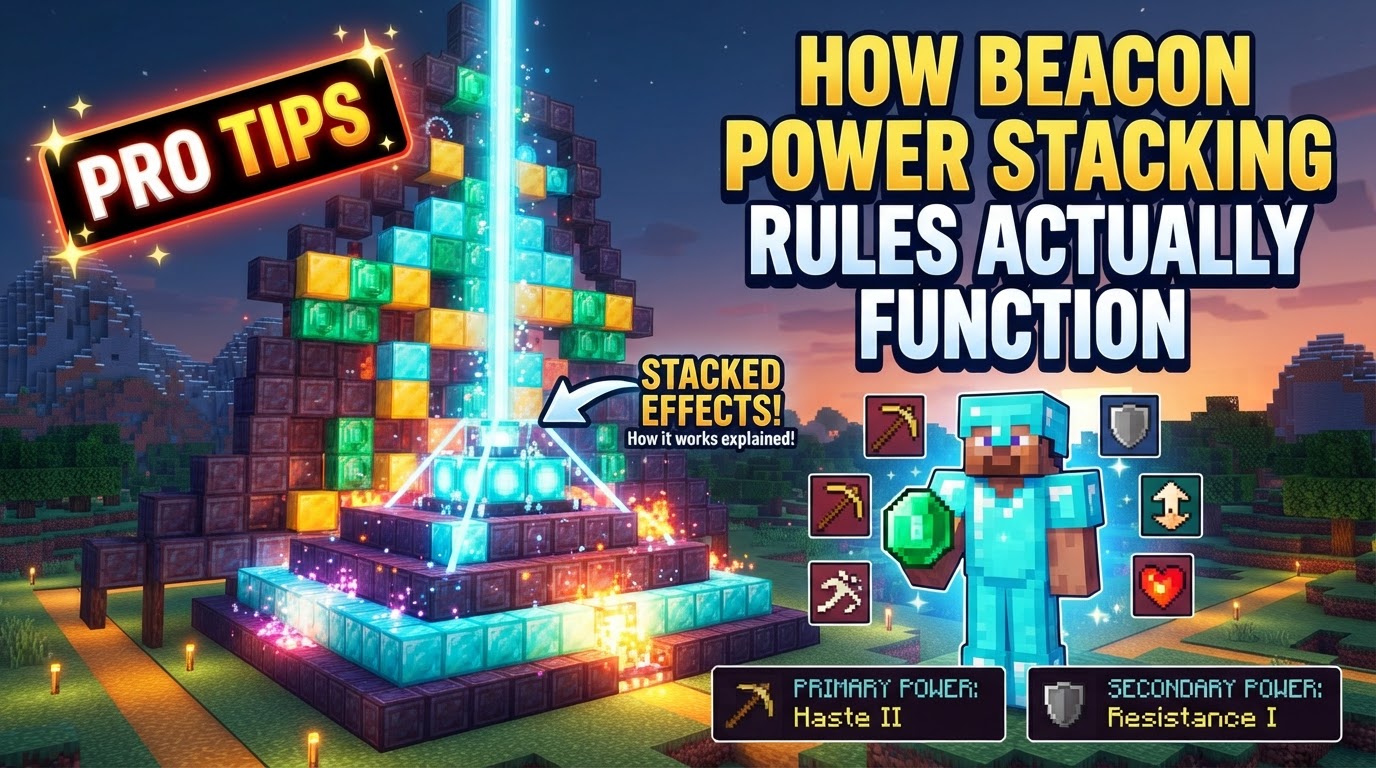
How Beacon Power Stacking Rules Actually Function
A common misconception among Minecraft players is that placing two beacons side-by-side, both emitting Speed I, will result in a combined Speed II effect. In reality, the intricate rules governing beacon power stacking function quite differently, requiring a nuanced understanding to truly harness their potential. Beacons are not just decorative light sources; they are powerful utility blocks designed to provide continuous, beneficial status effects to players within their radius, transforming gameplay from mining efficiency to combat prowess.
The Foundation of Power: Pyramid Mechanics
At the heart of every functional beacon lies a meticulously constructed pyramid. Without this foundational structure, the beacon remains dormant, a mere glass and obsidian shell. The pyramid must be built directly beneath the beacon using blocks of iron, gold, emerald, diamond, or netherite. Crucially, the choice of mineral block is purely cosmetic; it does not influence the beacon’s power output, range, or the effects it can generate. Whether you use humble iron or opulent netherite, the beacon’s capabilities remain identical.
The true determinant of a beacon’s strength and reach is the size of its pyramid. There are four distinct pyramid levels, each progressively increasing the beacon’s operational radius and unlocking more potent status effects:
- Level 1 Pyramid: Requires a 3×3 base layer of mineral blocks. This grants the beacon a 20-block radius and allows players to choose either Speed I or Haste I as a primary power.
- Level 2 Pyramid: Built upon a 5×5 base, with a 3×3 layer on top. The radius extends to 30 blocks, and players can now select Resistance I or Jump Boost I, in addition to the Level 1 options.
- Level 3 Pyramid: Demands a 7×7 base, followed by 5×5 and 3×3 layers. The operational range expands to 40 blocks, and Strength I becomes an available primary power, alongside all previous options.
- Level 4 Pyramid (Full Power): The largest and most powerful, this pyramid requires a 9×9 base, topped by 7×7, 5×5, and 3×3 layers. This grants the beacon a substantial 50-block radius and unlocks Regeneration I as a secondary power, or allows for the chosen primary power to be upgraded to Level II.
It is paramount that the beacon block itself is placed on the single center block of the topmost 3×3 layer for the pyramid to be recognized correctly. Any deviation, even a single missing block, will compromise the pyramid’s integrity and prevent the beacon from functioning at its intended level, or at all.
Unlocking Abilities: Primary and Secondary Powers
Once a beacon’s pyramid is complete and it’s properly placed, it’s ready to offer its boons. Beacons primarily offer a selection of “Primary Powers.” These include Speed, Haste, Resistance, Jump Boost, and Strength. The specific primary powers available depend directly on the pyramid’s size, as outlined above. For instance, a Level 1 pyramid can only offer Speed I or Haste I.
A fully powered, 4-level beacon introduces a crucial choice: the “Secondary Power.” With a full pyramid, you can either select Regeneration I as a new, distinct secondary effect, or you can choose to upgrade your already selected Primary Power from Level I to Level II. For example, if you’ve chosen Speed I as your primary power, a full pyramid allows you to either add Regeneration I to your buffs or upgrade Speed I to Speed II. It’s important to note that you cannot select two different primary powers from a single beacon; one beacon can only ever provide one primary effect (potentially at Level II) and, if fully powered, Regeneration I.
For a beacon to function at all, it must have a clear line of sight to the sky. This means no opaque blocks can be directly above it. However, transparent blocks such as glass, water, or even the bedrock ceiling in the Nether, are permitted and will not obstruct the beacon’s beam or its effects.
Beacon effects are applied continuously. As long as a player remains within the beacon’s designated radius, the chosen effects are renewed every 4 seconds. Should a player leave the beacon’s range, the effects will persist for a 9-second grace period before disappearing, allowing for brief excursions without immediate loss of buffs.
The Crucial Stacking Rules: What Works and What Doesn’t
This is where the concept of “stacking” often leads to confusion. The most critical rule to understand is that there is no direct level stacking for identical effects from multiple beacons. If you have two beacons in close proximity, both configured to provide Speed I, you will not receive Speed II. Instead, you will simply receive Speed I, as the game will only apply the highest level of a specific effect available from any single beacon. This means building multiple beacons to boost a single effect’s level is a waste of resources if that’s your goal.
However, this does not mean beacons cannot be “stacked” in a beneficial way. The power of multiple beacons lies in their ability to provide a variety of different effects simultaneously. For example, you can place one beacon providing Speed I and another nearby providing Haste I. Any player within the overlapping range of both beacons will receive both Speed I and Haste I. This is the true essence of beacon power stacking: accumulating different beneficial effects, not increasing the level of a single effect beyond what one beacon can provide.
Activating Your Beacon: A Step-by-Step Guide
Bringing a beacon to life involves a straightforward process:
- Craft the Beacon: First, you’ll need to craft the beacon block itself. This requires 5x Glass, 3x Obsidian, and 1x Nether Star. The Nether Star is a rare drop obtained by defeating the Wither, one of Minecraft’s most challenging boss mobs.
- Build the Pyramid: Construct the mineral block pyramid to your desired level (1 through 4). Remember, a 9×9 base is required for a full, 4-level beacon, with subsequent layers built inwards and upwards (7×7, 5×5, 3×3). Place the beacon block precisely on the center of the topmost 3×3 layer.
- Activate Powers: Right-click on the beacon block to open its graphical user interface (GUI). You will see a slot for an “activation item” at the bottom.
- Provide Activation Item: Place one iron ingot, gold ingot, emerald, diamond, or netherite ingot into this empty slot. This item acts as fuel and a confirmation token.
- Select Effects: From the GUI, choose your desired Primary Power from the available options (determined by pyramid level). If you have a 4-level pyramid, you will also have the option to select a Secondary Power (Regeneration I or Primary Power Level II).
- Confirm: Click the green checkmark button. This will consume the ingot and activate the selected power(s), causing the beacon’s beam to shoot skyward and the effects to apply to nearby players.
Maximizing Your Buffs: Advanced Stacking and Usage Tips
To truly optimize your beacon setup, consider these advanced strategies:
- Multiple Beacons for Different Effects: As established, this is the most effective form of stacking. Create a cluster of beacons, each providing a unique primary effect (e.g., one for Speed, one for Haste, one for Strength). This allows players within the cluster’s range to benefit from all chosen buffs simultaneously.
- Efficient Pyramid Sharing: Materials for pyramids can be expensive, especially for multiple full-power beacons. Clever placement allows multiple beacons to share the same pyramid blocks, significantly reducing the overall material cost. This requires designing a layout where each beacon still “sees” its own complete pyramid structure, often involving placing beacons adjacent to each other on shared top layers. For instance, multiple beacons can sit on a larger shared 3×3 layer, provided the overall structure beneath supports each individual beacon’s pyramid requirement.
- Strategic Placement: Think about the areas where continuous buffs are most beneficial. A large mining area, a sprawling build site, or a busy mob farm are ideal locations for a beacon array. The 50-block radius of a full beacon is a significant area, so plan accordingly to cover your most active zones.
- Colored Beams: While not affecting power, placing stained glass directly above a beacon will change the color of its beam. Stacking different colored stained glass blocks can even create blended hues, adding an aesthetic touch to your powerful structures.
Avoiding Pitfalls: Common Beacon Mistakes
Even seasoned players can fall prey to simple errors that render their beacons useless:
- Obstructed Beam: Any solid, opaque block placed directly above the beacon will completely prevent it from functioning. Always ensure an unobstructed path to the sky. While transparent blocks like regular glass are fine, newer blocks like tinted glass are opaque and will block the beam.
- Incomplete or Incorrect Pyramid: A single missing block in any layer of the pyramid, or the beacon not being perfectly centered on the top layer, will prevent higher-level powers from activating or the beacon from working at all. Double-check your construction meticulously.
- Confusing Effect Stacking: The most common mistake is assuming that multiple beacons providing the same effect (e.g., two Speed I beacons) will combine to create a higher level of that effect (e.g., Speed II). This is incorrect. Only different effects can be obtained simultaneously from multiple beacons; you will only receive the highest level of a specific effect provided by any single beacon within range.
- Tinted Glass vs. Stained Glass: Be mindful of the difference. Stained glass is transparent and allows the beam through while changing its color. Tinted glass, despite its appearance, is an opaque block and will block the beacon’s beam, rendering it inactive.
Understanding these intricate rules is key to transforming beacons from simple landmarks into indispensable tools for efficiency and survival in Minecraft. By carefully planning your pyramid construction, selecting your powers wisely, and strategically placing multiple beacons, you can create a network of buffs that profoundly enhances your gameplay experience.
Tags:
YOU MAY ALSO LIKE...