How Potion Brewing Order Affects Final Item Quality
Adding ingredients haphazardly into your Minecraft brewing stand is one of the quickest ways to waste valuable resources and end up with inert concoctions. While the term “quality” in potion brewing might suggest a spectrum of outcomes based on ingredient order, the reality is more precise: the order of ingredients dictates whether you produce a functional, desirable potion at all, or merely a useless one. Deviating from the established sequence doesn’t typically result in a slightly different “quality” of an intended potion, but rather a complete failure to brew it.
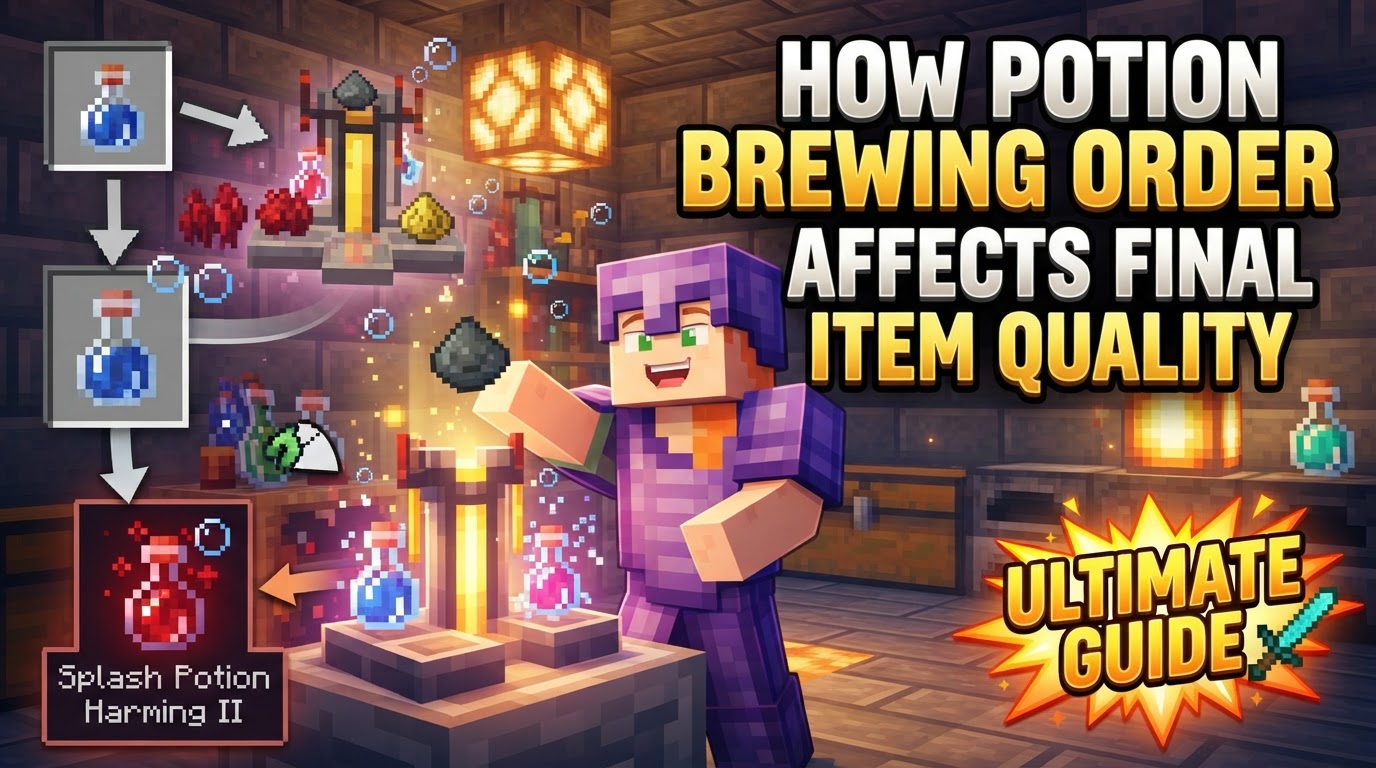
In Minecraft, a potion’s “quality” refers to its intrinsic properties: its primary effect (e.g., Swiftness, Fire Resistance), its duration, its intensity (level), and its delivery method (drinkable, splash, or lingering). Achieving these specific qualities is entirely dependent on a systematic, step-by-step brewing process. Understanding this fundamental principle is key to becoming a master alchemist in your blocky world.
The Alchemist’s Workbench: The Brewing Stand
At the heart of all potion creation lies the Brewing Stand. Crafted from a single Blaze Rod and three Cobblestone, this essential block is where all your alchemical transformations take place. Without it, no potion can be brewed. It’s not enough to simply place ingredients; the stand itself requires fuel to operate.
Fueling the Flames: Blaze Powder
Just as a furnace needs coal, a Brewing Stand needs Blaze Powder. Each piece of Blaze Powder can power approximately 20 brewing operations. Forgetting this crucial step is a common oversight and will leave your ingredients sitting idly, no matter how perfectly you’ve arranged them. Always ensure the fuel slot is stocked before attempting any brew.
Establishing the Foundation: Water Bottles and Awkward Potions
Every journey into potion brewing begins with the most basic component: the Water Bottle. These are easily obtained by filling glass bottles at any water source or a cauldron. They serve as the blank canvas for nearly every effect potion you’ll create.
The first, and arguably most critical, step in the brewing order is transforming these Water Bottles into Awkward Potions. This is achieved by placing Water Bottles in the bottom three slots of the Brewing Stand and a Nether Wart in the top ingredient slot. Nether Wart is the universal catalyst; it converts plain water into a magical base ready to receive an effect. Without this step, attempting to add most effect ingredients directly to Water Bottles will result in inert “Mundane” or “Thick” potions, effectively wasting your precious ingredients.
Infusing Effects: Defining the Potion’s Purpose
Once you have a supply of Awkward Potions, you can begin to imbue them with specific magical effects. This is where the potion truly gains its identity. The order is simple but strict: place your Awkward Potions in the bottom slots and an effect ingredient in the top slot. For example:
- Sugar transforms an Awkward Potion into a Potion of Swiftness.
- Magma Cream creates a Potion of Fire Resistance.
- Glistering Melon Slice yields a Potion of Instant Health.
This step must always occur after the Awkward Potion stage. Attempting to add these effect ingredients to Water Bottles directly will, as mentioned, lead to useless potions.
Refining Properties: Modifiers and Their Sequence
After establishing a base effect potion, you can further enhance or alter its properties using modifier ingredients. The order in which these are applied is paramount, as it directly influences the final “quality” in terms of duration, strength, and delivery method.
Extending Duration with Redstone Dust
To make your potion’s effect last longer, you’ll use Redstone Dust. This modifier should be added to an existing effect potion (e.g., Potion of Swiftness). Placing the base potion in the bottom slots and Redstone Dust in the top will extend its duration significantly. This is a common and highly useful modification for many potion types.
Amplifying Strength with Glowstone Dust
If you need a more potent effect, Glowstone Dust is your ingredient. Adding Glowstone Dust to a base effect potion will increase its strength or level (e.g., Potion of Swiftness II). However, there’s an important trade-off: amplifying a potion’s strength often comes at the cost of its duration. It’s also crucial to note that you generally cannot apply both Redstone Dust (for duration) and Glowstone Dust (for strength) to the same potion effect simultaneously for the same tier of potion. You must choose between a longer, weaker effect or a shorter, stronger one for most standard brews.
Transforming Delivery: Splash Potions with Gunpowder
Sometimes, drinking a potion isn’t practical. For combat or supporting allies, a throwable potion is invaluable. This is where Gunpowder comes in. Adding Gunpowder to *any* drinkable potion (whether it’s a base effect, extended, or amplified potion) will convert it into a Splash Potion. This modification must occur after all other effect and property modifications, as you’re changing the potion’s fundamental form.
Creating Area-of-Effect: Lingering Potions with Dragon’s Breath
For persistent area-of-effect applications, Lingering Potions are the answer. These create a cloud of effect upon impact. To craft them, you must first have a Splash Potion. By placing a Splash Potion in the bottom slots and Dragon’s Breath in the top, you will transform it into a Lingering Potion. This is the final stage of modification and requires the Splash Potion form as its prerequisite.
Strategic Brewing: Tips for Efficiency and Success
Mastering potion brewing is not just about knowing the order, but also about adopting smart practices:
- Bulk-brew Awkward Potions: Always keep a healthy stock of Awkward Potions. They are the essential precursor to almost every useful brew, saving you time in the long run.
- Label Your Storage: With numerous ingredients and potion types, organization is crucial. Label your chests clearly to quickly locate what you need.
- Prioritize Essential Potions: Especially when venturing into dangerous territories like the Nether, Fire Resistance potions are non-negotiable. For combat, carrying Splash Potions of Healing can be a literal lifesaver.
- Stockpile Gunpowder: The ability to convert potions into throwable Splash Potions is incredibly versatile. Keep a good supply of Gunpowder on hand.
- Experiment Safely: While knowing the correct order is vital, don’t be afraid to explore. Start with common ingredients before using rare ones, and experiment with different combinations to discover useful effects, but always be mindful of the potential for wasted resources.
Avoiding Pitfalls: Common Brewing Mistakes
Even experienced players can make errors. Being aware of common mistakes can save you frustration and resources:
- No Blaze Powder: The most basic error. A Brewing Stand without fuel is just a decorative block.
- Incorrect Order: This is the central theme. Attempting to add modifiers like Redstone or Gunpowder to a Water Bottle or an Awkward Potion without a primary effect will simply fail, consuming the ingredient for no output. Always follow the logical progression: Water -> Awkward -> Effect -> (Duration/Strength) -> (Splash) -> (Lingering).
- Drinking Harmful Potions: Always double-check the potion’s label before consuming it, especially if you’ve been experimenting.
- Wasting Rare Ingredients: Until you’re confident in your brewing process, stick to common ingredients. Rare items like Ghast Tears or Dragon’s Breath should be used only for well-understood and essential brews.
- Mundane/Thick Potions: Adding certain non-Nether Wart ingredients directly to Water Bottles (e.g., a fermented spider eye) can result in “Mundane” or “Thick” potions. These are useless and represent wasted ingredients. Always start with Nether Wart for effect potions.
In conclusion, the “quality” of a Minecraft potion isn’t a variable outcome of a flexible process, but rather a direct result of adhering to a precise, sequential order of ingredients. Each step builds upon the last, transforming basic water into potent elixirs. Understanding this systematic approach, from the initial Awkward Potion to the final lingering effect, is the bedrock of successful alchemy. Master the order, and you master the brew.
Tags:
YOU MAY ALSO LIKE...