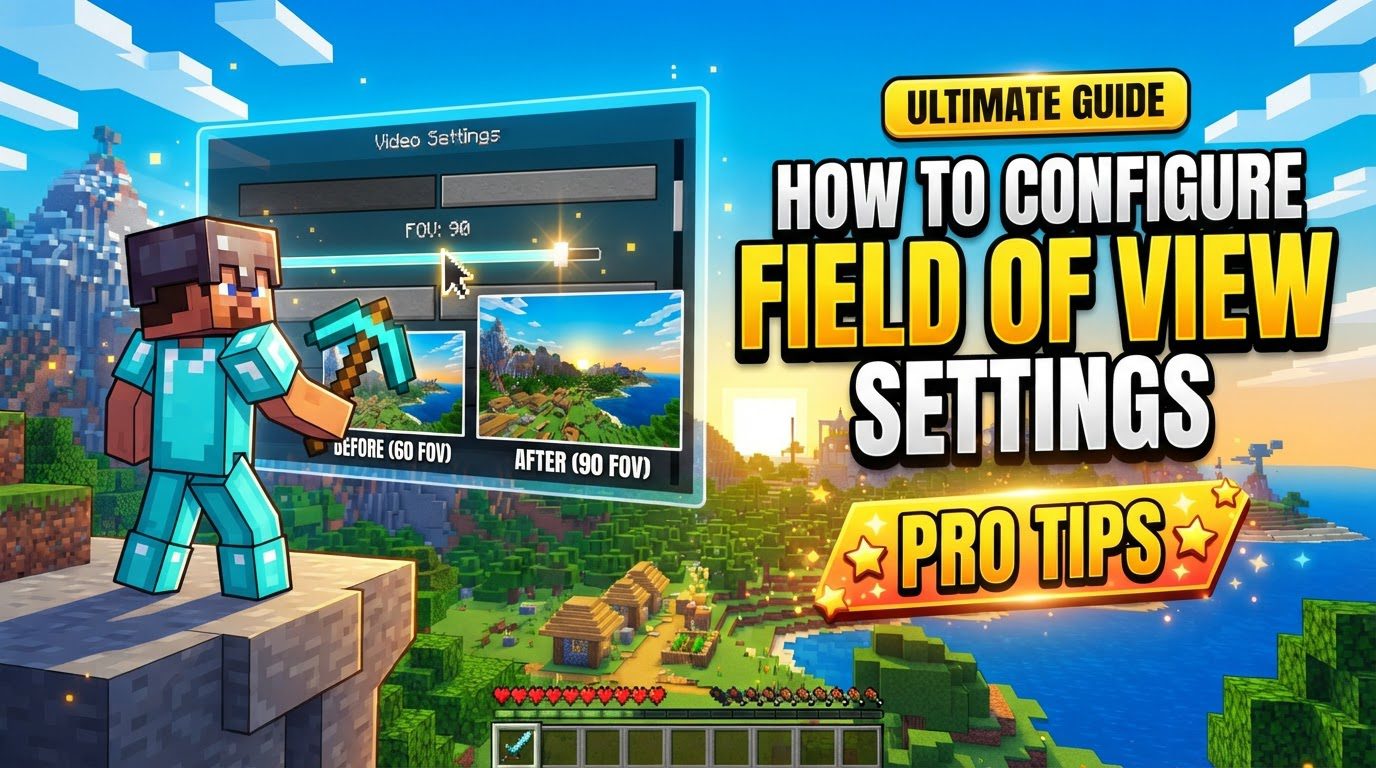
Configuring Field of View Settings, Explained
Understanding and configuring your Field of View (FOV) settings in Minecraft is crucial for optimizing your gameplay experience, whether you’re a seasoned explorer, a master builder, or a competitive player. The FOV setting dictates how much of the game world is visible on your screen at any given moment, directly influencing your peripheral vision and overall situational awareness within the blocky landscapes of Minecraft.
Understanding Field of View Mechanics
In essence, Field of View (FOV) controls the extent of the Minecraft world you can see. Imagine it as a virtual camera lens; a higher FOV setting is akin to a wider-angle lens, broadening your view to encompass more of your surroundings. Conversely, a lower FOV setting narrows your focus, creating a “zoomed-in” effect that concentrates your vision on a smaller area directly in front of you. This adjustment is not merely cosmetic; it significantly impacts how you perceive and interact with the game world.
Within Minecraft, the FOV slider primarily adjusts your vertical vision. However, it’s important to note that its effect on your horizontal FOV is also present and is influenced by the aspect ratio of your screen. This means that while you’re directly manipulating the vertical range, the horizontal perspective will naturally adapt to maintain proper proportions on your display.
It’s also critical to consider the potential impact of FOV changes on your game’s performance. A wider FOV, by its very nature, demands that your device render a larger portion of the game world simultaneously. This increased rendering load can potentially lead to buffering, noticeable frame rate drops, or even general lag, especially if you are playing on hardware that is less powerful or operating at its limits. Therefore, finding a balance between an ideal visual experience and stable performance is a key aspect of FOV configuration.
Step-by-Step Guide to Adjusting FOV
Adjusting your FOV in Minecraft is a straightforward process, though the exact steps vary slightly between the Java and Bedrock editions of the game.
For Minecraft Java Edition:
-
Launch the Game: Begin by opening your Minecraft Java Edition launcher and starting the game.
-
Access the Game Menu: Once in the game, open the main menu. This is typically done by pressing the ‘Esc’ key.
-
Select “Options”: From the main menu, navigate to and select the “Options” button. This will open a new window with various game settings.
-
Locate the FOV Slider: Within the options window, you will find the “FOV” slider. It is commonly positioned in the top-left corner of this settings interface. This slider is your primary tool for adjusting your field of view.
-
Adjust to Your Desired Value: Use your mouse to click and drag the slider to your preferred FOV value. The typical range for this setting is between 30 and 110. In most cases, any changes you make to the FOV slider will be applied automatically and immediately, allowing you to see the effect in real-time as you adjust it.
For Minecraft Bedrock Edition (PC, Console, Mobile):
-
Launch the Game: Start your Minecraft Bedrock Edition game on your chosen platform, whether it’s PC, console, or a mobile device.
-
Access the Settings Menu: Once the game is running, open the main settings menu. The method for doing this can vary slightly depending on your device (e.g., a gear icon on mobile, a specific button on console controllers).
-
Navigate to “Video” Settings: Within the settings menu, you will need to find and select the “Video” settings section. This is where most visual and display-related options are located.
-
Find and Adjust the FOV Slider: Inside the “Video” settings, locate the “FOV” slider. You can then adjust this slider using your controller, touch input, or mouse, depending on your device. The FOV range in Bedrock Edition is generally consistent with Java Edition, typically spanning from 30 to 110. Move the slider until you achieve your preferred field of view.
Important Tips for Optimizing Your FOV
Finding the perfect FOV setting is a journey of personal preference and experimentation. There is no universally “best” setting, as the ideal FOV is highly dependent on your individual comfort, unique playstyle, and the specific activities you are engaged in within Minecraft.
-
Personal Preference is Key: What feels right for one player might feel disorienting for another. Allow yourself to experiment and find what genuinely enhances your personal gameplay experience.
-
Understanding the Default FOV: The default FOV setting in Minecraft is 70. This value is designed to offer a balanced and generally comfortable view for most players. However, many experienced players and those who prioritize peripheral vision often choose to increase this setting, commonly to 90 or even up to 110, which is sometimes referred to as “Quake Pro” due to its similarity to the high FOV settings popular in older arena shooters. A higher FOV can provide a significant advantage by allowing you to see more of what’s happening around you.
-
FOV for Specific Activities: Your ideal FOV might change depending on what you’re doing in the game:
-
Exploration and Building: For activities like exploring vast landscapes or meticulously constructing intricate builds, a moderate FOV, typically in the range of 75-85, often provides an excellent balance. This range allows for good situational awareness, letting you take in your surroundings, while still offering enough detail to focus on specific blocks or features without excessive distortion.
-
PvP and Combat: When engaging in Player vs. Player (PvP) combat or facing off against aggressive mobs, a higher FOV is generally advantageous. Settings between 90 and 100, or even the maximum “Quake Pro” setting at 110, offer a significantly wider field of visibility. This expanded view is crucial for spotting enemies, identifying threats, and reacting quickly to movement in your peripheral vision, giving you a competitive edge.
-
Precision Tasks and Scouting: Conversely, for tasks requiring extreme precision or when scouting distant objects, a lower FOV can be incredibly useful. By reducing your FOV, sometimes down to 30, you effectively create a “zoom” effect. This is perfect for detailed observation of distant targets, lining up precise shots with a bow, or closely examining specific blocks or features from afar. It allows for a more focused and magnified view.
-
-
Consider Your Screen Size: The physical size of your display can also influence your optimal FOV. Players using larger screens, such as desktop monitors or large televisions, often find that a wider FOV feels more natural and immersive. On the other hand, those playing on smaller screens, such as laptops, handheld devices, or mobile phones, might benefit from slightly lower maximum FOV settings (e.g., maxing out around 90-95 degrees) to prevent the game world from appearing too distorted or “fish-eyed” on their limited display area.
-
Gradual Adjustment for Comfort: If you are new to playing with higher FOV settings, it’s advisable to make gradual adjustments. Instead of jumping directly from 70 to 110, start by increasing your FOV to around 90 degrees. Then, over a few gaming sessions, gradually increase it in small increments of 5 to 10. This allows your eyes and brain sufficient time to adapt to the new perspective without experiencing disorientation, motion sickness, or a feeling of being overwhelmed by the altered visual field.
-
The “FOV Effect” in Java Edition: Minecraft Java Edition includes an “FOV effect” slider within its accessibility settings. This particular setting is designed to reduce how dramatically your FOV changes when speed effects are applied to your character (e.g., from potions or sprinting). By adjusting this slider, you can mitigate extreme visual distortion that might occur during rapid movement, helping to maintain a more consistent and comfortable visual experience even when moving at high speeds.
Common Mistakes to Avoid When Setting Your FOV
While experimenting with FOV settings can greatly enhance your Minecraft experience, there are several common pitfalls that players should be aware of to prevent discomfort or negative impacts on gameplay.
-
Going Too High Too Quickly: One of the most frequent mistakes is immediately setting the FOV to its maximum value. While a high FOV offers a wider view, excessively high settings can often result in a pronounced “fish-eye” or warped effect. This distortion can make the game world appear unrealistic, disorienting, and for some players, even induce motion sickness. It’s best to increase gradually, as mentioned, to find a comfortable sweet spot.
-
Ignoring Performance Impact: It’s crucial not to overlook the performance implications of a wider FOV. As discussed earlier, rendering more of the game world demands more processing power from your system. If you have less powerful hardware, pushing your FOV too high can lead to noticeable buffering, significant frame rate drops (lag), or even game crashes. Always monitor your game’s performance after making FOV adjustments, especially if you experience stuttering or choppiness.
-
Assuming “One Size Fits All”: There is no universal “best” FOV setting that suits every player or every situation. What works perfectly for a competitive PvP player might be completely unsuitable for someone who primarily focuses on creative building or cinematic exploration. The “best” FOV is highly subjective and depends entirely on individual preference, playstyle, and the specific context of your current game activity.
-
Not Experimenting Sufficiently: Many players make the mistake of adjusting their FOV once, playing for a few minutes, and then deciding if it’s “good” or “bad.” To truly determine the optimal setting for you, it’s highly recommended to stick with a new FOV setting for at least a few dedicated gaming sessions. This extended period allows your eyes and brain ample time to fully adapt to the new perspective, giving you a more accurate sense of its comfort and effectiveness before you make a final decision or revert to previous settings.
By carefully considering these mechanics, following the adjustment steps, heeding the important tips, and avoiding common mistakes, you can effectively configure your Minecraft FOV settings to create a more personalized, comfortable, and ultimately more enjoyable gaming experience.
Tags:
YOU MAY ALSO LIKE...