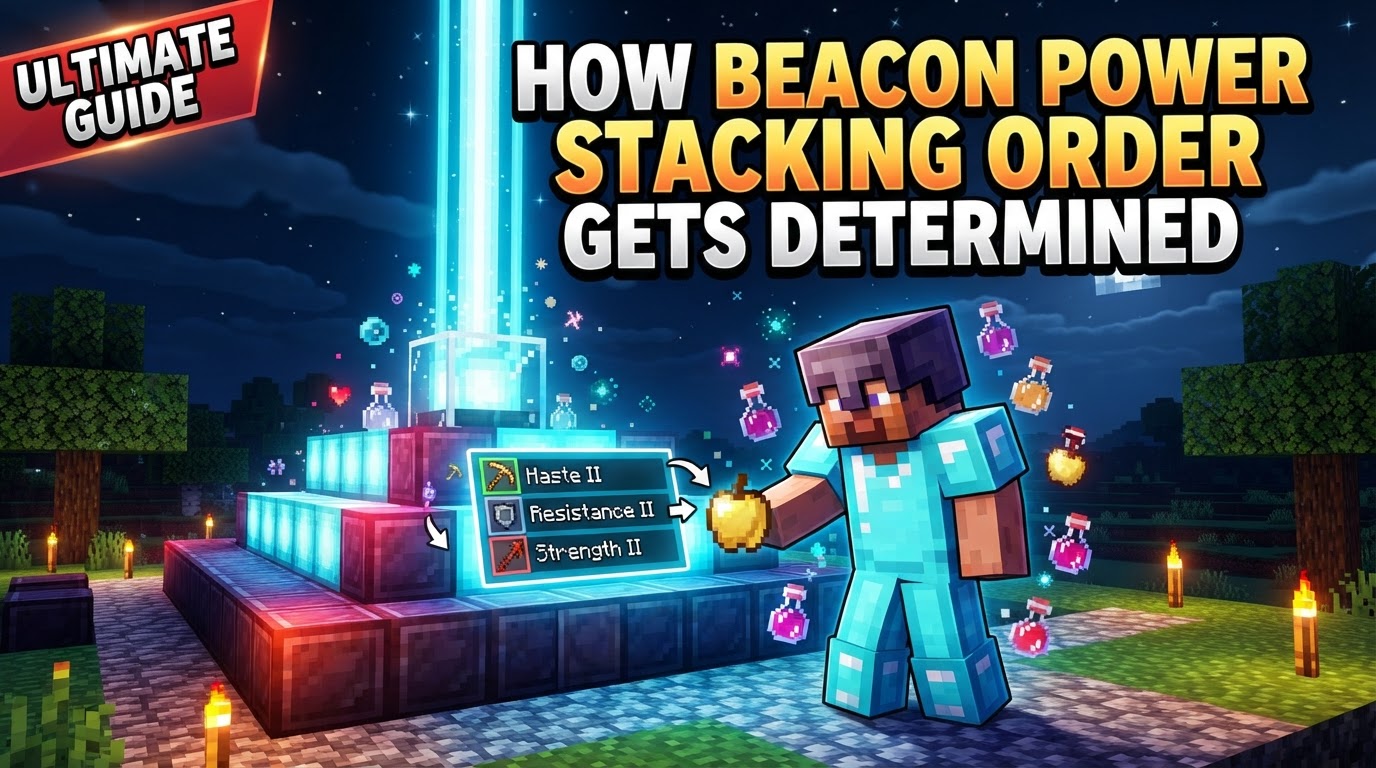
How Beacon Power Stacking Order Gets Determined
One of the most frequent misconceptions among new and even seasoned Minecraft players is how beacon effects truly stack. Many assume that placing two beacons side-by-side, both configured for, say, Speed I, will magically combine their powers to grant Speed II. This is a crucial misunderstanding of beacon mechanics; instead, the power of beacons lies in their ability to provide multiple *different* effects simultaneously, rather than intensifying identical ones. Understanding this distinction is key to efficiently harnessing the immense power of these late-game structures.
The Foundation of Power: Beacon Pyramids
At the heart of every functional beacon is its pyramid. Without a properly constructed pyramid base, a beacon block is merely a decorative light source. The materials used for the pyramid can be iron, gold, diamond, emerald, or netherite blocks, offering flexibility in resource expenditure. Crucially, the size and completion of this pyramid directly dictate the beacon’s power, its operational range, and the specific effects it can offer to nearby players.
- Level 1 Pyramid (3×3 base): This is the smallest functional pyramid, requiring 9 blocks. It activates the beacon and allows for the selection of a basic primary effect. The area of effect for this level is a modest 20-block radius.
- Level 2 Pyramid (5×5 base, on top of a 3×3): With 34 blocks (25 for the base, 9 for the second layer), this pyramid expands the beacon’s range and potential.
- Level 3 Pyramid (7×7 base, on top of 5×5, then 3×3): Requiring 83 blocks, this further increases the range and prepares the beacon for more advanced effects.
- Level 4 Pyramid (9×9 base, on top of 7×7, then 5×5, then 3×3): This is the largest and most powerful pyramid, demanding a total of 164 blocks. A Level 4 pyramid not only provides the maximum range of 50 blocks but also unlocks the ability to choose a secondary power or upgrade a primary power to Level II.
The beacon’s beam must have a clear line of sight to the sky to function. Any solid block directly above the beacon will obstruct its operation, rendering it inert. Transparent blocks, such as glass, are permissible and will not block the beam.
Understanding Beacon Effects: Primary, Secondary, and Levels
Beacons are designed to provide powerful, area-of-effect buffs. These effects are categorized into primary and secondary powers, with varying levels of intensity:
- Primary Powers: There are five core primary powers available:
- Speed: Increases player movement speed.
- Haste: Increases mining and attack speed.
- Resistance: Reduces incoming damage.
- Jump Boost: Increases jump height.
- Strength: Increases melee attack damage.
A beacon with a Level 1, 2, or 3 pyramid can only provide one of these primary powers at Level I.
- Secondary Powers and Level II Upgrades: Only a beacon sitting atop a full Level 4 pyramid (9×9 base) has access to these advanced options. With a Level 4 pyramid, you gain the choice to either:
- Select Regeneration as a secondary power, in addition to a primary power. Regeneration provides a continuous health restoration effect.
- Upgrade your chosen primary power from Level I to Level II (e.g., Speed I becomes Speed II). This significantly enhances the effect’s potency.
To activate or change an effect, players must interact with the beacon’s interface and insert one iron ingot, gold ingot, diamond, emerald, or netherite ingot into the payment slot, then confirm their selection. This “payment” is consumed each time an effect is initially chosen or changed.
The Nuance of Effect Stacking: How Powers Combine
This is where the concept of “stacking order” becomes critical. Beacons are not designed to stack the *strength* of identical effects from multiple sources, but rather to allow for the simultaneous application of *different* effects. Understanding this principle is paramount for efficient beacon setup.
- Different Effects Stack Concurrently: If you have multiple beacons within range, each configured to provide a *distinct* primary effect, players can receive all of those different effects simultaneously. For example, one beacon providing Speed I and another providing Haste I within the same area will grant the player both Speed I and Haste I. This is the primary method of “stacking” beacon powers – by accumulating a variety of buffs.
- Same Effects Do Not Stack in Strength: A common pitfall is expecting two beacons granting Speed I to combine into Speed II. This simply does not happen. If two beacons in range are both set to provide Speed I, a player will still only receive Speed I. The game does not combine identical effects from different beacons to increase their power level. To achieve a Level II effect (e.g., Speed II or Haste II), it must be explicitly selected from a *single* beacon that is supported by a Level 4 pyramid. That beacon then provides the Level II effect directly.
- Overlapping Effects: In a scenario where one beacon provides Speed I and another (with a Level 4 pyramid) provides Speed II, the player will receive Speed II. The higher-level effect always takes precedence for identical buffs.
Therefore, the “stacking order” isn’t about an order of application, but rather about which effects are present and their highest available level. Different effects are simply applied alongside each other, while identical effects defer to the strongest available source.
Constructing Your Powerhouse: A Step-by-Step Guide
Setting up an effective beacon system involves careful planning and execution.
- Build a Pyramid: Start by constructing your pyramid from the bottom up. For the most powerful effects and range, aim for a Level 4 pyramid, which requires a 9×9 base, topped by a 7×7, then a 5×5, and finally a 3×3 layer. Ensure the pyramid is complete and correctly formed, as any missing blocks will prevent activation or reduce its potential.
- Place Beacons: Position your beacon block(s) directly on top of the uppermost layer of the pyramid. If you plan to have multiple beacons, consider compact designs that allow them to share pyramid blocks to conserve resources. This is particularly efficient for multi-beacon setups.
- Activate Beacons: Right-click on each beacon block to open its interface.
- Select Power(s) and Pay: Within the interface, choose your desired primary power. If you have a Level 4 pyramid, you can also select Regeneration as a secondary power or upgrade your primary power to Level II. To finalize the selection, insert one iron ingot, gold ingot, diamond, emerald, or netherite ingot into the designated payment slot and confirm. The beacon will then emit its characteristic beam, signifying activation and effect provision.
Optimizing Your Beacon Array: Advanced Tips
- Compact Multi-Beacon Designs: When aiming for multiple different effects (e.g., Speed I, Haste I, Resistance I), you don’t need entirely separate pyramids for each beacon. By carefully arranging beacons, you can have them share pyramid blocks, significantly reducing the total material cost. For instance, a 9×9 base can support multiple beacons placed on its top layer, each drawing power from the shared pyramid structure.
- Strategic Effect Selection: Tailor your beacon effects to your current activity. Haste II is invaluable for large-scale mining projects, allowing you to break blocks almost instantly. Speed I or II is excellent for traversing large distances or escaping dangerous situations. Resistance I can be a lifesaver in combat, while Regeneration (from a Level 4 beacon) provides continuous healing, perfect for sustained exploration or farming.
- Dual Primary Effects (Java Edition Exploit/Feature): In Java Edition, there’s a known quirk that allows a Level 4 beacon to sometimes provide *two different* primary powers at Level I. This is achieved by first selecting a primary power, then attempting to select its Level II upgrade, then immediately selecting a *different* primary power, and finally confirming. This is not standard behavior and may be considered an exploit or an unintended feature, so its reliability and future presence are not guaranteed.
Common Pitfalls to Avoid
Even experienced players can make simple mistakes when setting up beacons, leading to frustration.
- Obstructed Beam: The most common error is placing a solid block directly above the beacon. The beacon beam must have a clear line of sight to the sky for it to function and emit effects. Always ensure nothing is blocking the path upwards. Transparent blocks like glass, however, are fine.
- Incomplete Pyramid: A beacon requires a perfectly formed and complete pyramid to activate and provide its full potential. Even a single missing block in any layer will render the beacon inactive or limit its power. Double-check all layers of your pyramid for completeness.
- Misunderstanding Stacking: As highlighted earlier, expecting the strength of the *same* effect to stack from multiple beacons is a frequent misunderstanding. Remember that multiple beacons primarily allow for the application of different effects concurrently, not for intensifying identical ones beyond Level II from a single source. If you want Speed II, you need a single Level 4 beacon configured for Speed II, not two Level 1 beacons set to Speed I.
By understanding these core mechanics, you can effectively leverage beacons to transform your Minecraft experience, providing powerful buffs that make everything from mining to combat significantly more efficient and enjoyable.
Tags:
YOU MAY ALSO LIKE...