Create Big Cannons Neoforge
Unleashing a volley of high-explosive shells or a devastating solid shot across your Minecraft world requires more than just gunpowder; it demands precision engineering, an understanding of kinetic mechanics, and a robust cannon structure. The ‘Create Big Cannons Neoforge’ mod transforms your blocky landscapes into a battlefield, allowing players to construct awe-inspiring artillery pieces capable of delivering immense destructive power. This guide will walk you through the intricacies of building, operating, and mastering these magnificent machines.
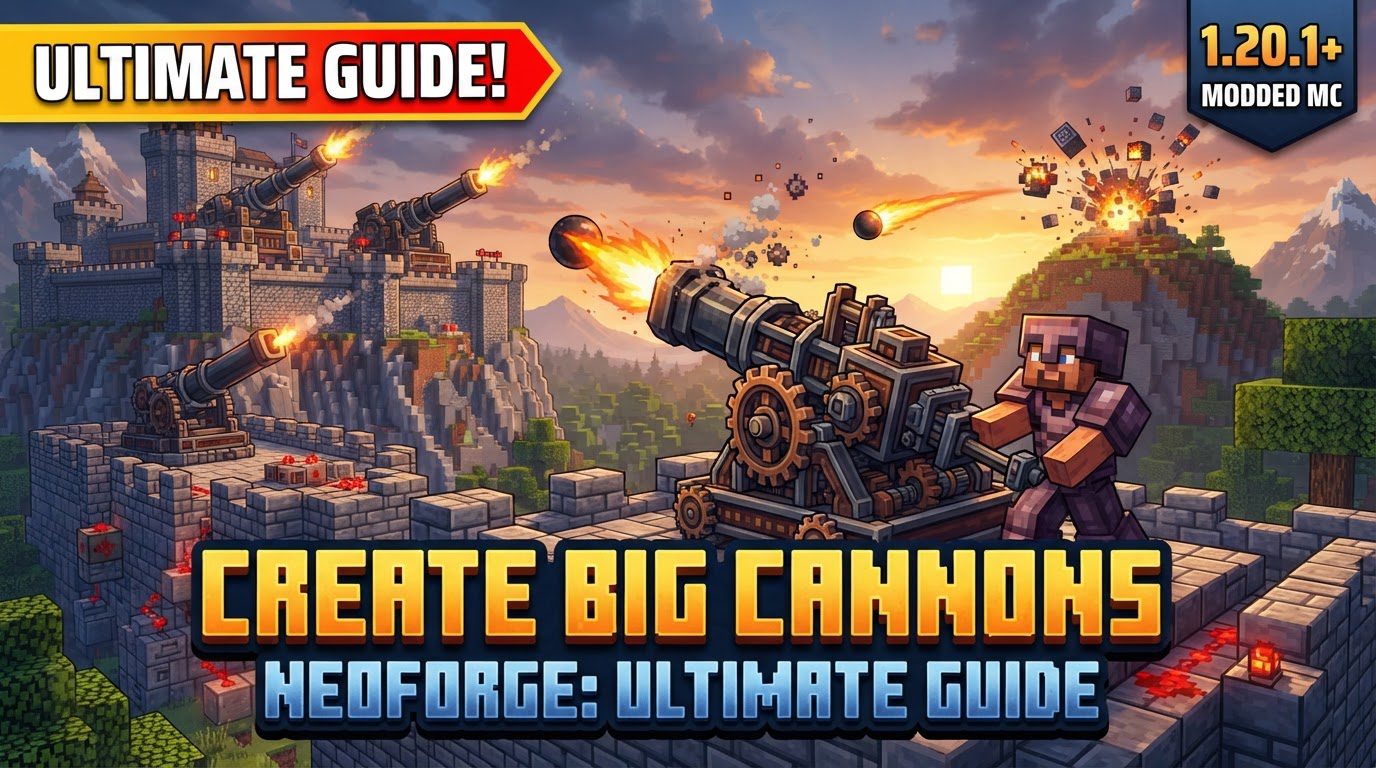
The Heart of Destruction: Multiblock Cannon Systems
At its core, Create Big Cannons introduces two primary types of artillery: grand, multiblock cannons and smaller, rapid-firing autocannons. Both types leverage the kinetic power provided by the Create mod to function. Multiblock cannons are constructed from various specialized blocks, forming a singular, formidable entity. Key components include the gun rotation controller for aiming, a sturdy cannon mount to anchor the structure, multiple barrel segments to achieve desired muzzle length, and a specialized end piece, which can be either a muzzle or a breech.
The beauty of these cannons lies in their modularity. Players can design cannons of varying lengths and sizes, each component contributing to the overall performance and destructive potential. Autocannons, while smaller, excel in sustained fire, often becoming the centerpiece of automated defenses or offensive strategies.
Fueling the Fire: Kinetic Integration
True to its name, ‘Create Big Cannons’ is deeply integrated with the Create mod’s kinetic mechanisms. This means that the loading, aiming, and firing processes of your cannons aren’t merely point-and-click; they often require rotational force. Whether it’s rotating a breech open for loading, angling the entire cannon assembly, or even automating the firing sequence, Create’s gearboxes, shafts, and mechanical arms play a crucial role. Understanding basic Create automation is therefore essential for maximizing the efficiency and power of your artillery.
Choosing Your Caliber: Materials and Tiers
The material chosen for your cannon is paramount, dictating its strength, maximum muzzle length, and, critically, how many powder charges it can safely handle. Different materials offer distinct advantages and disadvantages:
- Wooden Cannons: Generally not recommended. These cannons possess incredibly low strength and have a very high chance of exploding, even with a single powder charge. They are best avoided for any serious artillery work.
- Cast Iron Cannons: A decent starting point, cast iron cannons can safely handle up to two powder charges. They offer a good balance for early-game destructive power without excessive resource investment.
- Steel and Bronze Cannons: These represent higher tiers of cannon materials. Steel and bronze cannons are significantly more robust, capable of withstanding more powder charges and offering greater durability. They are ideal for players seeking to build powerful, reliable, and explosion-resistant artillery pieces.
Always consider the material’s strength when loading; overloading a cannon with too many powder charges for its material type is a guaranteed recipe for a catastrophic explosion.
Ammunition Arsenal: Projectiles and Fuzes
The mod offers a diverse array of projectiles, each designed for specific tactical applications:
- Solid Shot: A basic, high-impact projectile for direct damage.
- Armor-Piercing Shot: Designed to punch through tough defenses.
- Mortar Shells: Ideal for indirect fire, arcing over obstacles to hit targets from above.
- Grapeshot: A devastating anti-personnel round, scattering multiple small projectiles over an area.
- High-Explosive Charges: For maximum area-of-effect destruction.
To further customize your artillery, various fuze items can be applied to projectiles. These fuzes determine how and when a projectile detonates or activates. Common types include contact fuzes, which detonate on impact, and timed fuzes, which explode after a set duration, allowing for airbursts or delayed detonations.
The Breech: Loading and Sealing Mechanisms
The breech is the backend of your cannon, where projectiles and powder charges are loaded. Different breech types offer varied operational methods:
- Normal Cannon Ends: Simple, but often less efficient for quick reloading.
- Sliding Breeches: Require rotational force (from Create components) to slide open for loading. Once loaded, they slide closed.
- Screw Breeches: Similar to sliding breeches, they also utilize rotational force to “unscrew” and open, then screw shut.
- Quick-Firing Breeches: These are unique. They can be opened with a simple lever and, importantly, allow projectiles and powder charges to be loaded while the cannon is assembled. This makes them excellent for rapid reloading, particularly in automated setups.
Understanding your breech type is crucial for efficient loading. Screw and sliding breeches generally cannot be loaded when closed; they must be opened first. Quick-firing breeches, however, require the cannon to be assembled to operate correctly.
From Blueprint to Blast: Constructing Your Cannon
Building a functional cannon follows a general sequence:
- Build the Structure: Lay down your cannon components. Start with a cannon mount, add barrel segments to achieve your desired length, and cap it off with an end piece (either a muzzle or a breech).
- Assemble the Cannon: Once the physical structure is complete, you need to “assemble” the multiblock. This is typically done by right-clicking a specific block, often the breech. A successful assembly will consolidate the individual blocks into a single cannon entity.
- Load the Projectile: If using a sliding or screw breech, open it first (using rotational power). Then, load your chosen projectile. It’s vital to ensure it’s facing the correct direction; for most projectiles, the black part of the shell should be inserted first.
- Load Powder Charges: After the projectile, insert your desired number of powder charges. Remember to respect the cannon’s material strength; do not exceed its maximum capacity.
- Close the Breech: If you opened a sliding or screw breech, close it using rotational force. For quick-firing breeches, simply toggle the lever.
- Fire: Activate the firing mechanism. This can be a simple lever, a redstone signal, or an automated Create setup.
Artillery Tactics: Advanced Tips
- Automated Reloading: For continuous barrages, especially with autocannons, harness the power of Create’s mechanical arms. These can be configured to automatically pick up shells and cartridges from specialized ammo containers and feed them directly into the cannon. Hoppers or chutes can further streamline the supply chain into the cannon mount.
- Cannon Assembly Check: A common stumbling block is assembly failure. Always ensure your cannon has exactly one opening and one closed end. Any deviation from this rule will prevent successful assembly.
- Strategic Fuze Use: Experiment with different fuzes to achieve varied projectile behaviors. A timed fuze can create devastating airbursts, while a contact fuze is reliable for direct hits.
- Material Selection for Durability: While wooden cannons are tempting early on, invest in higher-tier materials like steel and bronze as soon as possible. Their superior strength and resistance to explosion will save you resources and frustration in the long run.
Avoiding Catastrophe: Common Pitfalls
Even the most seasoned engineers can make mistakes. Be aware of these common issues:
- Incorrect Loading Direction: Always insert projectiles correctly, typically with the black part of the shell going in first. Loading them backward will prevent the cannon from firing and waste your ammunition.
- Improper Cannon Assembly: The rule is strict: one opening and one closed end. Any other configuration, like two open ends or two closed ends, will fail to assemble the multiblock cannon.
- Removing Addons Mid-Game: Be extremely cautious about removing certain ‘Big Cannons’ addons from your modpack. Doing so can permanently break the assembly of large cannons in existing worlds, leading to persistent errors. While autocannons might still function, your grand artillery pieces could become unusable.
- The Peril of Wooden Cannons: As mentioned, wooden cannons are incredibly fragile. Even a single powder charge can cause them to explode. They are best used as a last resort or for very small, non-critical applications.
- Ignoring Cannon Strength: Overloading a cannon with more powder charges than its material can handle is a surefire way to trigger an explosion. Always check the material’s capacity before loading.
- Loading Closed Breeches: Remember that screw and sliding breeches must be opened (using rotational force) before you can load projectiles or powder. Attempting to load them while closed will fail. Quick-firing breeches are the exception, requiring the cannon to be assembled to operate their loading mechanism.
Mastering the ‘Create Big Cannons Neoforge’ mod transforms your Minecraft experience, turning you into a formidable artillery commander. With careful planning, understanding of kinetic mechanics, and attention to detail, you can construct and operate cannons that will leave a lasting impact on your world – and your enemies.
Tags:
YOU MAY ALSO LIKE...