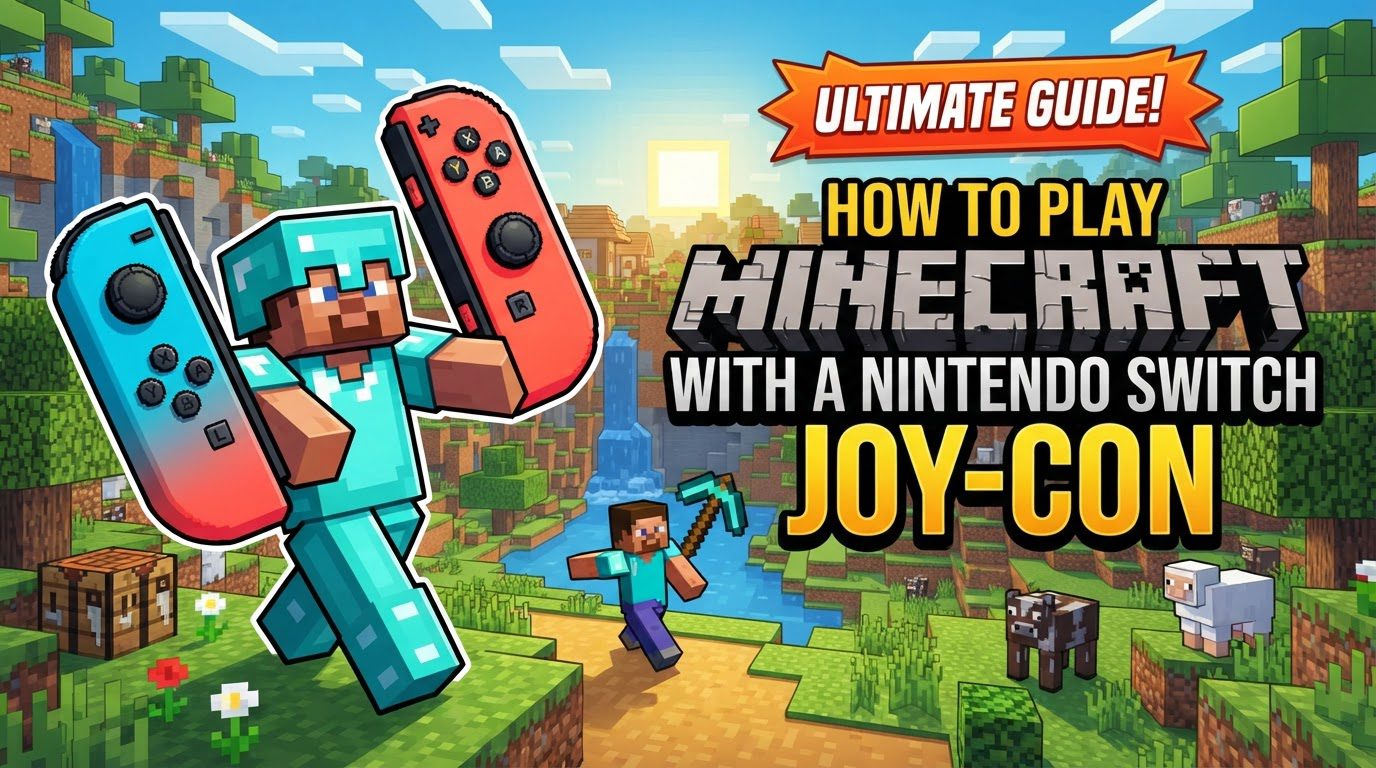
Playing Minecraft with a Nintendo Switch Joy-Con, Explained
Minecraft on the Nintendo Switch offers a uniquely portable and versatile way to dive into its endless worlds of creativity and adventure. Central to this experience are the Nintendo Switch Joy-Cons, which provide the tactile input needed to build, explore, and survive. Understanding how to effectively use these controllers, from basic movement to advanced actions, is crucial for both new and seasoned players. This comprehensive guide will walk you through the essential controls, setup procedures, helpful tips, and common pitfalls to ensure your Minecraft journey on the Switch is as smooth and enjoyable as possible.
Mastering the Controls: Key Mechanics
The Joy-Cons are ingeniously designed to offer a full range of controls despite their compact size. Familiarizing yourself with each button and stick’s function is the first step to becoming proficient in Minecraft on the Switch.
- Left Analog Stick: This is your primary control for character movement. Pushing it forward moves your player in that direction, while pulling it back moves them backward. Pushing it left or right allows you to strafe, which is essential for precise positioning during building or combat scenarios.
- Right Analog Stick: Crucial for spatial awareness and aiming, the Right Analog Stick controls your camera movement. Looking around effectively allows you to survey your surroundings, aim your attacks, and place blocks accurately.
- ZL button: The ZL button is primarily used for placing blocks and utilizing items. Whether you’re constructing a magnificent fortress or consuming a healing potion, this button executes the action of the item currently selected in your hotbar.
- ZR button: This button is your main interaction tool for attacking enemies and breaking blocks. Holding it down will continuously mine blocks, while a quick press will initiate an attack against a nearby mob or player.
- B button: The B button serves multiple vital functions depending on your situation. It allows your character to jump, swim upwards when in water, and ascend into the sky if you’re in Creative mode and flying.
- A button: Conversely, the A button also has contextual uses. It allows you to sneak, which is crucial for not falling off ledges or for approaching hostile mobs quietly. It also lets you dismount from ridden entities like horses or minecarts, and in Creative mode, it enables you to fly downwards.
- X button: Pressing the X button instantly opens your inventory, providing access to all your collected items, crafting grid, and equipped armor slots.
- Y button: For on-the-go crafting, the Y button opens the crafting UI, allowing you to create essential tools, blocks, and items from your available resources.
- LB/L button: These buttons are used for cycling through your hotbar. The LB/L button moves your selection to the left, allowing you to quickly switch between different tools, weapons, and blocks.
- RB/R button: Similarly, the RB/R button cycles your hotbar selection to the right, providing an alternative direction for quick item access.
- Left Stick Click: Pressing down on the Left Analog Stick (L3) activates sprint, allowing your character to move much faster across the terrain, which is invaluable for exploration and escaping danger.
- Right Stick Click: Clicking the Right Analog Stick (R3) while flying in Creative mode enables a slow descent, offering more control when positioning yourself for building or observation.
- Control Pad Up: By default, pressing Control Pad Up changes your camera perspective, allowing you to switch between first-person, third-person front, and third-person back views.
- Control Pad Down: The Control Pad Down button is set by default to drop items. This can be useful for sharing resources with other players or discarding unwanted items from your inventory.
- Control Pad Left: This control pad direction opens or closes the emote menu, allowing you to express yourself in-game with various animations.
- Control Pad Right: Pressing Control Pad Right opens the chat window, enabling communication with other players in multiplayer sessions.
- Plus (+) button: The Plus (+) button is your gateway to the game menu, where you can pause the game, access settings, save and exit, and manage other game-related options.
- Minus (-) button: The Minus (-) button has several functions: it lists players in a multiplayer session, opens or closes in-game notifications, and displays or hides the status effect window, showing any buffs or debuffs affecting your character.
Getting Started: Step-by-Step Process for Setup
Setting up your Joy-Cons for a solo or multiplayer Minecraft session on the Switch is straightforward. Follow these steps to ensure a smooth start to your adventure.
- Controller Requirement Check: First, ensure that each player has a complete controller setup. For multiplayer, this means each individual needs either a pair of Joy-Cons (one Left and one Right Joy-Con used together) or a Nintendo Switch Pro Controller. It’s important to note that attempting to play core Minecraft gameplay with a single Joy-Con held sideways is generally not effective due to the game’s requirement for two analog sticks.
- Navigate to Controller Settings: From the Nintendo Switch main menu, locate and select the “Controllers” icon. Within this menu, choose the “Change Grip/Order” option. This screen is where you’ll pair and configure your controllers.
- Connecting Joy-Cons as a Pair: To connect a pair of Joy-Cons, hold down the small, circular sync button located on the side of each Joy-Con simultaneously. Keep holding them until the player indicator lights on the side of the Joy-Cons begin to flicker. The Switch will then recognize them as a single controller unit.
- Loading Minecraft: Once your controllers are successfully connected and recognized by the system, you can proceed to load into a Minecraft world.
- Initiating Split-Screen Multiplayer: For a second player to join your game in split-screen mode, they must press the Plus (+) button on their already connected controller.
- User Account Confirmation: A crucial step for multiplayer is that each player requires a separate Nintendo Switch user account. After the second player presses the Plus (+) button, the system will prompt them to confirm which user account they will be playing under. Once confirmed, split-screen play will begin, allowing two players to share the same screen and world.
Enhancing Your Experience: Important Tips
Beyond the basic controls, there are several ways to optimize your Minecraft gameplay with Joy-Cons on the Nintendo Switch.
- Customize Button Mappings: Minecraft offers extensive controller settings. Take advantage of these by customizing button mappings to suit your personal preferences and playstyle. If a default control feels awkward, you can often reassign it to a more comfortable button, improving your reaction time and overall comfort.
- Increase Field of View (FOV): Especially when playing on larger screens, consider increasing your Field of View (FOV) setting in the game options. A higher FOV allows you to see more of the game world on your screen simultaneously, providing better situational awareness and making exploration and building more efficient.
- Change Sprint Settings to “Sprint by Toggle”: For builders and those who value precision, changing the sprint setting to “Sprint by Toggle” is highly recommended. This prevents accidental sprinting during delicate tasks like placing blocks on high structures, where a misstep could lead to a fatal fall. With “Sprint by Toggle,” you activate sprint once and remain sprinting until you stop or reactivate it, rather than constantly holding down a button.
- External Accessories: To further enhance accuracy and control, consider investing in external accessories. Performance thumbsticks can provide extra grip and height for the analog sticks, offering finer control, while no-slip thumb grips prevent your thumbs from sliding during intense gameplay sessions.
Navigating Challenges: Common Mistakes to Avoid
While playing Minecraft with Joy-Cons is generally straightforward, being aware of common pitfalls can save you frustration.
- Avoiding Single Joy-Con Gameplay: As mentioned earlier, attempting to play core Minecraft gameplay with a single Joy-Con held sideways is generally not effective. Minecraft on the Switch is designed for a controller setup that includes two analog sticks, making a pair of Joy-Cons or a Pro Controller essential for a full and functional experience.
- Minus (-) Button Issues on iOS/iPadOS: It’s important to note a specific issue regarding the Minus (-) button on Joy-Cons when they are connected to iOS/iPadOS devices for playing Minecraft. In this specific scenario, the Minus (-) button may not function correctly, which can affect your ability to see mob effects or accept in-game invites. This is a platform-specific issue when using Joy-Cons as external controllers for Minecraft on Apple mobile devices, not typically for Minecraft on the Nintendo Switch itself.
- Joy-Cons Not Recognized in Portable Mode: Some users have reported instances where their Joy-Cons are not recognized by Minecraft when they are physically attached to the Switch in portable mode. If you encounter this, try detaching and reattaching them, or restarting the game. Ensuring the Joy-Cons are properly seated and recognized by the Switch system software first can often resolve this.
- Multiplayer Controller Requirements: A common mistake for new multiplayer players is assuming that a single Joy-Con per person will suffice. For Minecraft on the Switch, each player requires a full controller setup. This means either a complete pair of Joy-Cons (Left and Right) or a Nintendo Switch Pro Controller for every individual participating in multiplayer. A single Joy-Con per person will not provide the necessary inputs for comprehensive gameplay.
By understanding the controls, following the setup instructions, applying helpful tips, and avoiding common mistakes, you are well-equipped to enjoy countless hours of Minecraft on your Nintendo Switch with your Joy-Cons. Whether you’re building colossal structures, exploring vast biomes, or battling formidable foes, your Joy-Cons will be your trusted companions on every adventure. Happy crafting!
Tags:
YOU MAY ALSO LIKE...