Rotating Item Frames for Map Display
Minecraft’s item frames are versatile tools for decoration and information display, but their interaction with maps offers a unique set of mechanics, particularly when it comes to rotation. Understanding how to precisely rotate maps within item frames is essential for creating immersive and informative world displays, from simple wall hangings to expansive, multi-map panoramas.
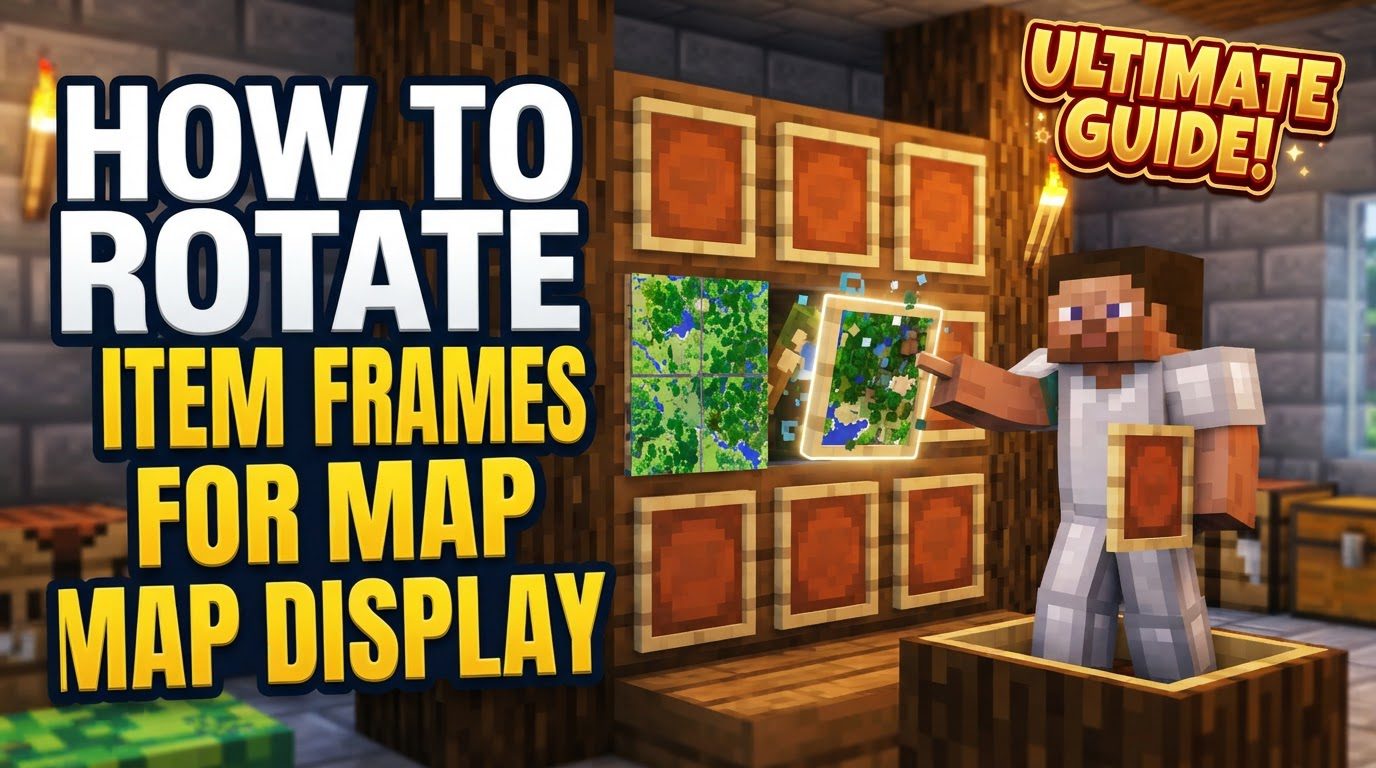
The core utility of an item frame for map display lies in its ability to transform a small, handheld map item into a large, wall-mounted visual. Upon placing a map into an item frame, it immediately enlarges to cover the entire block face the item frame is attached to. This fundamental mechanic is what allows players to create vast, detailed map walls that seamlessly blend together, turning individual maps into segments of a much larger, cohesive world representation.
Understanding Item Frame and Map Rotation Mechanics
While the item frame itself possesses an internal mechanism that supports 8 distinct rotation states for virtually any item placed within it, maps behave somewhat uniquely in their visual representation. Despite the item frame cycling through all eight of its internal rotation states when right-clicked, maps will only visually present 4 unique rotations to the player. This means that while the game internally registers 8 different rotational positions for a map, only four of these translate into a perceptibly different visual orientation on the display. Understanding this distinction is crucial to avoid confusion when attempting to precisely orient a map, as repeated clicks may seem to cycle through the same visual states more frequently than expected, even though the underlying item frame state is indeed changing.
The method for initiating rotation is straightforward: right-clicking an item frame with a map inside rotates the map 45 degrees clockwise. Each subsequent right-click without an item in hand will advance its rotation by another 45 degrees in the same clockwise direction, cycling through its available states.
It’s also important to note a subtle architectural difference between game editions. In Java Edition, item frames are recognized as entities, akin to mobs or dropped items. Conversely, in Bedrock Edition, they are classified as block entities, similar to chests or furnaces. This distinction can have implications for advanced manipulation, particularly when dealing with NBT data or command-based interactions.
Beyond visual display, item frames also possess a functional property: they can emit a Redstone signal whose strength varies with the rotation of the item within. This feature opens up possibilities for sophisticated Redstone contraptions that react to or control the orientation of items, though its direct application for simple map display rotation is less common.
Step-by-Step Process for Rotating Maps
Orienting your maps correctly is a simple process involving just a few steps:
- Place an item frame: Begin by placing an item frame onto any solid block. This can be a wall, floor, or ceiling, depending on where you wish to display your map. Ensure the item frame is positioned exactly where you want the map to appear.
- Insert the map: With a fully explored map item in your hand, right-click the empty item frame. The map will instantly be placed inside, enlarging to cover the entire block face.
- Rotate the map: To adjust the map’s orientation, simply right-click the item frame again. Crucially, ensure you are not holding any items in your hand when you right-click for rotation. Each click will rotate the map 45 degrees clockwise. Continue clicking until the map is oriented precisely as you desire, remembering the 4 unique visual rotations available.
Advanced Techniques and Important Considerations
For players looking to elevate their map displays beyond a single frame, several advanced techniques and tips can enhance the experience:
- Large map displays: To create an impressive, seamless wall of maps, gather multiple fully explored and adjacent map items. Place these maps into a grid of item frames. The key to a cohesive display is ensuring all maps are completely explored and accurately represent contiguous areas of your world. When placed side-by-side, they will form a much larger, continuous panorama.
- Green pointer indicator: When viewing a map, your current location is typically marked by a white pointer. However, if you have an item frame placed within the area covered by that map, its position will be indicated by a green pointer. This green pointer also reflects the direction the item frame is facing, which can be useful for planning and aligning your map displays.
- Advanced control with command blocks: For those seeking automation or custom animated displays, command blocks offer powerful control over item frame rotation, particularly in Java Edition. Commands can be used to set specific rotation states, create dynamic displays, or even trigger rotations based on in-game events. This allows for creativity far beyond simple manual clicking.
- Preventing accidental rotations or breakage: In adventure maps or public builds where item frames are critical design elements, accidental rotation or destruction can be problematic. Commands can be employed to make item frames invulnerable or lock their rotation. This ensures that players cannot inadvertently alter the display or break the item frame, preserving the intended aesthetic and functionality of the build.
Common Mistakes to Avoid
Despite the simplicity of rotating maps in item frames, several common pitfalls can lead to frustration or an imperfect display. Awareness of these can save time and effort:
- Misconception about map rotations: A frequent misunderstanding is expecting maps to have 8 visually distinct rotations, mirroring the item frame’s internal states. As previously mentioned, maps only display 4 unique orientations. Players might click through all 8 internal states expecting a unique visual for each, leading to confusion when some clicks appear to yield no visual change. Patience and understanding this limitation are key.
- Accidental over-rotation: When manually rotating maps, it’s easy to right-click one too many times, causing the map to over-rotate past the desired orientation. This necessitates cycling through the remaining rotations to return to the correct one, which can be tedious, especially in large displays. Careful, deliberate clicking is recommended.
- Incomplete or misaligned maps: For large, multi-map displays, using maps that are not fully explored or are incorrectly aligned can result in noticeable visual gaps or inconsistencies. Ensure all maps are thoroughly explored to their edges and placed in the correct sequence and orientation to achieve a seamless, continuous image.
- Expecting independent rotation of map elements: Players sometimes expect that markers embedded on a map, such as banners, can be rotated independently of the map itself. This is not possible; maps and any embedded markers rotate together within an item frame. The entire map image, including its markers, rotates as a single unit.
- Challenges with advanced Bedrock Edition rotations: While command blocks offer extensive control in Java Edition, manipulating NBT data for complex item frame rotations is generally more difficult in Bedrock Edition. This is primarily due to item frames being block entities rather than full entities, which affects how their data can be accessed and modified via commands. Advanced Bedrock builders often resort to workarounds like using structure blocks to copy and paste pre-rotated item frames, rather than directly modifying their rotation state with commands.
Mastering the rotation of maps in item frames is a valuable skill for any Minecraft player. By understanding the core mechanics, following the simple steps, and being mindful of common mistakes, you can create stunning and functional map displays that enhance your gameplay experience and showcase your world in incredible detail.
Tags:
YOU MAY ALSO LIKE...