

Setting Up a Player Warp System — A Quick Guide
Setting up a player warp system in Minecraft is a fundamental step for many server administrators looking to enhance player experience and navigation. Such systems empower players to create and manage their own teleportation points, fostering community interaction and easing travel across vast worlds. This guide will walk you through the comprehensive process of establishing a robust player warp system on your Minecraft server, leveraging server plugins and best practices.
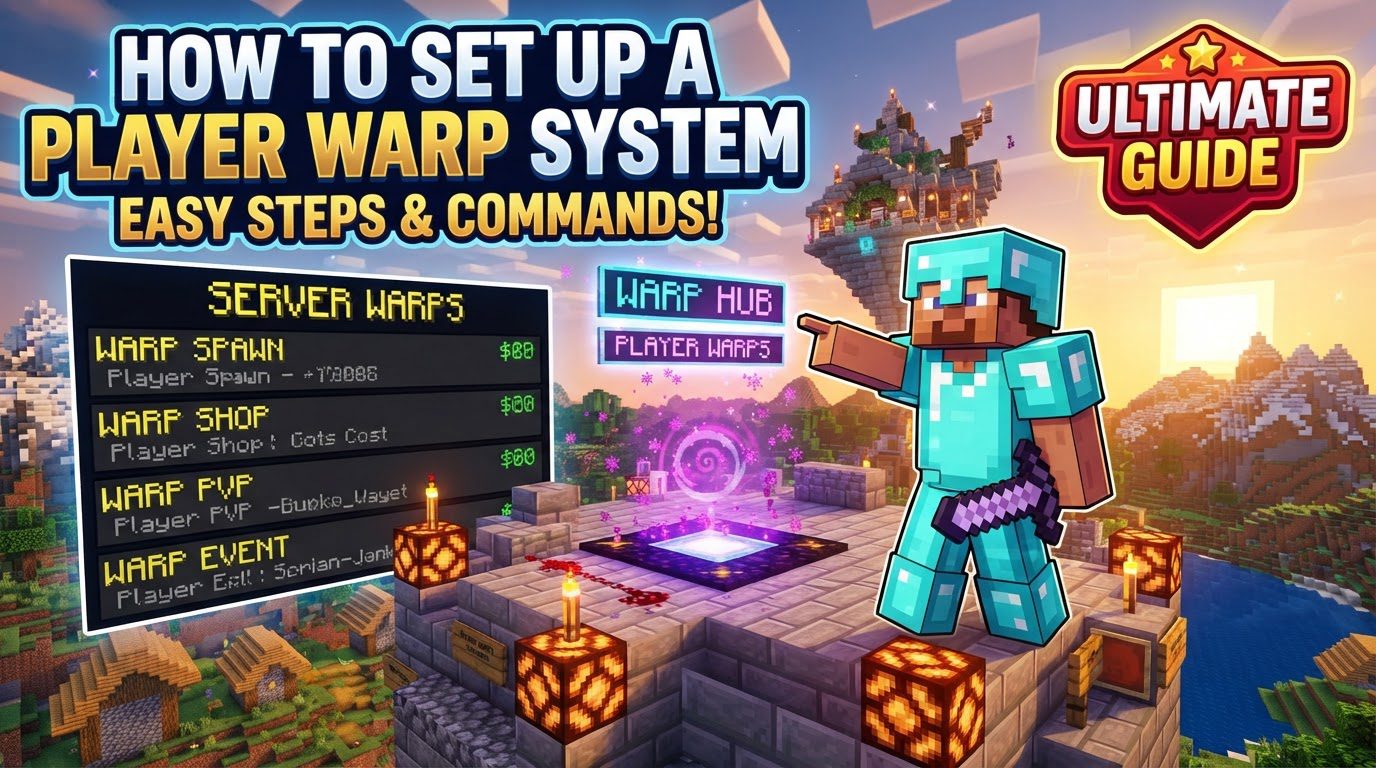
Understanding Player Warp Systems
At its core, a player warp system allows players to establish publicly accessible teleportation locations. These systems are not a native feature of vanilla Minecraft but are primarily implemented through specialized server plugins. These plugins transform a standard Minecraft server into a more dynamic and player-friendly environment, offering convenience and new avenues for player engagement.
- Core Functionality: Player warps serve as customizable teleportation points that players can create, share, and utilize. They eliminate the need for lengthy journeys and facilitate quick access to player shops, bases, public builds, or other points of interest.
- Plugin Dependence: The backbone of any player warp system is a server plugin. Popular choices include “Player Warps,” “Essentials,” “MyWarp,” or “GWarps.” These plugins are designed to run on server platforms like Spigot, Paper, or Bukkit, which provide the necessary API for plugin functionality.
- Command-Driven Management: Plugins typically provide a suite of commands for comprehensive warp management. These commands allow players and administrators to create new warps, delete existing ones, teleport to specific locations, and modify various warp properties.
- Graphical User Interfaces (GUIs): Many modern warp plugins offer intuitive Graphical User Interfaces (GUIs). These in-game menus allow players to browse available warps, view their details, and select a destination with ease, significantly improving the user experience compared to command-line teleportation.
- Rich Features: Beyond basic teleportation, robust warp systems often include a variety of advanced features. These can encompass adding descriptions to warps, assigning custom icons for visual identification, organizing warps into categories for better navigation, implementing costs for warp creation or usage, and controlling access through public, private, or whitelisted settings.
- Permissions Integration: To maintain server control and fairness, permissions plugins like LuckPerms are indispensable. They allow administrators to define precisely what abilities different player ranks possess regarding warp creation, usage, and management. This includes setting limits on the number of warps a player can create, preventing server clutter and abuse.
- Economy Integration: For servers with an established in-game economy, integration with economy plugins such as Vault is a common practice. This allows server owners to introduce costs for creating warps, using warps, or even sponsoring warps, thereby adding another layer of economic interaction and resource management to the server.
Step-by-Step Setup Process
Implementing a player warp system requires a methodical approach, starting from your server setup and moving through plugin installation and configuration.
- Server Setup: The foundational requirement is a Minecraft server running a compatible platform. Ensure your server is running either Spigot, Paper, or Bukkit. These modified server jars provide the necessary framework for plugins to operate effectively. Without one of these, plugins cannot be installed or function.
- Install Plugins: The next critical step is to acquire your chosen player warp plugin. For instance, if you opt for “Player Warps,” you will download its `.jar` file. Crucially, you must also identify and download any required dependencies. For example, if your warp plugin relies on an economy system, you’ll need an economy plugin like Vault, and a permissions plugin such as LuckPerms will almost always be a necessity for proper management. Always check the plugin’s documentation for its specific dependency requirements.
- Deployment: Once you have downloaded all the necessary `.jar` files for your player warp plugin and its dependencies, carefully place these files into your server’s `plugins` folder. This folder is located in the root directory of your Minecraft server installation. Incorrect placement will prevent the plugins from loading.
- Restart Server: After placing the plugin files, it is vital to restart your Minecraft server. This action allows the server to detect and load the newly added plugins. During this process, most plugins will generate their initial configuration files (often `.yml` files) within their respective folders inside the `plugins` directory. These files are essential for customization.
- Configure Permissions: This is a crucial administrative step. Using your chosen permissions plugin (e.g., LuckPerms), you must grant players the appropriate permissions to interact with the warp system. This involves assigning specific permission nodes to different player ranks or individual players. For example, a permission node like `pw.limit.` might be used to control the maximum number of warps a player can create. Without correct permissions, players will be unable to utilize the warp system, even if the plugin is installed.
- Create a Warp: With the plugins installed and permissions configured, players (or administrators) can now create warps in-game. To do so, stand at the exact location where you wish the warp to be, and then execute the appropriate command. Common commands include `/pwarp create `, `/setwarp `, or `/warp set `. Replace “ or “ with your desired unique identifier for the warp.
- Manage Warp Properties (Optional): After creation, you can further customize your warps. Most plugins offer commands to modify various properties. Examples include `/pwarp description set ` to add a descriptive text, `/pw icon set ` to assign a custom item icon that appears in a GUI, or `/pw lock ` to control public access. These customizations enhance the usability and appeal of your warps.
- Access Warps: Players can teleport to established warps using specific commands, such as `/pwarp ` or `/warp `. Alternatively, if the plugin supports it, players can access an in-game GUI by using commands like `/pwarp` or `/pw`. This GUI typically displays a list of available warps, allowing for easy browsing and selection.
Important Tips for an Optimal Warp System
To ensure your player warp system is efficient, user-friendly, and contributes positively to your server’s ecosystem, consider these important tips:
- Prioritize Permissions: A well-structured permissions system is paramount. Carefully configure permissions for different player ranks (e.g., default, VIP, moderator) to dictate who can create, modify, and use warps. This ensures that powerful commands are restricted to trusted individuals and that regular players have appropriate access without causing disruption. Proper permission management is key to server stability and fairness.
- Leverage Economy Integration: If your server utilizes an economy, integrate it with your warp system. Establishing costs for warp creation, usage, or even sponsorship can add a valuable economic sink, helping to manage inflation and encourage players to earn in-game currency. This creates a dynamic economic layer where warps become a valuable commodity.
- Utilize GUIs: Whenever possible, choose a warp plugin that offers a user-friendly Graphical User Interface. GUIs significantly improve the player experience by providing an intuitive visual method for browsing and accessing warps, rather than requiring players to remember specific commands and warp names. This makes the system more accessible to all players.
- Categorize and Describe: Encourage or enforce the categorization of warps. Organizing warps into logical groups (e.g., “Player Shops,” “Farms,” “Public Builds”) makes them easier to find. Additionally, adding clear, concise descriptions and appealing custom icons to each warp helps players understand their purpose and location at a glance, enhancing navigation and engagement.
- Set Warp Limits: Implement reasonable limits on the number of warps individual players can create. This is crucial for maintaining server performance and preventing the warp list from becoming excessively cluttered and unmanageable. Without limits, an abundance of unused or poorly placed warps can degrade the overall player experience and server efficiency.
- Regular Maintenance: Some advanced warp plugins offer features for automatic deletion of warps created by inactive players. Utilize these features to keep your warp list current and relevant. Regularly reviewing and cleaning up outdated or abandoned warps helps to maintain an organized and efficient warp system.
Common Mistakes to Avoid
Even with careful planning, certain pitfalls can hinder the successful implementation of a player warp system. Being aware of these common mistakes can save you significant troubleshooting time.
- Missing Dependencies: A frequent error is failing to install all required plugins. For example, if your chosen warp plugin requires Vault for economy features, but Vault is not present, the economy aspects of your warp system will not function correctly, or the plugin itself might fail to load. Always verify and install all listed dependencies.
- Incorrect Installation: Placing plugin `.jar` files in the wrong directory (e.g., directly in the server root instead of the `plugins` folder) or forgetting to restart the server after installation are common oversights. The server must be restarted for new plugins to be recognized and loaded into memory.
- Permission Oversights: Incorrectly configuring permissions is a major source of frustration. If players are not granted the correct permission nodes, they will be unable to create, manage, or even use warps, despite the plugin being installed. Double-check your permissions plugin configuration for accuracy.
- Command Conflicts: Running multiple plugins that share identical warp commands (e.g., two plugins both using `/warp`) can lead to command conflicts. This results in unpredictable behavior, where one plugin’s command might override another’s, or neither works as intended. Review plugin documentation for command aliases or consider using plugins with unique command sets.
- Restricted Warp Locations: Attempting to set warps in areas where the plugin or server configuration prevents them is another common issue. This includes protected administrative regions, spawn points, or specific worlds where warp creation is intentionally disabled. Ensure the desired warp location is permissible.
- Unbalanced Economy: If you’ve integrated an economy system, not setting appropriate costs for warp creation or usage can lead to an unbalanced server economy. Costs that are too high might deter players, while costs that are too low could devalue currency or lead to excessive warp creation. Carefully calibrate your economic settings.
- Ignoring Performance: Overloading the server with an excessive number of warps, especially without proper limits, or implementing complex warp effects without considering server resources, can lead to significant lag. Regularly monitor server performance and be mindful of the impact of your warp system’s scale.
By carefully following these steps and considering the important tips and common mistakes, you can successfully set up a player warp system that greatly enhances the navigational ease and overall enjoyment for players on your Minecraft server.

