Minecraft Farm 2026
A single block of water can hydrate 80 surrounding blocks of farmland, a foundational principle for efficient farming in Minecraft. As the game evolves, so do the strategies for cultivating resources, and understanding these core mechanics is paramount for any aspiring agriculturalist in Minecraft 2026. Whether you’re a seasoned veteran or a newcomer to the blocky world, mastering the art of farming is crucial for sustenance, resource generation, and powering elaborate Redstone contraptions.
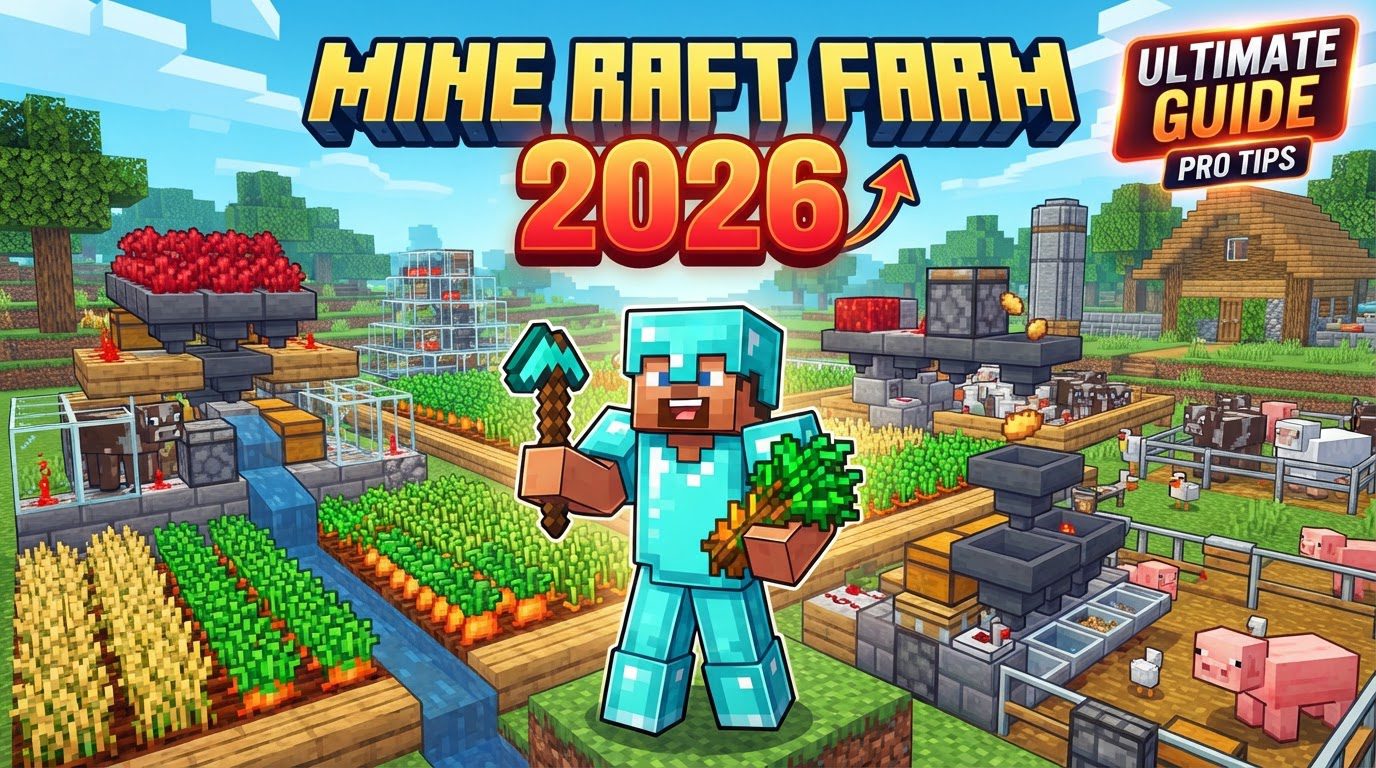
Farms in Minecraft transcend mere food production; they are the backbone of sustainable living, providing essential materials for crafting, trading, and even experience points. From basic wheat fields to complex automated systems, the principles remain grounded in a few key mechanics. This guide will delve into these fundamentals, walk you through building your first farm, and provide insights into optimizing your operations for maximum yield and efficiency.
Core Mechanics of Cultivation
At the heart of every successful Minecraft farm lies an understanding of how crops interact with their environment. These interactions dictate growth rates and yield, making them critical considerations for any design.
- Water Hydration: The most fundamental mechanic is water. Placing a single water source block will hydrate surrounding farmland, preventing it from reverting to dirt and accelerating crop growth. Critically, one water block can hydrate all farmland within a 9×9 square, with the water block itself occupying the center. This 9×9 rule is the cornerstone of efficient farm layouts, allowing for maximum crop density around a minimal water source.
- Crop Specifics: While most common crops like Wheat, Carrots, Potatoes, Beetroots, Melons, and Pumpkins require tilled farmland, there are notable exceptions. Nether Wart, for instance, thrives exclusively on Soul Sand and does not require water. Sweet Berries are unique in that they grow on plain dirt or grass blocks, require no tilling, and do not need water, making them incredibly low-maintenance for early-game food sources.
- Growth Acceleration: Beyond basic hydration, several methods can significantly speed up crop growth:
- Bees: When beehives are placed near crops and there are flowers nearby, bees will pollinate crops such as Wheat, Potatoes, Carrots, Melons, Beetroots, Berries, Pumpkins, and Cave Vines. This pollination directly advances their growth stages, leading to much faster harvests.
- Alternating Crops: A clever trick to boost growth involves planting different crop types in alternating rows. For reasons tied to the game’s internal growth ticks, this pattern can lead to faster overall growth compared to monoculture fields.
- Automation Foundations: The true power of Minecraft farming often lies in automation. Redstone components, including observers, dispensers, pistons, and sensors, can be configured to automatically harvest crops and transport them via water streams into hoppers and chests. For fully automatic crop farms, villagers are invaluable, as they will plant, harvest, and even replant crops within a certain radius, depositing collected items into nearby chests if linked to a composter.
Building Your First Farm: A Step-by-Step Guide
Starting a farm doesn’t have to be daunting. Follow these steps to establish your initial food supply and resource generation:
- Site Preparation: Begin by clearing a suitable, relatively flat area. Consider proximity to your base for easy access and resource transportation. Large, open spaces are ideal for future expansion.
- Farmland Creation: Equip a hoe (any material will do, though diamond or netherite are faster) and right-click on dirt or grass blocks to convert them into tilled farmland.
- Water Placement: Introduce a water source. For optimal coverage, dig a 1×1 hole in the center of your planned 9×9 crop area and place a water bucket there. This single water block will hydrate all 80 surrounding farmland blocks. For larger farms, repeat this pattern, ensuring water sources are strategically placed to cover all tilled land.
- Planting: With your farmland tilled and hydrated, plant your desired seeds or saplings. Right-click on the farmland with the item in hand. Remember to use Soul Sand for Nether Wart and simply place Sweet Berries on regular dirt blocks.
- Growth Enhancement (Optional but Recommended): To speed up your farm, implement the techniques mentioned earlier. Place beehives with flowers nearby (at least one flower within a few blocks of the beehive and crops) or plant different crops in alternating rows.
- Protection: Enclose your farm with fences, walls, or even a simple dirt perimeter to prevent mobs from trampling crops or damaging farmland. Crucially, provide ample lighting using torches, lanterns, or glowstone to prevent hostile mobs from spawning within the farm area, which can lead to crop destruction and dangerous encounters.
- Harvesting and Collection: Initially, you’ll likely harvest manually. However, consider simple automation early on. Water streams can be used to wash harvested crops into hoppers that feed into chests. For more advanced setups, observe how villagers interact with crops to design a fully automatic system.
Optimizing Your Farm: Advanced Techniques
Once you’ve mastered the basics, scaling up and maximizing efficiency becomes the next challenge:
- Centralized Water Sources: Always utilize the 9×9 hydration principle. This maximizes your crop-to-water ratio, making your farm compact and efficient. Design your farm around these modules.
- Early-Game Sweet Berries: For new worlds, a Sweet Berry farm is a fantastic early-game food source. They require no tilling, no water, and provide sustenance and even a small amount of damage to hostile mobs that walk through them, acting as a passive defense.
- Strategic Crop Alternation: Don’t underestimate the power of alternating crops. Experiment with patterns like Wheat-Carrot-Wheat-Carrot to see noticeable growth improvements across your fields.
- Bee Integration: Dedicate space for beehives and flowers. A small flower garden adjacent to your crop fields will encourage bees to pollinate, significantly reducing growth times for a wide array of crops.
- Robust Protection: Beyond basic fences, consider lighting every possible block. Burying light sources like glowstone or sea lanterns under glass can provide illumination without visual obstruction. A fully enclosed farm with a roof can protect against phantoms and provide a controlled environment.
- Embrace Automation: This is where farms truly shine. Learn the basics of Redstone. Observers detecting crop growth, pistons pushing blocks to break crops, dispensers releasing water, and hoppers collecting items are the building blocks. For ultimate automation, study villager mechanics. A farmer villager paired with a composter and strategically placed chests and hoppers can sustain an entire village or player base with endless food.
- Specialized Farms: Don’t limit yourself to basic crops. Explore popular and highly efficient farm types like automatic crop farms for exponential food, iron farms for limitless ingots, mob XP farms for experience and rare drops, sugarcane farms for paper and rockets, and various animal farms for meat, leather, and wool. Each offers unique challenges and rewards.
Common Pitfalls to Avoid
Even experienced farmers can make mistakes. Being aware of these common errors can save you time and resources:
- Insufficient Water: A classic error. Neglecting to provide adequate water will cause your tilled farmland to revert to dirt, destroying any planted crops and halting growth. Always double-check your hydration coverage.
- Poor Lighting: Farms that are too dim invite hostile mobs to spawn, which can trample crops, attack players, and disrupt automated systems. Ensure every block in your farm is well-lit (light level 8 or higher) to prevent unwanted spawns.
- Lack of Protection: Leaving your crops exposed to the elements or hostile creatures is a recipe for disaster. Zombies can walk over and destroy crops, while Endermen can pick up and move dirt blocks, ruining your layout. Fences, walls, and proper lighting are non-negotiable.
- Inefficient Layouts: Building sprawling, unorganized farms wastes space and makes management difficult. Failing to utilize the 9×9 water hydration principle is a prime example of an inefficient layout, leading to unnecessary water sources or unhydrated land.
- Ignoring Growth Boosters: Not taking advantage of mechanics like alternating crops or bee pollination means you’re leaving potential yield and speed on the table. These boosters are easy to implement and offer significant returns.
Mastering farming in Minecraft 2026 is an ongoing journey of learning and adaptation. By understanding the core mechanics, meticulously planning your layouts, and embracing the power of automation, you can transform your blocky world into a thriving, self-sustaining empire. Experiment, innovate, and enjoy the fruits (and vegetables!) of your labor.
Tags:
YOU MAY ALSO LIKE...