

Minecraft How to Build a Beacon
A single Nether Star, dropped by a formidable foe, is the key to unlocking one of Minecraft’s most potent utility blocks. The beacon, a coveted late-game item, transforms your base into a hub of power, providing invaluable status effects to you and your allies within its radiant aura. Beyond its practical buffs, it projects a towering beam of light into the sky, serving as an unmistakable landmark visible from vast distances. However, harnessing this power requires significant effort, strategic resource gathering, and a precise understanding of its construction.
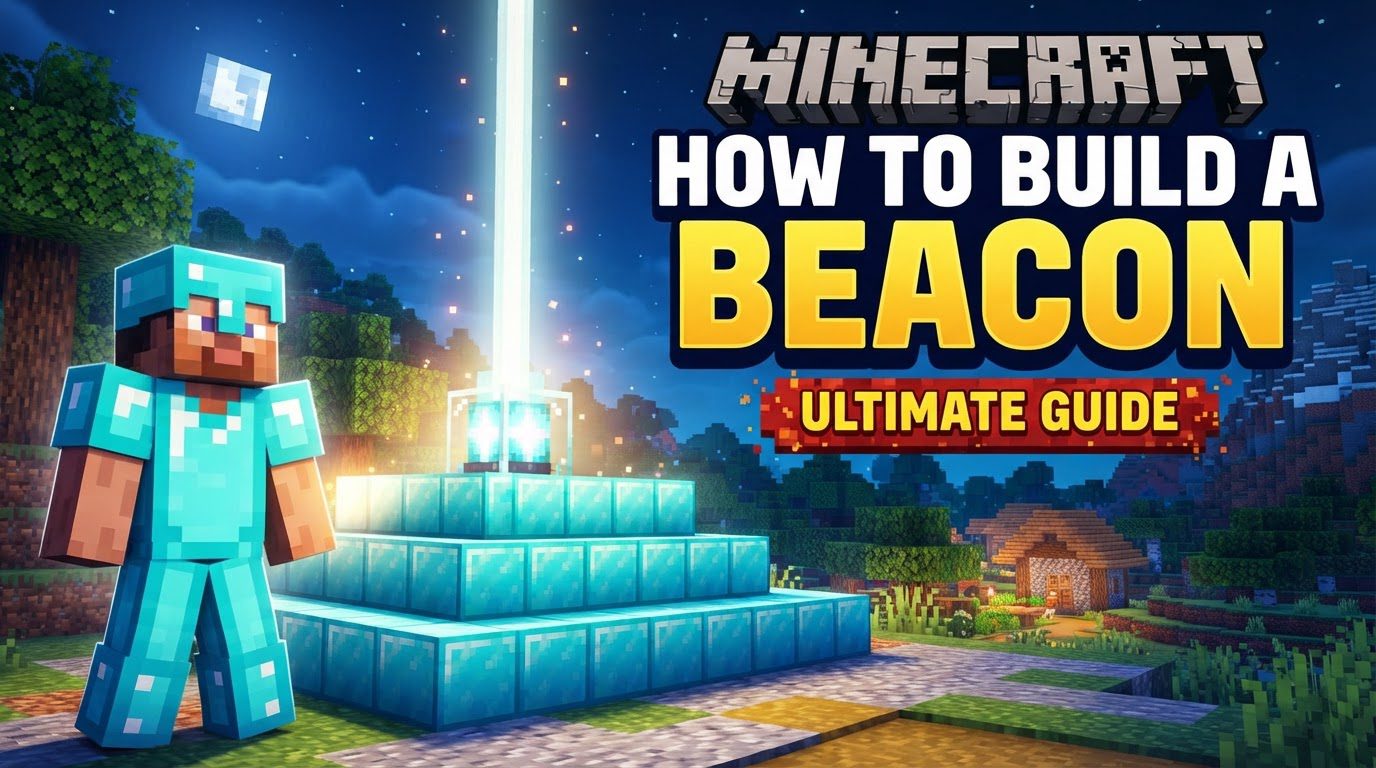
The Beacon’s Purpose and Power
At its heart, a beacon is an extraordinary utility block designed to enhance your gameplay experience. When properly activated, it bestows beneficial status effects, known as buffs, upon players in its vicinity. These effects can range from increased movement speed and mining efficiency to enhanced jumping capabilities and even passive health regeneration. The specific effects available, their potency, and their radius are directly tied to the size and structure of the pyramid upon which the beacon rests.
In addition to its buff-granting capabilities, the beacon serves as an iconic visual marker. Its vertical beam of light, piercing through the clouds, is an invaluable navigation tool, ensuring you can always find your way back to your base, even after extensive exploration. This dual functionality makes the beacon a cornerstone of any well-established Minecraft world, signifying progress and providing tangible advantages.
Forging the Core: Crafting the Beacon Block
The journey to activating a beacon begins with crafting the beacon block itself. This requires three distinct and valuable components: Glass, Obsidian, and the exceedingly rare Nether Star.
The Elusive Nether Star
The most challenging component to acquire is undoubtedly the Nether Star. This precious item is obtained exclusively by defeating the Wither boss. Summoning the Wither is a significant undertaking, requiring four blocks of Soul Sand (arranged in a T-shape) and three Wither Skeleton Skulls (placed on top). Wither Skeletons are dangerous mobs found in Nether Fortresses, and their skull drops are notoriously infrequent. Preparing for the Wither fight demands robust armor, powerful weapons, and often, an enclosed arena to contain its devastating attacks. Successfully vanquishing this boss is a true testament to a player’s combat prowess and a major milestone in Minecraft’s progression.
Gathering Glass and Obsidian
Compared to the Nether Star, the other materials are more straightforward to obtain. You will need 5 Glass blocks. Glass is easily made by smelting any type of Sand block in a furnace. Sand is abundant in deserts, beaches, and riverbeds.
For 3 Obsidian blocks, you’ll need to combine water and lava. The most common method involves pouring a bucket of water over a lava source block, or finding natural lava lakes and rivers and strategically placing water. Once formed, Obsidian can only be mined with a diamond pickaxe or a netherite pickaxe. Attempting to mine it with a lesser tool will destroy the block without dropping anything.
Assembling the Block
Once you have all the necessary materials, head to a crafting table. The recipe for the beacon block is as follows:
- Place the Nether Star in the very center slot of the 3×3 crafting grid.
- Place the 3 Obsidian blocks in the entire bottom row.
- Fill the remaining five slots (the top row and the two side slots in the middle row) with your 5 Glass blocks.
Upon completing this recipe, you will have your very own beacon block, a testament to your hard-earned progress.
Foundations of Light: Constructing the Pyramid
The beacon block alone is inert; it requires a solid, multi-layered pyramid underneath it to function. The type of material used for the pyramid does not affect the beacon’s power or effects, but its size is crucial. You can choose from blocks of iron, gold, emerald, diamond, or netherite. The choice often comes down to which valuable resource you have in greatest abundance, with iron blocks being the most common and cost-effective option for a fully powered beacon.
The pyramid can have between one and four layers, each increasing the beacon’s range and unlocking more powerful effects.
- Layer 1 (Minimum): This is the smallest functional pyramid, requiring a 3×3 base. This single layer allows for the activation of primary effects like Speed or Haste, but only at level I and with a limited range.
- Layer 2: To achieve this, you’ll need a 5×5 base. On top of this 5×5 base, you then build a 3×3 layer in the center. This larger pyramid extends the range of primary effects and unlocks the ability to choose a secondary effect from the first tier (e.g., Speed II or Haste II).
- Layer 3: This structure begins with a 7×7 base. On top of that, you build a 5×5 layer, and finally, a 3×3 layer on the very top. A three-layer pyramid offers an even greater range and allows for stronger primary effects or additional secondary effects.
- Layer 4 (Maximum Power): For the ultimate beacon, you’ll construct a massive 9×9 base. On top of this, you add a 7×7 layer, then a 5×5 layer, and finally, a 3×3 layer at the very top. A four-layer pyramid provides the maximum possible range for primary effects and unlocks the most powerful secondary effects, including Regeneration.
Remember, each layer must be solid, without gaps, and made of one of the specified valuable block types. The beacon block itself will be placed on the exact center of the topmost 3×3 layer.
Unleashing the Aura: Activating and Customizing Effects
Placing the Beacon
Once your pyramid is meticulously constructed, place the crafted beacon block directly on the center block of the topmost layer. If the pyramid is built correctly, the beacon will immediately spring to life, emitting its iconic beam of light into the sky. However, to receive beneficial status effects, further activation is required.
Fueling the Power
Right-click the beacon block to open its interface. On the left side of this interface, you will see an empty slot. To activate a primary effect, you must insert a single iron ingot, gold ingot, emerald, diamond, or netherite ingot into this slot. This item acts as fuel for the beacon’s power. Below the fuel slot, you will see various icons representing the available primary effects: Speed, Haste, Jump Boost, Resistance, and Strength. Depending on your pyramid’s size, you may also see a second row for secondary effects, including Regeneration.
Select your desired primary effect by clicking its icon. If your pyramid is large enough, you can also select a secondary effect. Once your choices are made, click the green checkmark button in the bottom right corner of the interface. The beacon will consume the ingot, and the chosen effects will immediately apply to all players within its radius, as long as they remain in range.
Enhancing Your Reach and Abilities
A larger pyramid directly translates to a wider range for the beacon’s effects and the ability to choose more powerful buffs. A one-layer pyramid only grants level I primary effects. A two-layer pyramid allows for level II primary effects or a level I primary effect with a level I secondary effect from the first tier (Speed, Haste). A three-layer pyramid opens up level II primary effects with a level I secondary effect from the second tier (Resistance, Jump Boost). Finally, a four-layer pyramid, the most resource-intensive, grants level II primary effects with a level I secondary effect, including the powerful Regeneration effect.
Personalizing the Beam
While the beacon’s beam is naturally white, you can easily change its color. Simply place a stained glass block of any color directly on top of the beacon block. The beam will instantly adopt the color of the stained glass, allowing for a touch of personalization and making your base even more distinctive.
Avoiding Common Missteps
The beacon is a powerful tool, but its activation can be tricky for first-timers. Here are some common mistakes to avoid:
- Incorrect Pyramid Construction: The most frequent error is an improperly built pyramid. Ensure all layers are solid, without gaps, and made of the correct valuable block type. The beacon must be centered precisely on the top layer.
- Missing Activation Fuel: Forgetting to place an iron ingot, gold ingot, emerald, diamond, or netherite ingot into the beacon’s interface is a common oversight. Without this fuel, the beacon will not grant effects.
- Underestimating Resource Costs: Fully powering a beacon, especially a four-layer one, requires an immense amount of valuable blocks. A 9×9 base alone needs 81 blocks, totaling 729 ingots of iron, gold, or netherite! Plan your resource gathering accordingly.
- Skipping the Wither Fight: There is no substitute for the Nether Star. Attempting to craft a beacon without first defeating the Wither boss is impossible. This boss fight is a mandatory rite of passage for beacon ownership.
Final Thoughts on Your Luminous Landmark
Building a beacon in Minecraft is a significant achievement, marking a player’s progression into the late-game. It represents not only mastery over challenging bosses and resource management but also the creation of a functional and aesthetically pleasing centerpiece for your world. With its constant buffs and guiding light, your beacon will stand as a testament to your dedication, enhancing every adventure you embark upon from your well-lit base.
Tags:
YOU MAY ALSO LIKE...


