Understanding Why Crops Fail at Specific Heights
A common misconception among new Minecraft players is that crops simply “don’t like” certain elevations, leading to frustration when their sky farm or deep underground bunker farm yields nothing. The truth is far more nuanced and grounded in fundamental game mechanics, where the specific height of your farm is rarely the direct cause of failure. Instead, issues with critical environmental factors, which can be exacerbated or overlooked at extreme heights, are almost always to blame. Understanding these core principles is key to successful farming, whether you’re at bedrock level or building an agricultural empire in the sky.
The Illusion of Height: What Truly Matters
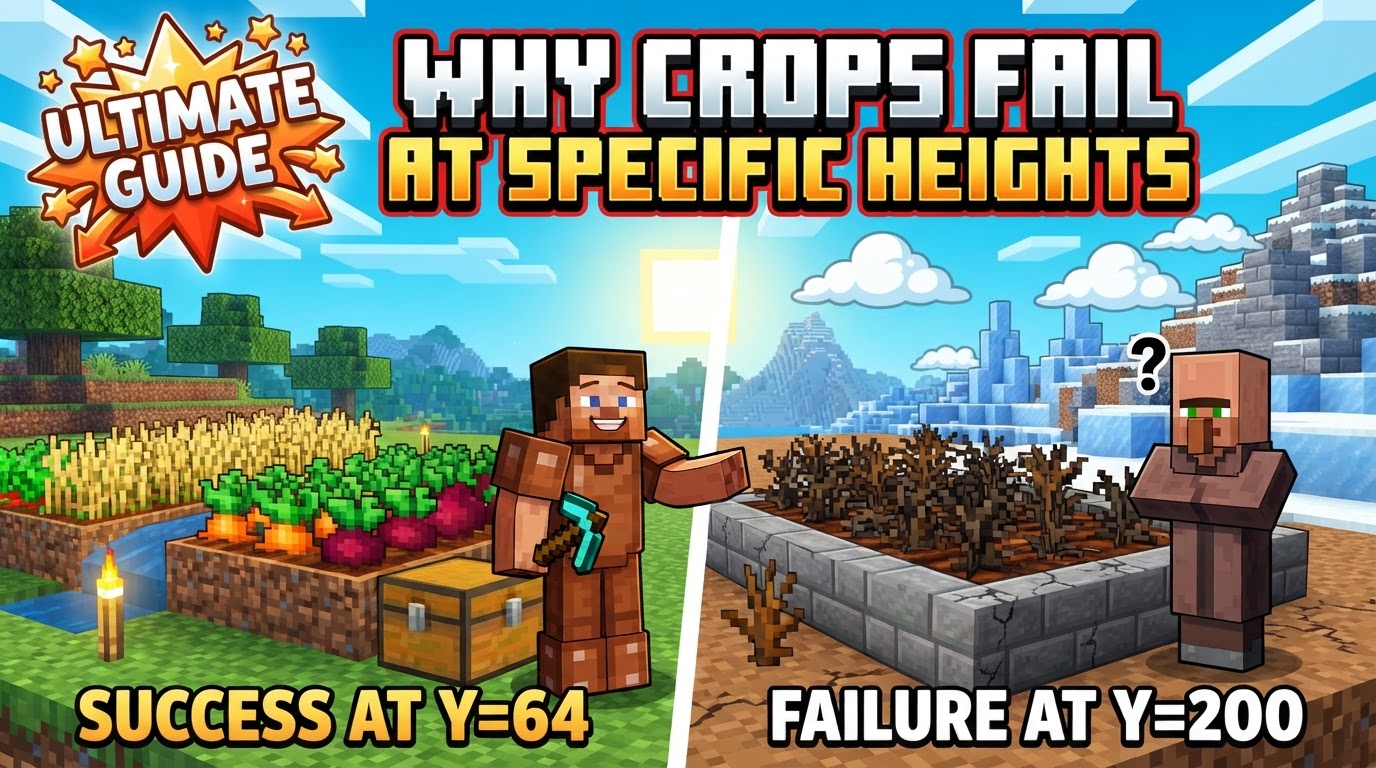
When crops fail to grow, or grow excruciatingly slowly, players often scrutinize their farm’s elevation. However, Minecraft’s crop growth mechanics are not directly tied to Y-coordinates. A wheat field at Y=64 will grow under the same conditions as one at Y=200 or Y=10. The real culprits are almost always a combination of two primary environmental factors: light levels and water hydration. These elements are essential for optimal growth, and their absence or insufficiency can easily be overlooked, especially when constructing farms in unconventional locations like deep underground caverns or high-altitude platforms.
Think of it this way: a farm high in the sky might get plenty of natural light during the day, but what about at night? An underground farm might have consistent temperatures, but how are you ensuring adequate light and water access? These are the questions that truly dictate a crop’s success, not the arbitrary height above sea level.
Illuminating Growth: The Critical Role of Light
For most crops to grow efficiently in Minecraft, the farmland block they are planted on requires a minimum light level of 9. If the light level drops below this threshold, growth will either slow down significantly or halt entirely. This is one of the most frequent reasons for crop failure, particularly in enclosed or subterranean farms where natural light is absent.
- Natural Sunlight: During the day, any exposed block on the surface receives a light level of 15, which is more than sufficient for crop growth. However, this natural light diminishes rapidly when moving indoors, underground, or even simply at night.
- Artificial Light Sources: To maintain the crucial light level of 9 or higher, especially in areas deprived of natural light, artificial sources are indispensable. Torches provide a light level of 14 at their source, glowstone blocks and sea lanterns emit 15, and even jack o’lanterns offer a light level of 15. Strategic placement of these blocks ensures that all farmland receives adequate illumination, allowing crops to grow continuously, even through the night cycle.
- Light Propagation: Remember that light dissipates with distance. A single torch might illuminate a small area, but for larger farms, multiple light sources will be necessary to cover all farmland blocks effectively. Planning your light source placement is as vital as planning your water channels.
The Lifeline of Hydration: Water’s Unseen Power
While light encourages growth, water is the absolute lifeline for crops. Farmland needs to be hydrated to allow crops to grow at their optimal speed. Unhydrated farmland will appear dry and lighter brown, and crops planted on it will grow at a snail’s pace, if at all.
- Hydration Radius: A single water block possesses the remarkable ability to hydrate farmland up to four blocks away in all cardinal directions, as well as diagonally. This mechanic makes it incredibly efficient to design farms. A common and highly effective layout involves placing a water source in the center of a 9×9 square of farmland. This single water block will hydrate all 80 surrounding farmland blocks.
- Visual Cue: Properly hydrated farmland will appear darker brown and slightly glistening. If your farmland looks dry and light brown, it’s a clear indicator that your water sources are either too far away or non-existent.
- Covering Water Sources: To prevent accidental falls, trampling crops by jumping into the water, or simply aesthetic reasons, it’s a good practice to cover your water blocks. Slabs or trapdoors placed over water will still allow the water to hydrate the surrounding farmland while providing a safe walking surface. This is particularly useful in large-scale farms where movement is frequent.
Beyond the Farm Plot: Chunk Loading and Farmland Integrity
Even with perfect light and hydration, your crops might still refuse to grow if you overlook two other critical aspects:
- Chunk Loading: Minecraft processes actions, including crop growth, only within loaded chunks. If you build a magnificent farm but then wander too far away, that farm will enter an “unloaded” state, and nothing within it will progress. This applies to both Java and Bedrock editions. In Bedrock, the typical range for loaded chunks around a player is roughly 75 blocks. For large, distant farms, players might need to employ chunk loaders (in Java Edition, often complex redstone contraptions) or simply ensure they periodically visit their farms.
- Farmland Block Integrity: Most crops require farmland as their specific growing medium. Farmland is a delicate block that can revert to dirt under two common circumstances:
- Trampling: If a player or most mobs jump on a farmland block, it will revert to plain dirt, causing any planted crop to pop out. This is a common source of frustration and can be mitigated by fencing off farms or using covered water sources/slabs to create pathways.
- Lack of Planting: If farmland is created but left unplanted for too long, it can also revert to dirt. Always plant your seeds promptly after preparing the soil.
Cultivating Success: A Step-by-Step Blueprint
Achieving a bountiful harvest, regardless of your farm’s elevation, involves a straightforward process built upon the mechanics discussed:
- Prepare Farmland: Begin by using a hoe on dirt or grass blocks to transform them into fertile farmland.
- Ensure Water Access: Strategically place water sources so that every farmland block is within a four-block radius. Utilize the 9×9 grid with a central water source for maximum efficiency. Consider covering these water sources with slabs or trapdoors.
- Provide Light: Guarantee that all farmland blocks maintain a light level of 9 or higher. For outdoor farms, natural sunlight during the day is usually sufficient, but artificial light sources are crucial for night-time growth and for any enclosed or underground farms.
- Plant Seeds: Once your farmland is hydrated and lit, plant your desired crop seeds. Do this as soon as possible to prevent farmland from reverting.
- Stay Nearby: Remember that crops only grow in loaded chunks. Ensure you remain within the active radius of your farm, or that the farm is within a chunk-loaded area, for continuous growth.
Advanced Agronomy: Boosting Your Bounties
Once you’ve mastered the basics, you can implement strategies to optimize your farm’s output and growth speed:
- Alternate Crops: While not universally understood, some players report that planting different crop types in alternating rows can subtly boost growth speed. This could be due to specific game ticks or simply a perceived benefit, but it’s a popular technique among experienced farmers.
- Bone Meal: The ultimate growth accelerator. Applying bone meal to a crop instantly advances its growth stage. This is invaluable for quickly harvesting specific crops or kickstarting a new farm.
- Cover Water Sources: As mentioned, placing slabs or trapdoors over water blocks prevents you (or mobs) from accidentally falling in or trampling adjacent crops, while still allowing the water to hydrate the farmland below.
- Prevent Trampling: Beyond covering water, consider fencing off your farm completely to keep hostile mobs out and to remind yourself not to jump carelessly on your precious crops. Strategic placement of pathways (using non-farmland blocks) can also help guide movement without destroying farmland.
Common Pitfalls: Troubleshooting Your Failing Farm
Even the most seasoned Minecraft players can make mistakes. Here are the most common reasons why crops fail, often misinterpreted as issues with “height”:
- Insufficient Light: This is arguably the leading cause of slow or stalled growth, especially in non-surface farms. Always double-check light levels, particularly in corners and edges of your farm.
- Lack of Hydration: Dry, light-brown farmland is a dead giveaway. Ensure water sources are correctly placed and within the four-block radius of all farmland.
- Unloaded Chunks: If you build a farm far from your base and never visit it, don’t expect a harvest. Crops simply won’t grow if the chunks aren’t active.
- Trampled Farmland: Accidentally jumping on farmland is a common culprit. Protect your plots with fences or strategic pathways.
- Over-committing to a Single Crop: While not a direct failure, planting vast monoculture farms without considering alternating crops or efficient harvesting techniques can lead to less-than-optimal yields and tedious maintenance.
- Ignoring Growth Speed Mechanics: Failing to utilize bone meal for quick boosts or experimenting with alternating crop patterns means you’re not maximizing your farm’s potential.
- Building Without a Plan: Haphazard farm layouts often lead to inefficient use of space, poor light/water coverage, and increased chances of trampling. A little planning goes a long way.
In conclusion, while the idea of crops failing at “specific heights” might seem intuitive, the reality in Minecraft is that height itself is a red herring. The true determinants of agricultural success are meticulous attention to light levels, water hydration, chunk loading, and farmland integrity. Master these fundamental mechanics, and your farms will flourish, whether they touch the clouds or plumb the depths of your world.
Tags:
YOU MAY ALSO LIKE...