Comparing Mob Spawner vs Natural Spawning Efficiency
Did you know that a single hostile mob wandering aimlessly in a distant unlit cave can drastically reduce the output of your meticulously designed natural mob farm? This seemingly minor detail highlights the profound difference in efficiency between farms built around a dedicated mob spawner and those relying on the game’s natural mob spawning mechanics.
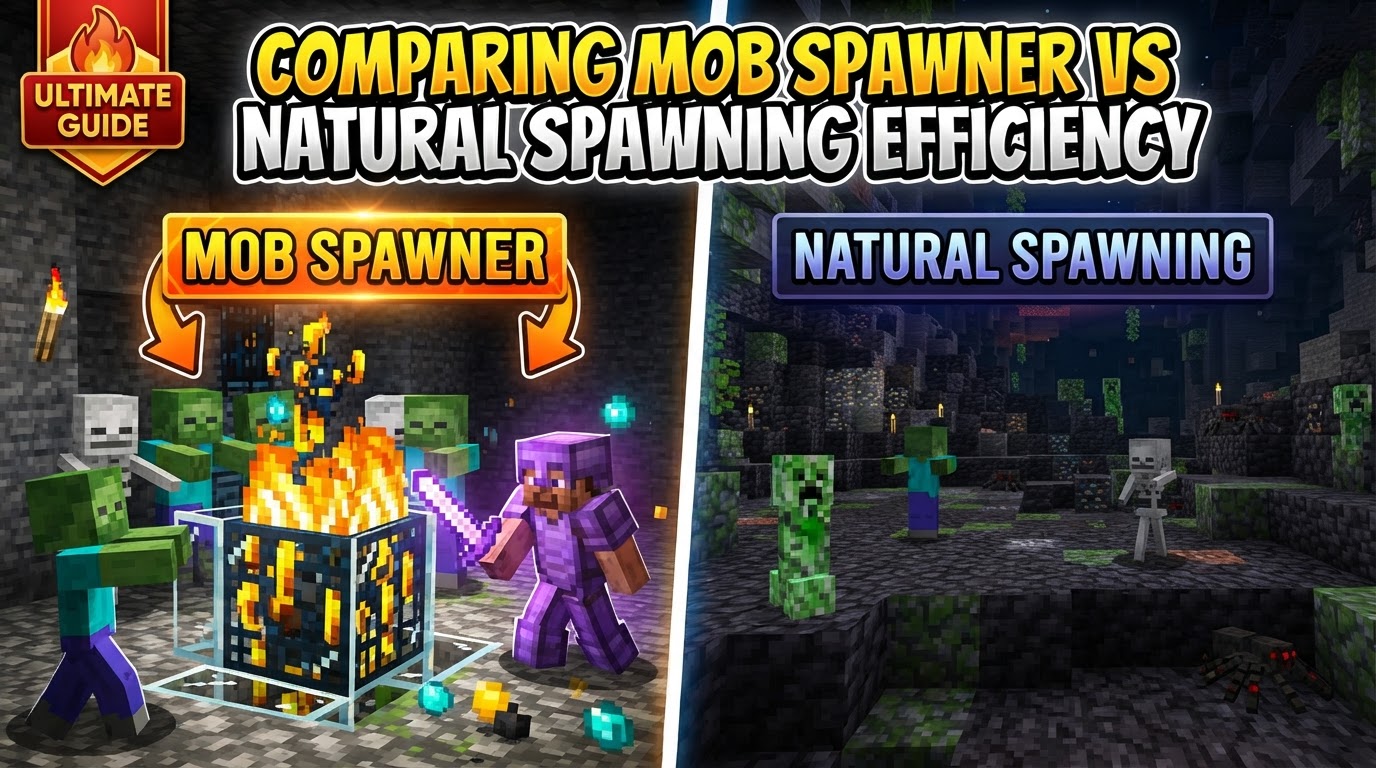
For any Minecraft player aiming to automate resource gathering or XP generation, understanding these two fundamental systems is paramount. While both can yield impressive results, their underlying principles, setup complexities, and ultimate efficiency vary significantly. This guide delves into the core mechanics, optimal building strategies, and common pitfalls associated with each, providing a comprehensive comparison to help you choose the right approach for your needs.
Understanding the Fundamentals: Mob Spawners
Mob spawners are unique blocks found naturally within specific structures across the Minecraft world. They represent a highly controlled and predictable source of mobs, offering distinct advantages for farm design.
- Specific Mob Type: Each spawner is dedicated to a single mob type, such as zombies, skeletons, spiders, or blazes. This predictability allows for targeted farming of specific drops and experience.
- Activation Range: A spawner only becomes active and attempts to spawn mobs when a player is within a 16-block spherical radius. This player proximity is crucial for farm operation.
- Spawn Attempts: Once active, a spawner attempts to spawn mobs every 10 to 40 seconds. This internal cooldown dictates its maximum rate.
- Spawn Area: Mobs are generated within a 9x3x9 block area centered on the spawner. While the internal logic is slightly more complex, this 8x3x8 space (excluding the spawner’s block itself) is where mobs can actually appear. Importantly, spawners can bypass the requirement for mobs to spawn on solid ground, allowing for unique collection designs.
- Mob Limit: A critical constraint is that a spawner will not spawn new mobs if six or more of its specific mob type are already present within a 17x9x17 block area centered on the spawner. This means efficient farm design must quickly clear spawned mobs from this detection zone.
- Mob Cap Exemption: Unlike naturally spawned mobs, mobs generated by a spawner do not count towards the global mob cap. This is perhaps their most significant advantage, allowing for consistent and high-density spawning rates regardless of other mobs existing in loaded chunks.
- Immovability: Spawners cannot be moved in Survival mode, meaning farms must be built around their fixed location.
Understanding the Fundamentals: Natural Spawning
Natural spawning is the game’s default method for populating the world with creatures. It’s a more dynamic and less controlled system, heavily influenced by environmental factors and global game rules.
- Light Level Dependence: For most hostile mobs in the Overworld, natural spawning requires a light level of 7 or less. This is why mob grinders are typically enclosed, dark structures.
- Player Proximity: Natural spawning occurs within a specific radius around the player. Mobs can spawn between 24 and 128 blocks from the player. Crucially, no mobs will spawn within 24 blocks of a player. Mobs beyond 128 blocks from the player despawn instantly, while those within 32 blocks do not despawn on their own.
- The Global Mob Cap: This is the most impactful mechanic governing natural spawning. The mob cap limits the total number of a specific mob category (e.g., hostile mobs, passive mobs) that can exist in loaded chunks at any given time. If the cap is full, no new mobs of that category will spawn naturally, regardless of available spawnable spaces.
- Spawning Attempts: In Bedrock Edition, spawning attempts are made every game tick, with a 1 in 200 chance per chunk per tick. In Java Edition, each player has a 17×17 grid of spawnable chunks around them where attempts are made.
Building for Efficiency: Mob Spawner Farms
Constructing an effective mob spawner farm is a step-by-step process focused on containment and rapid processing.
- Locate a Spawner: Your journey begins by finding a spawner. These are typically found in dungeons (zombies, skeletons, spiders, cave spiders) or Nether Fortresses (blazes).
- Clear and Illuminate Surroundings: Before building, temporarily light up the area around the spawner. This prevents unwanted natural spawns that could interfere with your construction or fill the 17x9x17 spawner detection area.
- Construct a Spawning Chamber: Build an enclosed, dark room around the spawner, ensuring it covers the full 9x3x9 potential spawn area. The design should funnel mobs towards a collection point.
- Implement a Collection System: Use water streams, pistons, or simple gravity drops to guide spawned mobs from the chamber to a central collection area. The goal is to clear them from the spawner’s detection range as quickly as possible.
- Design a Killing Mechanism: Mobs can be killed using various methods: fall damage, suffocation, lava, or a player-controlled grinder for maximum XP and drops. For XP farms, ensure the killing method leaves mobs at 1 health, allowing for a single hit kill.
- Create an AFK Spot: Position yourself within 16 blocks of the spawner to keep it active, but crucially, outside the range where mobs could spawn naturally (typically 24+ blocks away from the main spawning chamber) to avoid filling the global mob cap with unrelated mobs.
Building for Efficiency: Natural Spawning Farms (Mob Grinders)
Natural spawning farms, often called mob grinders, require a different approach, primarily focused on controlling the environment to manipulate the mob cap.
- Choose an Optimal Location: Ideal locations minimize external interference. Oceans are excellent as there are few natural spawnable blocks. Building high in the sky (at a high Y-level) also helps by placing the farm above most natural terrain.
- Light Up Surrounding Caves/Areas: This is the single most critical step for natural mob farms. Within a 128-block radius of your AFK spot, all spawnable spaces (caves, surface areas) must be spawn-proofed by lighting them up. Failure to do so will result in mobs spawning outside your farm and filling the global mob cap, severely reducing your farm’s output.
- Build Large, Dark Spawning Platforms/Rooms: Mobs require darkness (light level 7 or below) to spawn. The larger the dark, enclosed area, the more potential spawn spots are available, increasing the farm’s efficiency. Consider multiple layers of spawning platforms.
- Implement a Collection and Killing System: Similar to spawner farms, mobs are funneled from the spawning platforms to a central point using water streams or gravity, and then killed for drops and XP.
- Establish an AFK Spot: The player must be positioned between 24 and 128 blocks from the spawning platforms for mobs to generate. This ensures mobs spawn within the active range and do not immediately despawn.
Maximizing Output: Expert Tips
For Mob Spawner Farms:
- Prioritize Early Game: Zombie or skeleton spawners are excellent for early-game XP and common drops like bones and rotten flesh.
- Rapid Clearance: Design your collection system to remove mobs from the spawner’s 17x9x17 detection range as quickly as possible. This ensures consistent spawning attempts.
- Full Spawn Range: Ensure your spawning room fully accommodates the spawner’s effective 9x3x9 spawn range for maximum efficiency.
For Natural Spawning Farms:
- Mob Cap Dominance: Your primary goal is to ensure that virtually all hostile mobs that spawn within your loaded chunks do so within your farm. This is achieved by meticulously lighting up all caves and surfaces within the 128-block radius of your AFK spot.
- Strategic Placement: Building over oceans or at high altitudes significantly reduces the amount of surrounding terrain you need to spawn-proof, making the farm much more efficient to set up.
- Mob-Specific Conditions: Be aware of unique spawning requirements. For slimes, build below Y-level 40 in slime chunks, or between Y50-70 in swamp or mangrove swamp biomes (moon phases also affect swamp slime spawns).
- Water Flushing: Consider incorporating water flushing systems on your spawning platforms. Periodically activating these flushes clears mobs into the collection system, making space for new spawns.
Common Pitfalls to Avoid
Both types of farms have their own set of common mistakes that can severely impact efficiency.
- Not Lighting Up Surrounding Areas: This is the number one cause of inefficiency in natural mob farms. Mobs spawning in unlit caves or on the surface outside your farm will fill the global mob cap, preventing new mobs from appearing in your carefully designed grinder.
- Incorrect Player Positioning:
- For natural farms: Standing too close (within 24 blocks) prevents spawning. Standing too far away (over 128 blocks) causes mobs to despawn before they can be collected.
- For spawner farms: Being outside the 16-block activation range will stop the spawner from functioning entirely.
- Mob Cap Misunderstanding: Failing to grasp how the global mob cap works leads to frustration. If your farm isn’t producing, chances are the cap is full elsewhere.
- Poor Farm Design: Inefficient collection systems or killing mechanisms can lead to mobs accumulating. In spawner farms, this stops new spawns. In natural farms, it can slow down the rate at which mobs are processed and new ones spawn.
- Ignoring Mob-Specific Conditions: Assuming all mobs spawn under the same conditions can lead to failure. Light levels, biomes, and even moon phases (for slimes) are crucial for certain mob types.
In conclusion, mob spawner farms offer consistency and predictability due to their independence from the global mob cap, making them ideal for targeted resource gathering and early-game XP. Natural spawning farms, while more complex to set up due to the need for extensive spawn-proofing, can ultimately yield higher volumes of diverse mob drops once optimized, making them powerful late-game resource generators. Your choice depends on your specific needs, available resources, and willingness to manage the intricate mechanics of Minecraft’s spawning systems.
Tags:
YOU MAY ALSO LIKE...