Create Big Cannon Wiki
A single misplaced block or an incorrectly timed redstone pulse can turn your powerful Minecraft cannon into a self-destructive spectacle. While the thrill of launching TNT across your world is a fundamental joy in vanilla Minecraft, the advent of the “Create Big Cannons” mod has ushered in an era of sophisticated, industrial-grade artillery. Understanding both realms, from rudimentary explosive physics to intricate multiblock engineering, is key to becoming a true master of destructive projectile delivery.
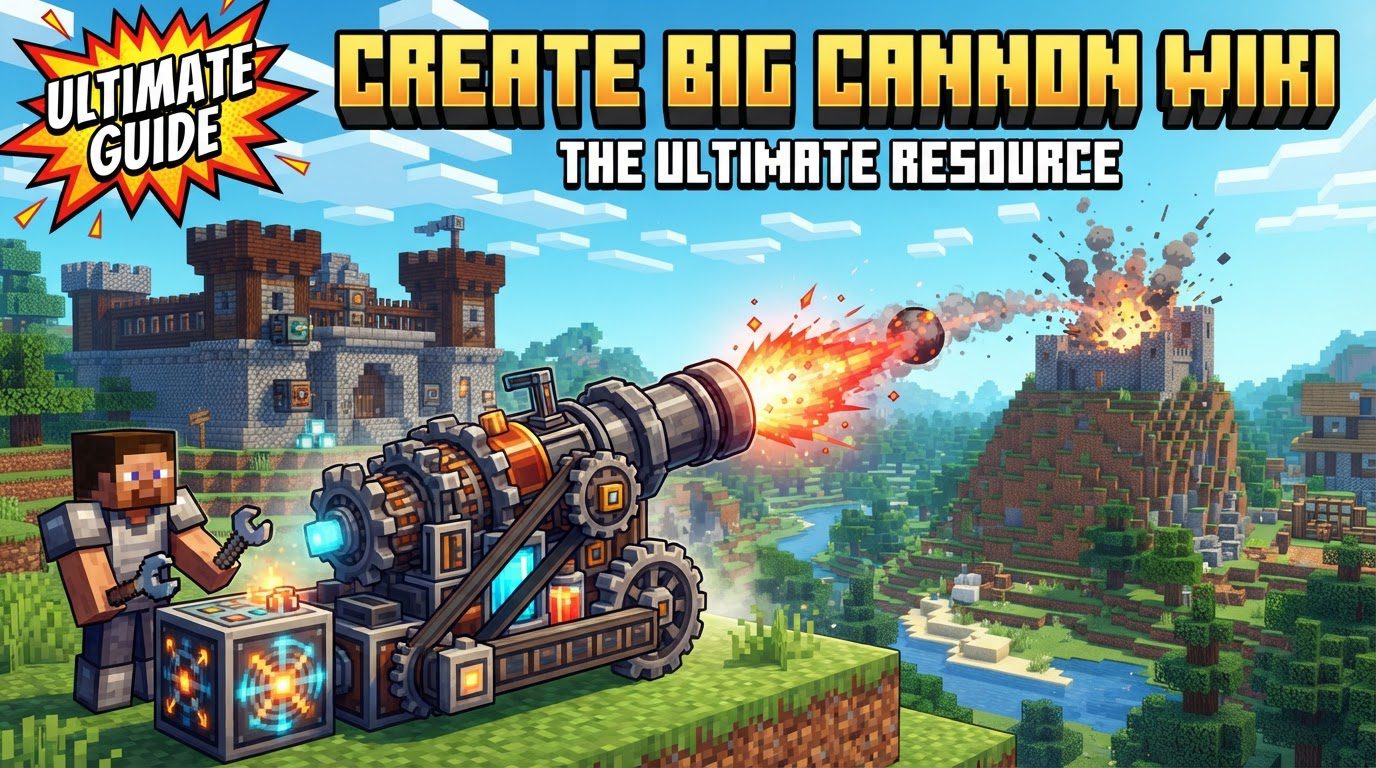
This guide delves deep into the mechanisms behind both traditional TNT cannons and the advanced systems introduced by the “Create Big Cannons” mod. Whether you’re aiming to obliterate a distant hill with raw explosive force or meticulously construct a siege weapon capable of sustained bombardment, the principles, construction methods, and common pitfalls outlined here will serve as your blueprint.
Vanilla Minecraft TNT Cannons: The Art of Explosive Propulsion
Before diving into complex machinery, it’s essential to grasp the foundational principles of TNT cannons in vanilla Minecraft. These contraptions rely on a clever exploitation of game physics to propel explosive payloads over significant distances.
- Key Mechanics:
- Water’s Indispensable Role: The most crucial element. Water prevents TNT explosions from destroying blocks, allowing propelling TNT to detonate harmlessly while still imparting significant force. Without water, your cannon becomes a one-shot self-destruct mechanism.
- Precise Redstone Timing: To launch a projectile, the propelling TNT must ignite and explode *before* the projectile TNT. Redstone dust and repeaters are used to create precise delays, ensuring the correct firing sequence.
- Trajectory and Randomness: While designs can be optimized for specific ranges and arcs (like vertical mortars), vanilla TNT trajectories can be somewhat unpredictable due to minor in-game variables. Experimentation is vital.
Engineering Your First Vanilla Cannon
Constructing a basic TNT cannon is a rite of passage for many Minecraft players. Here’s a general outline for a functional design:
- Foundation and Structure: Begin with a sturdy, blast-resistant base. A common starting point is a 10×4 block footprint. Materials like obsidian, stone, or cobblestone are ideal, as they can withstand explosions without breaking. Avoid wood or wool at all costs.
- The Water Channel: Create a channel within your foundation where water can flow. This channel typically runs most of the length of the cannon and ends against a solid block or a fence. The propelling TNT will be placed within this water stream.
- Redstone Circuitry: Lay out redstone dust and repeaters to control the ignition sequence. Connect a button or lever to activate the circuit. Repeaters are crucial for timing; adjusting their delay ticks will directly impact when the propelling TNT ignites relative to the projectile. Typically, the propelling TNT needs to ignite first, followed by the projectile TNT after a short delay.
- Loading the Cannon: Place several blocks of TNT (your propelling charge) into the water channel. At the very end of the channel, usually on a slab or a slightly elevated platform, place your single projectile TNT block.
- Firing Mechanism: Activate the button or lever connected to your redstone. Observe the sequence: propelling TNT ignites, then the projectile, then the propelling TNT explodes, launching the projectile forward before it detonates mid-air or upon impact.
Mastering Range and Power
Once you have a functional cannon, you can begin to optimize its performance:
- Material Selection: Always use non-flammable and blast-resistant blocks like stone, cobblestone, or obsidian for the cannon’s structure.
- Scaling Up: To increase power and range, you can make your cannons wider (up to 3 blocks) or taller (up to 77 blocks), accommodating more propelling TNT. More TNT generally means more force.
- Repeater Delays: Experimentation is key here. Adjusting the delay on your redstone repeaters will dramatically change the shot’s range and height. Shorter delays between propelling and projectile ignition often result in higher, shorter shots, while longer delays can lead to lower, longer trajectories.
- Preventative Measures: Add a bar or barrier at the end of the water channel to ensure the propelling TNT stays within the water and doesn’t accidentally destroy parts of your cannon.
Common Pitfalls in Vanilla Cannonry
Even seasoned players can make these mistakes:
- Neglecting Water: The most common error. Without water, the propelling TNT will destroy your cannon, often in spectacular fashion.
- Incorrect Redstone Timing: If the projectile TNT explodes before being propelled, or if the propelling TNT explodes too late, the cannon will either fail to launch or self-destruct.
- Using Flammable Materials: Any wood, wool, or other flammable blocks in the cannon’s structure risk being ignited and destroyed by the explosion, compromising the cannon’s integrity.
The Create Big Cannons Mod: An Industrial Revolution in Artillery
For those seeking a more sophisticated and visually impressive artillery experience, the “Create Big Cannons” mod transforms the simple TNT launcher into an intricate engineering challenge, integrating seamlessly with the Create mod’s kinetic power systems.
Beyond Simple TNT: Modded Mechanics
The mod introduces a host of new mechanics that elevate cannonry to an entirely new level:
- Multiblock Structures: Unlike vanilla cannons, modded cannons are built from multiple specialized blocks that form a single, functional structure. This allows for immense customization and scale.
- Diverse Cannon Blocks and Tiers: From basic cast iron to reinforced steel, different materials offer varying blast resistance, durability, and aesthetic.
- Autocannons: Specific cannon types are designed for rapid, automated firing, making them perfect for sustained bombardment or defense.
- Kinetic Energy Integration: Cannons often utilize kinetic energy from Create mod contraptions for functions like loading, traversing, or even firing.
- Distinct Shells and Nozzles: Forget standard TNT; this mod features a variety of shells (e.g., high explosive, armor-piercing) and specialized nozzles that modify projectile behavior and range.
- Advanced Loading Systems: Autoloaders, using deployers and ramming mechanisms, allow for fully automated ammunition feeding.
Forging Your Modded Artillery Piece
Building a “Create Big Cannons” cannon is a multi-step industrial process:
- Casting Components: Many cannon parts, especially barrels and breeches, start as molten metal poured into specific casts. This requires a foundry setup.
- Boring and Drilling: Barrel sections often need to be “bored” or “drilled” using kinetic energy-driven contraptions to create the smooth interior necessary for firing.
- Layering and Blasting: Some advanced components might involve layering different materials or a “blasting” step to harden or shape them.
- Assembly of Multiblock Structure: Carefully assemble your cast and bored components – barrel sections, breech, chamber, and other vital parts – into a coherent multiblock structure. The mod provides visual cues for correct assembly.
- Crafting Munitions: Craft specific shells (e.g., HE, AP) and propellant charges suited for your cannon type.
- Welding: Welding may be required for certain connections or for upgrading existing cannon parts, often using a welding torch or similar tool.
- Autoloading Systems: For automation, deployers are positioned to place shells and ramming charges into the cannon’s breech. This requires precise placement and timing controlled by Create’s redstone components.
Advanced Automation and Strategic Deployment
The true power of “Create Big Cannons” lies in its ability to integrate with the Create mod’s automation:
- Variety of Cannons: Explore different cannon types, shell varieties, and nozzle attachments to find the perfect combination for your strategic needs. Each has unique characteristics.
- Integrated Shooting and Arming: Design complex systems using Create components to automatically load, arm, aim, and fire your cannons. This can involve sequencers, speed controllers, and rotational mechanisms.
- Community Resources: The “Create Big Cannons” Discord server is an invaluable resource for advanced designs, troubleshooting, and staying updated on mod developments. Many experienced builders share their knowledge there.
Navigating Mod-Specific Challenges
While powerful, the mod presents its own set of challenges:
- Incorrect Multiblock Assembly: The most frequent issue. Cannons won’t function if their multiblock structure isn’t perfectly assembled. Pay close attention to block placement and orientation.
- Improper Kinetic Energy/Refueling: Cannons require specific inputs, whether it’s kinetic energy for loading mechanisms or specific fuels for certain operations. Failure to provide these correctly will halt operation.
- Misconfigured Autoloader Systems: Deployers must be precisely placed and timed to successfully load shells and ramming charges. Incorrect timing or placement will lead to jams or failed loading sequences.
Whether you prefer the raw, unpredictable power of vanilla TNT or the intricate, industrial might of the “Create Big Cannons” mod, mastering artillery in Minecraft offers a deeply satisfying experience. From simple redstone timing to complex kinetic mechanisms, both avenues challenge your engineering prowess and reward you with devastating firepower. Embrace the explosions, learn from your mistakes, and dominate the battlefield with your custom-built artillery.
Tags:
YOU MAY ALSO LIKE...