Elytra Trims Mod Not Working
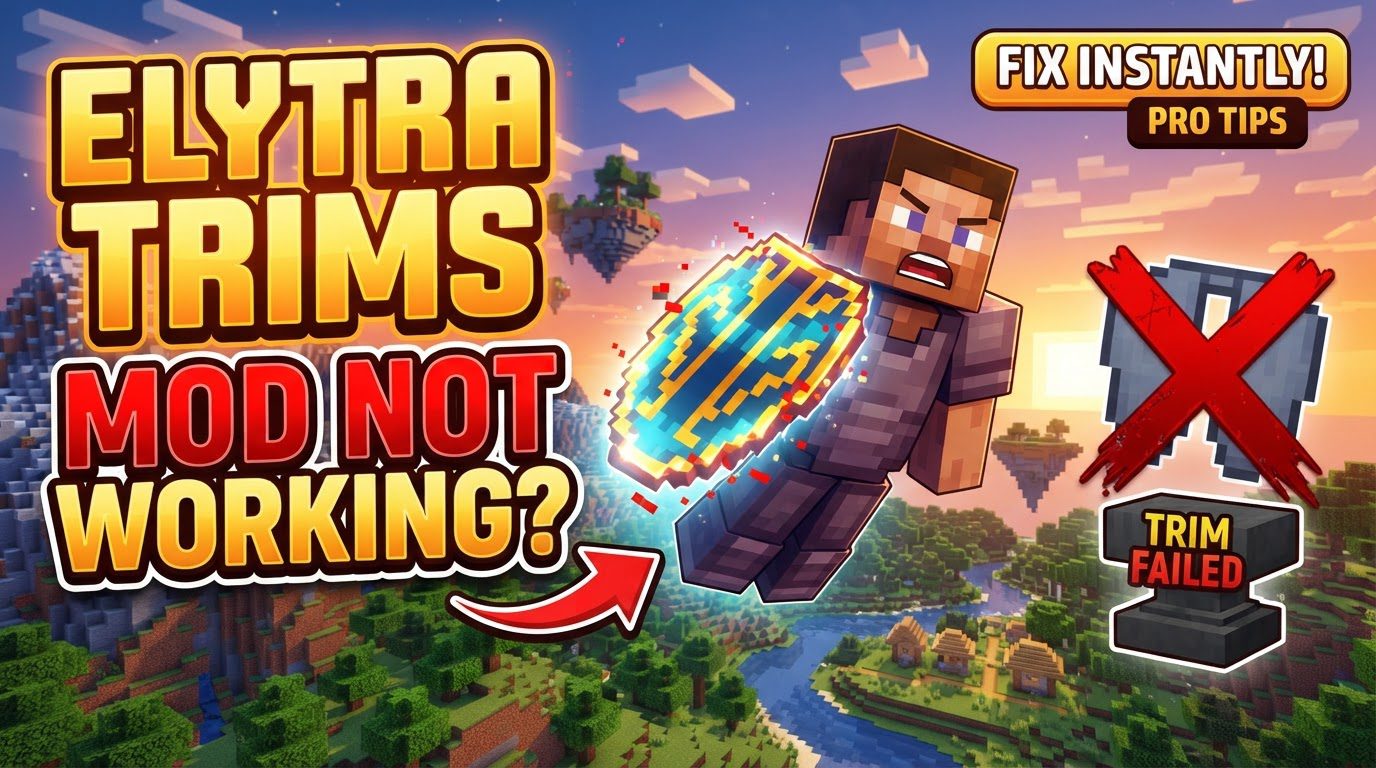
For many Minecraft adventurers, the excitement of customizing their elytra with the ‘Elytra Trims’ mod quickly turns to frustration when the anticipated designs fail to appear. This common stumbling block often stems from a few key areas, from installation nuances to mod conflicts. Understanding the intricacies of this popular modification is crucial for transforming your flight gear into a personalized masterpiece.
Unveiling the “Elytra Trims” Mod
The “Elytra Trims” mod elevates the vanilla Minecraft experience by allowing players to personalize their elytra in ways previously impossible. Beyond mere aesthetics, it integrates seamlessly with existing game mechanics, offering a robust customization suite. At its core, the mod enables three primary forms of visual enhancement:
- Armor Trims: Just like armor, your elytra can display intricate trim patterns, applied using a smithing table.
- Dye Colors: Change the primary color of your elytra by combining it with any dye in a crafting table.
- Banner Patterns: Transfer complex banner or shield patterns onto your elytra via a smithing table, requiring the elytra, a banner, and either paper or leather.
Beyond these, the mod introduces a captivating glow effect, which can be applied using items like glowstone ink. Should you wish to revert or change a specific decoration, the mod thoughtfully allows for individual removal of applied effects (glow, dye, banner pattern, cosmic effect) by using a cauldron, one at a time.
The Foundation: Correct Installation Steps
A significant portion of “mod not working” issues can be traced back to incorrect installation. Think of it as building a house – a strong foundation is paramount. Here’s how to lay that foundation for “Elytra Trims”:
- Install Your Mod Loader: Minecraft mods require a “mod loader” to function. Ensure you have the correct one (Fabric, Forge, NeoForge, or Quilt) installed and that its version matches your specific Minecraft client version.
- Acquire Essential Dependencies: The “Elytra Trims” mod doesn’t operate in a vacuum. It relies on other mods to provide core functionalities.
- For Fabric installations, you will almost certainly need Fabric API and Fabric Language Kotlin. For Minecraft versions 1.20 and 1.21, additional dependencies like YACL and ModMenu might also be necessary.
- For Forge or NeoForge users, Kotlin Lang Forge or Kotlin for Forge is a common requirement.
- Download the Mod File: Always obtain the “Elytra Trims” mod file (a
.jarfile) from reputable sources such as Modrinth or CurseForge. Crucially, verify that the downloaded file is compatible with both your Minecraft version and your chosen mod loader. - Place the Mod Correctly: Once downloaded, simply drag and drop the
.jarfile into themodsfolder within your Minecraft installation directory. If you’re unsure where this is, it’s typically located in%appdata%\.minecraft\modson Windows. - Multiplayer Considerations: If you plan to use custom elytra trims on a multiplayer server, the “Elytra Trims” mod must be installed on the server itself. While players without the mod can still join the server, they won’t see your elaborate trims, and you might not be able to apply them without the server-side component.
Applying Your Designs: A Quick Refresher
With the mod correctly installed, applying your desired decorations should be straightforward, mirroring vanilla mechanics:
- Armor Trims: Use a smithing table. Place your elytra, a trim material (e.g., netherite ingot, diamond), and a smithing template.
- Dyeing Elytras: Combine your elytra with any desired dye in a standard crafting table.
- Banner Patterns: At a smithing table, combine your elytra, a decorated banner, and either a piece of paper or leather. This transfers the banner’s pattern onto your wings.
- Glow Effect: Apply items like glowstone ink to achieve a luminous effect.
- Removing Decorations: To remove any applied decoration (glow, dye, banner pattern, cosmic effect), interact with a cauldron. Each interaction will remove one effect at a time.
Why Isn’t It Working? Common Pitfalls & Solutions
Even with careful installation, issues can arise. Here are the most frequent reasons why your “Elytra Trims” mod might not be functioning as expected, along with their solutions:
Dependency Overlook
This is arguably the most common culprit. “Elytra Trims” relies on other mods to provide foundational code. If these “dependencies” are missing or are the wrong version, the mod simply won’t load or function. Always double-check that you have:
- For Fabric: Fabric API and Fabric Language Kotlin. For 1.20/1.21, also consider YACL and ModMenu.
- For Forge/NeoForge: Kotlin Lang Forge or Kotlin for Forge.
Verify that all dependency versions match your Minecraft version.
Version Mismatch & Loader Confusion
Minecraft’s modding scene is fragmented by versions and mod loaders. Using a mod built for Minecraft 1.19 on a 1.20 client, or a Fabric mod on a Forge installation (or vice-versa), will inevitably lead to failure. Always ensure:
- The mod version explicitly supports your Minecraft version.
- The mod is designed for your installed mod loader (Fabric, Forge, NeoForge, or Quilt).
Multiplayer Discrepancies
As mentioned, if you’re playing on a server, the mod needs to be installed on both your client and the server for full functionality. If it’s only on your client, you might see your own trims (or not), but others won’t, and you might struggle with application. If it’s only on the server, you won’t see any trims. Ensure server administrators have installed the mod correctly.
Clash of Mods
Sometimes, other mods can interfere with “Elytra Trims,” especially those that alter rendering or elytra behavior. Notable examples include:
- ElytraRenderFix: This mod, while useful for other purposes, is known to prevent “Elytra Trims” from rendering on the elytra layer. You may need to disable or remove it.
- OptiFine: Despite its popularity, OptiFine is notorious for causing compatibility issues with many Fabric mods. If you’re using Fabric, consider alternatives like Sodium, Lithium, and Indium.
If you suspect a mod conflict, try disabling other mods one by one to isolate the culprit.
Shader Incompatibility
While shaders enhance visual fidelity, some may not correctly render custom trims or banner patterns applied by the mod. Even if the mod is otherwise working perfectly, certain shaders might obscure or distort the custom textures. Experiment with different shaders or disable them temporarily to see if your trims appear.
Unsupported Elytras
If you’re using custom elytras introduced by other mods (e.g., from an adventure mod or an item pack), “Elytra Trims” might not explicitly support them. In such cases, the trims may display incorrectly, or not at all. The mod is primarily designed for vanilla elytras.
Outdated Crafting Recipes
Mod developers occasionally update recipes or application methods. If you’re following an old guide or relying on muscle memory, the process for applying trims, dyes, or banners might have changed. Always refer to the mod’s official page (Modrinth/CurseForge) for the latest instructions and changelogs.
Advanced Customization & Compatibility
For players on Minecraft versions 1.20 and 1.21, consider installing “Elytra Trims Extensions.” This companion mod is often necessary for full compatibility with all trim types introduced in these newer versions.
For those looking to push customization further with custom trim textures, remember that these textures need to be placed in a very specific asset folder path: assets/minecraft/textures/trims/entity/Wings. Furthermore, they must be correctly named to be recognized and displayed by the game and the mod.
By systematically addressing these potential issues, you can overcome most “Elytra Trims Mod Not Working” scenarios and finally take to the skies with a truly unique and personalized elytra. Happy flying!
Tags:
YOU MAY ALSO LIKE...