Configuring Storage Drawers Void Upgrades (Step by Step)
Understanding the Storage Drawers Void Upgrade
In the expansive world of Minecraft, managing vast quantities of items is a constant challenge, especially as automated systems grow in complexity. The Storage Drawers mod provides an elegant solution for item storage, and its various upgrades enhance its functionality. Among these, the Void Upgrade stands out as a critical component for maintaining order and efficiency in automated production and collection setups. This comprehensive guide will walk you through the mechanics, application, and important considerations for effectively configuring Storage Drawers void upgrades.
Key Mechanics of the Void Upgrade
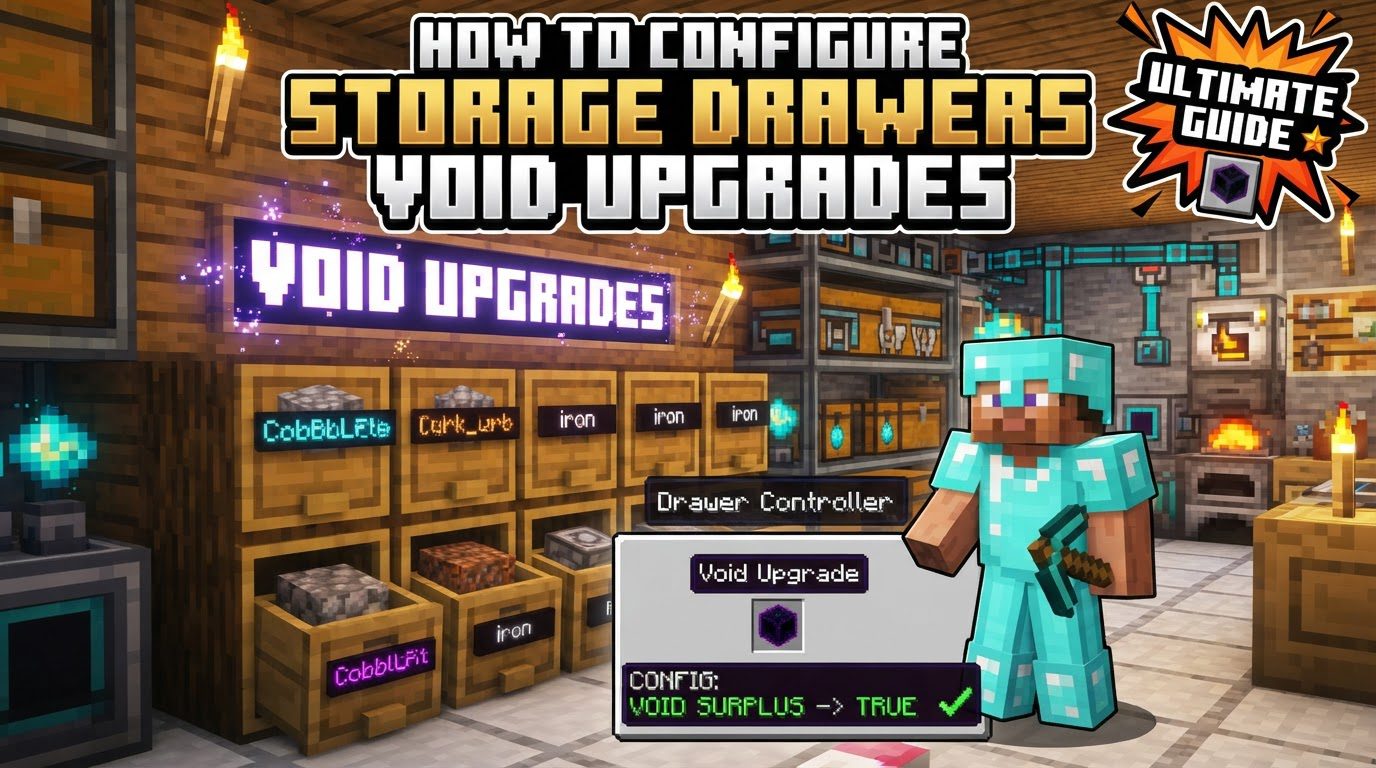
At its core, a Void Upgrade serves a singular, yet incredibly powerful, purpose: to eliminate excess items. When a Void Upgrade is applied to a Storage Drawer, it fundamentally alters how that drawer handles incoming items once its primary storage capacity has been reached. Normally, without such an upgrade, a Storage Drawer that is completely full would simply cease to accept any more items. Any attempt to insert additional items would fail, often leading to backups in transport systems like hoppers, pipes, or other item conduits.
However, with a Void Upgrade in place, this behavior changes dramatically. Once the Storage Drawer becomes full, any subsequent items inserted into it are not merely rejected; they are permanently deleted. This mechanism is invaluable for preventing overflow, particularly in scenarios where an automated system generates an abundance of items, many of which may not be needed or are produced in quantities far exceeding demand. The upgrade ensures that your storage infrastructure remains clean and efficient, preventing unwanted items from accumulating and clogging up your valuable storage space or processing chains. It acts as a safety valve, accepting the excess items only to destroy them immediately, thus keeping your systems running smoothly without interruption due to item backup.
Step-by-Step Process for Configuration
Configuring a Void Upgrade involves a straightforward process, ensuring that even players new to modded Minecraft can easily implement this powerful feature.
1. Craft the Void Upgrade
The first step is to obtain the Void Upgrade itself. While the specific crafting recipe can sometimes vary slightly depending on the modpack you are playing, it typically involves combining obsidian with a Storage Drawer in a crafting grid. It is always recommended to check your in-game recipe book (such as JEI or NEI) for the precise crafting requirements in your particular modded environment. Crafting several at once can be beneficial if you plan to void multiple types of items across different drawers.
2. Locate the Target Drawer
Once you have crafted your Void Upgrade, you need to identify the specific Storage Drawer where you wish to implement item voiding. This will usually be a drawer connected to an automated input system, such as a mob farm outputting monster drops, a tree farm generating wood and saplings, or a cobblestone generator producing an endless supply of stone. Carefully consider which items you want to keep and which you are comfortable having permanently deleted once the drawer is full.
3. Apply the Upgrade
There are generally two methods to apply the Void Upgrade to your chosen Storage Drawer:
- Method A: Using the Upgrade GUI
- With the Void Upgrade in your hand, right-click on the frame of the Storage Drawer. This action will open a graphical user interface (GUI) specifically designed for managing upgrades.
- Within this GUI, you will typically find several slots or a designated “utility section” for placing upgrades. Drag and drop the Void Upgrade from your inventory into one of these available slots. Once placed, the upgrade is active, and the drawer will begin voiding items when full.
- Method B: Direct Application
- Alternatively, and often more conveniently, you can simply right-click directly on the Storage Drawer block itself with the Void Upgrade held in your main hand.
- In most configurations, the mod will automatically detect your intent and apply the upgrade to the drawer without requiring you to open a separate GUI. This provides a quick and efficient way to deploy voiding capabilities across multiple drawers.
Important Tips for Effective Use
Leveraging Void Upgrades strategically can significantly enhance your Minecraft experience, particularly in large-scale operations.
- Automated Systems and Resource Generators: Void Upgrades are exceptionally beneficial for automated systems that produce items in large, often unmanageable, quantities. Consider mob farms, which can generate thousands of bones, rotten flesh, string, or other drops. Similarly, automated tree farms or cobblestone generators create an endless supply of their respective resources. By applying Void Upgrades to the drawers collecting these items, you ensure that your core storage never fills up with excess materials, allowing the farms to run continuously without requiring constant player intervention to clear out inventory.
- Combination with Other Upgrades: Void Upgrades are not exclusive; they can be combined with other functional upgrades to optimize your storage solutions. A common and highly effective combination is pairing a Void Upgrade with capacity upgrades, such as emerald upgrades. Capacity upgrades increase the total number of items a drawer can hold. By maximizing the drawer’s capacity before voiding begins, you can store a substantial amount of the item while still having the peace of mind that any overflow beyond that massive capacity will be safely discarded. This allows for a large buffer of items before the voiding mechanism kicks in.
- Integration with Complex Storage Systems: For players utilizing advanced storage networks like Refined Storage or Applied Energistics, Void Upgrades play a crucial role in maintaining system health. These systems often rely on storage disks or cells, which have finite capacity. Without voiding mechanisms, these disks can quickly become saturated with “junk items” – excess materials from farms or production lines that have little value or are produced far too quickly. By directing these overflow items into void-upupgraded Storage Drawers connected to your network, you prevent your valuable storage disks from filling up with unwanted goods, thereby preserving space for more critical components and ensuring the smooth operation of your entire automated infrastructure.
Common Mistakes to Avoid
While powerful, Void Upgrades can sometimes introduce unexpected behavior if not understood thoroughly. Being aware of these common pitfalls can save you significant troubleshooting time.
- External Input Systems Not Respecting Void: One of the most frequent issues encountered is when certain automated transport systems fail to recognize the unique behavior of a void-upgraded drawer. Some pipes, hoppers, or mod-specific item inserters are designed to check if a destination inventory has space before attempting to insert items. If they perform this check too strictly, they might incorrectly conclude that a void-upgraded drawer, once full, cannot accept any more items. This can lead to a frustrating situation where items back up in the transport system itself, rather than being voided by the drawer. The items get stuck in the pipes or hoppers, clogging the system, even though the drawer is technically ready to “accept and destroy.”
- Drawer Controller Issues: In certain versions of modpacks or specific configurations, there have been reports of Drawer Controllers not consistently passing items to connected void-upgraded drawers once those individual drawers are full. While manual insertion directly into the individual void drawer might work perfectly, the controller, which manages multiple drawers, might not properly route excess items to be voided. This can create bottlenecks in large storage arrays managed by a single controller, leading to items backing up at the controller instead of being distributed and voided as intended. It’s important to test your controller setup if you suspect this issue.
- Autocrafting Complications: Integrating Void Upgrades with sophisticated autocrafting systems (like those found in Refined Storage or Applied Energistics) requires careful planning. If an autocrafting order expects to retrieve an item that has been voided due to overflow, the crafting process can get stuck indefinitely. The system might continuously wait for an item that no longer exists in its accessible storage, leading to stalled production. A useful mitigation strategy for this is to configure crafters to only activate with a Redstone signal. This allows you to manually control when crafting orders are initiated, ensuring that all necessary components are present before the crafting process begins, or to use logic gates to confirm item availability before triggering.
- Functional Storage vs. Storage Drawers: It is crucial to understand that “Functional Storage” is a distinct mod that provides similar functionality to “Storage Drawers.” While both offer drawer-based storage solutions, they are separate entities. Void upgrades designed for Storage Drawers will not work with Functional Storage blocks, and vice-versa. Moreover, the behaviors, potential bugs, or specific configurations discussed for one mod may not apply identically to the other. Always ensure you are consulting documentation or troubleshooting specific to the mod you are actively using to avoid confusion and misapplication of solutions.
By understanding these mechanics, following the steps for configuration, and being mindful of potential pitfalls, you can effectively utilize Storage Drawers void upgrades to create highly efficient, self-managing storage systems in your Minecraft world, allowing you to focus on building and exploring rather than constantly managing overflowing inventories.
Tags:
YOU MAY ALSO LIKE...