Minecraft How Do You Zoom Out a Map
Did you know that a single Minecraft map, when fully zoomed out, can encompass an enormous section of your world, revealing vast landscapes and distant biomes? Mastering map usage, particularly the art of zooming out, is fundamental for any serious explorer or base builder looking to navigate their blocky adventures with ease. Understanding how to expand your map’s coverage is not just about seeing more; it’s about efficient exploration, planning, and ensuring you never truly get lost in the sprawling wilderness.
Grasping Map Zoom Levels and the Grid System
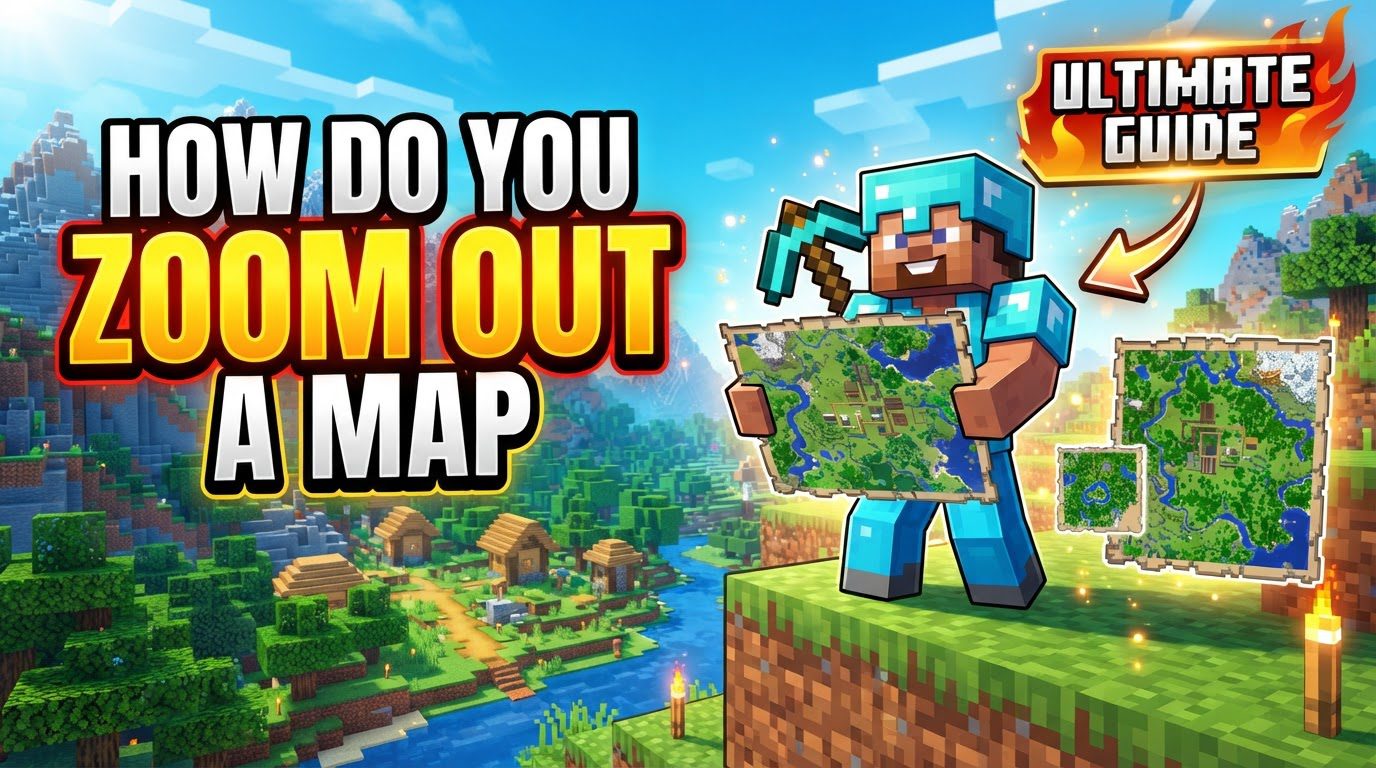
At its core, a Minecraft map isn’t a static image; it’s a dynamic tool that expands its scope as you explore and as you manually zoom it out. Maps in Minecraft possess five distinct zoom levels, meticulously designed to cover progressively larger areas of your world. These levels range from 0, representing the most zoomed-in perspective, to 4, which offers the widest possible view. Each subsequent zoom level effectively quadruples the area displayed on the map, allowing for an incredible scaling of your visible territory.
A crucial detail to understand, especially for players familiar with older versions of Minecraft, is the modern map’s grid alignment system. In versions 1.8 and later, encompassing both current Java and Bedrock editions, maps do not simply expand outwards from the center of your existing map. Instead, they “snap” to a predetermined, overarching grid that dictates the boundaries for each zoom level. This means that when you zoom out a map, its original captured area might not remain perfectly centered within the new, larger map. It could shift to one of the corners, aligning itself with the global grid. As you journey through the world, the map dynamically fills in, revealing new terrain and details as your character traverses unexplored regions within its current zoom boundaries.
Methods for Expanding Your Map’s Reach
Minecraft provides players with several ways to zoom out their maps, each with varying material requirements and convenience. The method you choose might depend on your available resources, your game version, or simply personal preference. Here, we’ll detail the three primary approaches.
The Crafting Table Method
The crafting table is a classic and universally available tool for many crafting needs, including map manipulation. This method is straightforward but requires a fair amount of paper for each zoom level. It’s an excellent option if you’re early in your game or don’t yet have access to a cartography table.
- Step 1: Prepare Your Materials. You will need the map you wish to zoom out and eight pieces of paper. Paper is typically crafted from sugarcane.
- Step 2: Access the Crafting Grid. Open your crafting table interface, which presents a 3×3 grid.
- Step 3: Arrange the Map and Paper. Place your existing map in the very center slot of the crafting grid. Then, surround the map by placing a piece of paper in each of the remaining eight slots around it.
- Step 4: Retrieve Your New Map. A new, zoomed-out map will appear in the output slot on the right. Simply click and drag it into your inventory. Each time you perform this action, your map will advance one zoom level further out, up to the maximum of level 4.
The Efficient Cartography Table
Introduced in later updates, the cartography table is a specialized block designed specifically for map-related tasks. It stands out as the most resource-efficient method for zooming out maps, making it the preferred choice for many players once established in their world.
- Step 1: Open the Cartography Table. Interact with a cartography table to open its dedicated interface. This interface typically features two input slots on the left and an output slot on the right.
- Step 2: Place Your Map. Put the map you intend to zoom out into the top-left input slot of the cartography table.
- Step 3: Add the Paper. Place a single piece of paper into the slot directly below the map. Notice the stark contrast in paper requirement compared to the crafting table.
- Step 4: Collect the Zoomed Map. The newly zoomed-out map will instantly appear in the output slot. Take it into your inventory to update your exploration tool. This process can be repeated up to four times to reach the maximum zoom level.
Anvil for Specific Scenarios
While less common for the primary purpose of zooming out maps in current versions, especially on Java Edition, the anvil can also be used for this task, particularly in Bedrock Edition or older game iterations. It functions similarly to the crafting table in terms of material cost but offers an alternative interface.
- Step 1: Access the Anvil. Open the anvil interface. You’ll see two input slots and one output slot.
- Step 2: Input Your Map. Place the map you wish to zoom out into the first (leftmost) input slot of the anvil.
- Step 3: Provide Paper. Place eight pieces of paper into the second input slot.
- Step 4: Claim Your Map. The zoomed-out map will appear in the output slot, ready for you to collect. Keep in mind that using an anvil consumes experience levels, so this method is generally less favorable than the cartography table or even the crafting table for routine map zooming.
Optimizing Your Map Usage
Beyond simply knowing how to zoom out, several tips can enhance your overall map experience in Minecraft, making exploration and base management more intuitive.
- Paper Efficiency: Always prioritize using a cartography table for zooming out maps. Its requirement of just one piece of paper per zoom level makes it vastly more efficient than the crafting table or anvil, which demand eight pieces. This can save you significant time and resources in the long run.
- Duplicating Maps: If you want to preserve a map at a specific zoom level while also having a more zoomed-out version, you can duplicate it. To do this, combine the map with an empty map (or just paper in a crafting grid) to create an identical copy. You can then zoom out one of the copies while keeping the original.
- Locator Maps: To see your real-time position on a map, you need to turn it into a locator map. This is achieved by combining a regular map with a compass in an anvil. The compass icon will then show your precise location and orientation on the map, which is incredibly useful for navigation.
- Creating Wall Maps: For truly grand displays of your world, place multiple maps in item frames and arrange them on a wall. By carefully exploring and zooming out maps to cover adjacent areas, you can create a massive, interconnected wall map that provides an impressive overview of your entire explored territory.
Navigating Common Pitfalls and Considerations
While maps are invaluable tools, understanding their nuances and potential quirks can save you frustration during your Minecraft adventures.
- Identical Empty Maps: A common mistake players make is attempting to create multiple empty maps by shift-clicking or crafting them in bulk, expecting them to cover different areas. Unfortunately, creating multiple empty maps at once will result in several identical maps, all centered on the same initial location. To get maps of different areas, you must craft an empty map, hold it in your hand, and activate it in a new, unexplored region.
- Shifting Map Center on Zoom: Due to the grid alignment system mentioned earlier, when you zoom out a map, the original area it covered may not stay perfectly centered within the new, larger map. Instead, it might shift to one of the corners of the expanded map. This is by design and important to remember when planning your exploration or creating large wall maps, as it affects how adjacent zoomed maps will align.
- Wall Map Alignment Issues: Even with the grid system, players sometimes encounter minor alignment issues when placing multiple zoomed-out maps side-by-side in item frames to create a large wall display. These can manifest as slight overlaps or small gaps between maps. While often cosmetic, it’s a known consideration when striving for a perfectly seamless wall map. Careful planning and ensuring each map is correctly aligned to the global grid helps minimize these discrepancies.
By understanding these mechanics and utilizing the various crafting methods, you’ll be well-equipped to master map usage in Minecraft, making your exploration more effective and your world knowledge more complete. Happy adventuring!
Tags:
YOU MAY ALSO LIKE...