How to Install Elytra Trims Mod
Many Minecraft players eagerly download new mods, only to find their game crashing or the mod simply not working. Often, the culprit isn’t the mod itself, but a crucial missed step: installing its essential dependencies. This common oversight can quickly turn the excitement of customization into frustration, especially when delving into sophisticated additions like the Elytra Trims Mod.
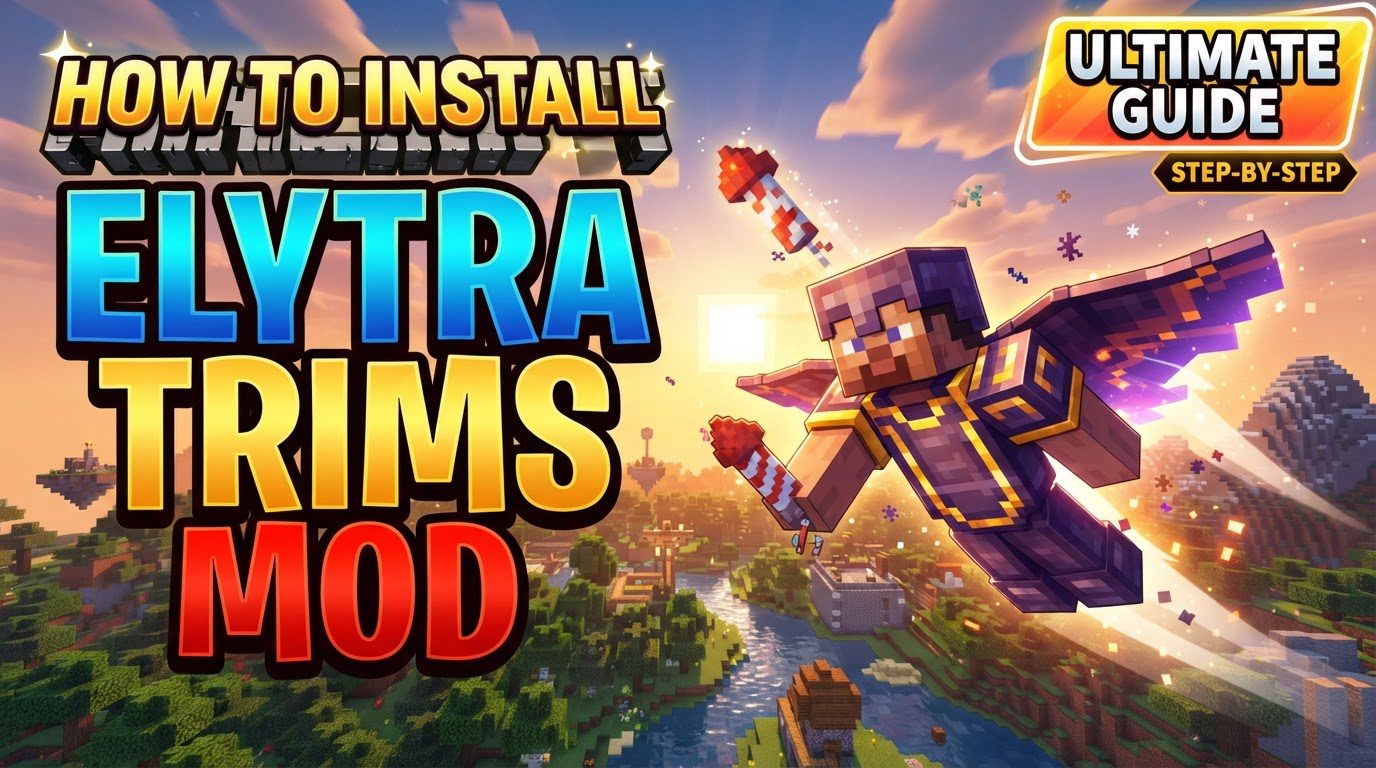
The Elytra Trims Mod revolutionizes personal expression in Minecraft by extending the popular armor trim system to your wings. No longer are elytras mere functional items; they become a canvas for your creativity, allowing for intricate designs, vibrant colors, and even dynamic effects. This comprehensive guide will walk you through the process of installing and leveraging this mod, ensuring your aerial adventures are as stylish as they are swift.
Unleashing Your Elytra’s Potential: What the Mod Offers
Before diving into the technicalities of installation, let’s explore the exciting customization options the Elytra Trims Mod brings to your game. Understanding its capabilities will highlight why this mod is a must-have for any fashion-conscious flyer.
- Armor Trims Integration: The core feature allows you to apply any vanilla armor trim, and even some custom ones, directly to your elytra. This process mirrors the smithing table mechanics used for standard armor, ensuring a familiar experience. For Minecraft versions 1.20 and 1.21, remember that the “Elytra Trims Extensions” mod might be necessary to unlock full trim compatibility.
- Vibrant Dyeing: Tired of the default brown? You can easily dye your elytra any color by combining it with a dye in a crafting table. This simple yet powerful feature lets you perfectly match your wings to your armor or create a striking contrast.
- Banner Pattern Application: Take customization to the next level by applying intricate banner patterns. In a smithing table, combine your elytra with a banner and either paper or leather. It’s important to note that this process only transfers the pattern itself, not the banner’s base color; you’ll need to dye your elytra separately for a complete look.
- The Glowing Effect: Stand out in the darkest nights or deepest caves by making your elytra glow. Simply combine your elytra with a glow ink sac in a crafting table to achieve this ethereal luminescence.
- The Cosmic Effect: For those seeking ultimate prestige and a truly unique aesthetic, the mod offers a “Cosmic effect.” This visually stunning addition is applied by combining an elytra with a nether star in a smithing table. Be warned, however, this is an expensive endeavor, reserved for the most dedicated adventurers.
- Server-Side Considerations: For multiplayer environments, the Elytra Trims mod must be installed on the server. While players without the mod can still join, they will not be able to see the custom trims, patterns, or effects on others’ elytras. For the full visual experience to be shared, both client and server installations are paramount.
The Installation Journey: A Step-by-Step Guide
Successfully installing the Elytra Trims Mod requires careful attention to detail, particularly regarding mod loaders and dependencies. Follow these steps to get your custom wings soaring.
1. Choosing Your Mod Loader
The Elytra Trims mod doesn’t run on vanilla Minecraft. It requires a mod loader to function. Your first decision is whether to use Fabric or Forge/NeoForge. The mod is available for both, so choose the one that aligns with your existing mod setup or personal preference.
2. Installing the Mod Loader
Once you’ve chosen your loader, install it for your specific Minecraft version. This typically involves downloading the installer from the official Fabric or Forge/NeoForge websites and running it. The installer will create a new profile in your Minecraft launcher.
3. Gathering Essential Dependencies
This is often where players stumble. The Elytra Trims Mod relies on other mods to function correctly. These are non-negotiable and must be installed alongside the main mod:
- For Fabric users: You will always need Fabric Language Kotlin. Additionally, if you’re on Minecraft 1.20 or 1.21, you might also need YACL and ModMenu.
- For Forge/NeoForge users: You will always need Kotlin Lang Forge or Kotlin for Forge.
Ensure you download the correct versions of these dependency mods for your specific Minecraft version and chosen mod loader.
4. Downloading the Elytra Trims Mod
With your mod loader and dependencies ready, it’s time to download the main event. Visit trusted sources like CurseForge or Modrinth. Search for “Elytra Trims Mod” and carefully select the version compatible with your Minecraft version and mod loader (e.g., “Elytra Trims for Minecraft 1.20.1 Fabric”).
5. Placing Files in the ‘mods’ Folder
Navigate to your Minecraft installation directory. Inside, you’ll find a folder named `mods`. Drag and drop all the downloaded `.jar` files – the Elytra Trims mod itself and all its dependencies – into this `mods` folder.
To find your Minecraft directory:
- Windows: Press `Win + R`, type `%appdata%\.minecraft`, and press Enter.
- macOS: In Finder, click “Go” in the menu bar, then “Go to Folder…”, type `~/Library/Application Support/minecraft`, and press Enter.
- Linux: The default location is `~/.minecraft`.
6. Launching Minecraft
Open your Minecraft launcher. Select the profile created by your mod loader (e.g., “Fabric Loader” or “Forge”). Click “Play.” If all steps were followed correctly, Minecraft should launch, and the Elytra Trims Mod will be active, ready for you to start customizing.
Mastering Your Trimmed Elytra: Advanced Tips & Considerations
To truly get the most out of your Elytra Trims Mod experience, keep these insights in mind.
- Always Check Recipes: The specific recipes for applying trims, dyes, and patterns can sometimes evolve with mod updates. If you’re unsure, consult the mod’s official changelog or wiki for the most current crafting information.
- Server Installation is Key: For a complete multiplayer experience, the mod must be installed on the server. Even if you have it client-side, others won’t see your designs unless the server also has it. Many server hosting services offer convenient one-click installation options for popular mods like this one.
- Integrating Custom Trims: If you’re a resource pack enthusiast looking to add your own custom armor textures and elytra trims, you’ll need to understand the file structure. Typically, this involves creating specific folders within your resource pack, such as a `trims` folder, an `entity` folder, and a `Wings` folder for elytra textures, along with a `armor_trims.json` file to define your custom trim assets.
Troubleshooting Common Pitfalls
Even with the clearest instructions, issues can arise. Here are common problems and their solutions.
- Missing Dependencies: This is by far the most frequent issue. If you forgot to install Fabric Language Kotlin, Kotlin Lang Forge, or the optional YACL/ModMenu for specific versions, the mod will not load. Double-check your `mods` folder to ensure all required `.jar` files are present and match your Minecraft version and mod loader.
- Incorrect Mod Loader Version: Using a version of the Elytra Trims mod (or its dependencies) that doesn’t match your Minecraft version or mod loader will inevitably lead to crashes. Always confirm compatibility before downloading.
- Server-Client Mismatch:
- If the mod is only installed client-side on a server without it, you won’t be able to apply trims, and other players won’t see any decorations you manage to craft.
- If the server has the mod but your client doesn’t, you might be able to craft decorated elytras, but you won’t see the visual effects yourself. For full functionality and visibility, both client and server need the mod.
- Shader Incompatibility: Some shader packs can interfere with the mod’s rendering. This might manifest as a red tint on decorations or the cosmic effect not displaying correctly. This often happens because the mod uses custom core shaders that may conflict with shader mods like OptiFine or Iris. Experiment with disabling shaders or updating them.
- Conflicting Mods: Other mods you have installed might clash with Elytra Trims, causing unexpected behavior or game crashes. If you encounter issues, try removing other mods one by one to isolate the conflict.
- Non-Vanilla Elytras: If you’re using elytras added by other mods, the trims might not render correctly, or at all. The Elytra Trims mod primarily supports vanilla elytras, and explicit support from its developers might be needed for full compatibility with third-party wings.
- NeoForge Port Limitations: Be aware that for certain Minecraft versions, the NeoForge port of the Elytra Trims mod might not be fully feature-complete or could have known bugs, such as limitations with 3D elytra models. Always check the mod’s release notes for specific platform limitations.
With these steps and troubleshooting tips, you’re well-equipped to integrate the Elytra Trims Mod into your Minecraft experience. Prepare to take to the skies with unparalleled style and showcase your creativity to the world.
Tags:
YOU MAY ALSO LIKE...