Everything You Need to Know About Chunk Border Rendering
Each fundamental unit of a Minecraft world, known as a chunk, contains precisely 98,304 blocks. This seemingly simple fact underpins the entire structure of your blocky adventures, from the sprawling landscapes you traverse to the intricate contraptions you build. Understanding how these chunks are rendered and managed is not just a technical curiosity; it’s a vital skill for any serious Minecraft player looking to optimize performance, troubleshoot redstone, or design efficient farms.
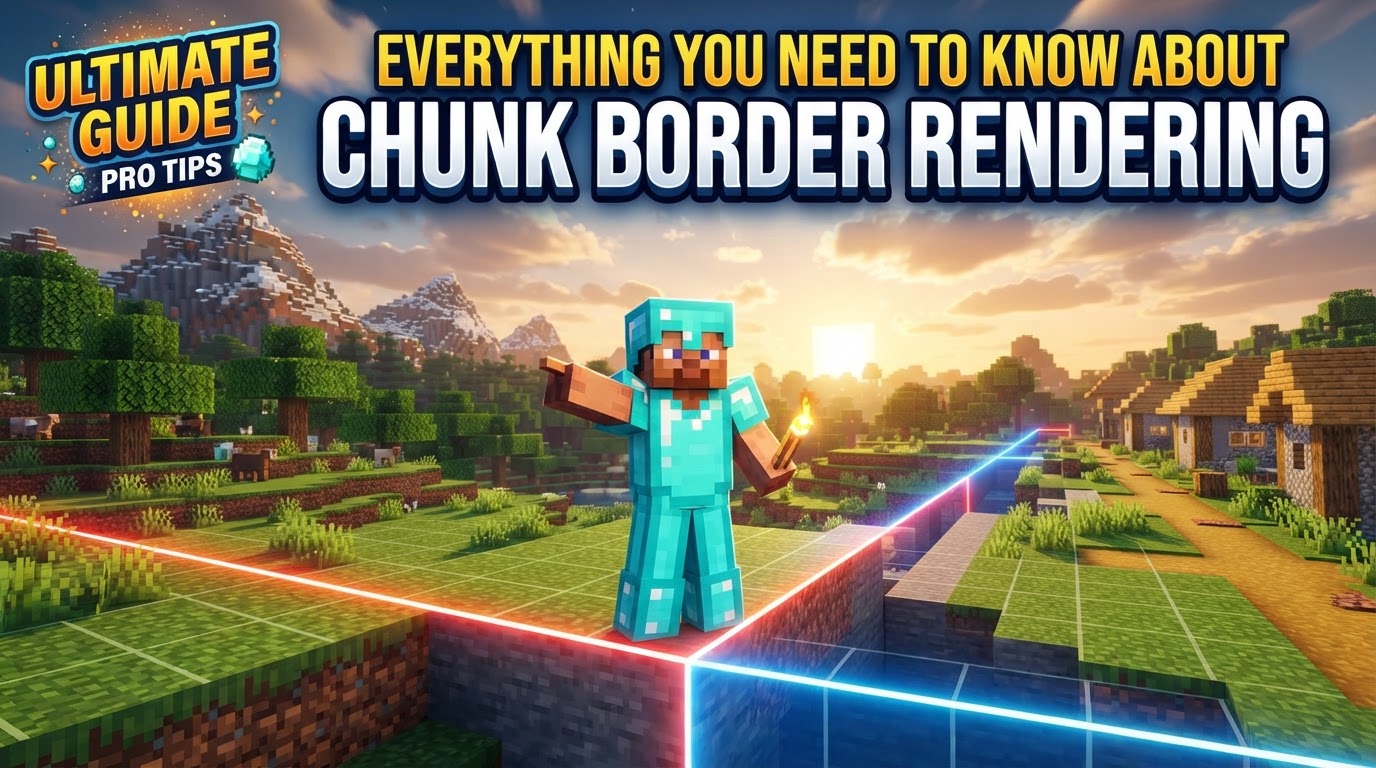
Minecraft’s world isn’t a single, continuous entity in terms of data processing. Instead, it’s meticulously divided into an infinite grid of these chunks, each measuring 16×16 blocks horizontally and extending vertically from the lowest bedrock level (Y = -64) to the highest build limit (Y = 320 since Minecraft 1.18), totaling 384 blocks in height. This modular approach allows the game to manage vast worlds without overwhelming your system, dynamically loading and simulating only the areas relevant to you.
The Dynamics of World Processing
Not all parts of the world are active at once. Minecraft employs a sophisticated system to determine which chunks need to be loaded, displayed, and simulated around each connected player. This distinction is crucial for understanding performance and gameplay mechanics:
- Render Distance: This setting dictates how many chunks are visually displayed on your screen. It’s about what you can see, influencing graphical performance. Chunks within your render distance are sent to your client for display.
- Simulation Distance: This controls the radius of active chunks where game mechanics truly come alive. Within this radius, mobs move, crops grow, redstone circuits function, and entities interact. A chunk can be visible (within render distance) but not actively simulated if it falls outside the simulation distance. This distinction is paramount for complex builds, as a redstone contraption might be visible but inactive if it’s not within a simulated chunk.
The strategic importance of chunks extends to nearly every aspect of the game. They dictate where terrain generates, how structures are placed, where mobs can spawn, and how efficiently redstone contraptions operate. A solid grasp of chunk mechanics can transform your gameplay from intuitive exploration to calculated mastery.
Revealing the Grid: How to See Chunk Borders (Java Edition)
For Java Edition players, rendering chunk borders is a straightforward process that offers immediate visual insight into the game’s underlying structure:
- Access the Debug Screen: While in-game, press the
F3key. This brings up the comprehensive debug overlay, displaying a wealth of information about your location, game state, and performance. - Toggle Chunk Borders: With the debug screen active, simultaneously press
F3 + G. You’ll instantly see a grid-like pattern appear on the ground. For some keyboards, particularly laptops, you might need to pressFn + F3 + Gif the F-keys are shared with other system functions. - Identify Boundaries: Yellow lines will clearly mark the horizontal edges of each 16×16 chunk on the ground. Additionally, blue lines will indicate vertical boundaries, delineating 16-block high sections within the chunk. These vertical divisions are less commonly referenced but still part of the chunk’s internal structure.
- Disable Display: To turn off the chunk border display, simply press
F3 + Gagain.
Strategic Advantages: Leveraging Chunk Knowledge
Once you can visualize chunk borders, you unlock a new layer of strategic planning for your builds and explorations:
- Efficient Construction: Planning large structures or bases to align with chunk boundaries can have significant benefits. Keeping a build within a single chunk can reduce the likelihood of rendering glitches and potentially improve performance by minimizing the number of chunk updates across boundaries.
- Optimizing Mob Farms: Mob spawning rules are heavily tied to chunks. Understanding these boundaries is critical for designing highly efficient mob farms, ensuring that mobs spawn where intended and don’t despawn prematurely due to chunk loading/unloading issues.
- Resource Hunting: While less common for general resources, specific block types or entities might be found more predictably within certain chunk patterns or types. Knowing chunk boundaries can assist in systematic exploration for rare finds.
- Redstone Reliability: For any complex redstone contraption, it is highly recommended to build it entirely within a single chunk. This ensures consistent functionality, as redstone only operates fully within actively ticking (simulated) chunks. If a contraption spans multiple chunks, and one of those chunks unloads or enters a lower ticking state, the entire mechanism can break or behave inconsistently.
Bridging Editions: Chunk Borders in Bedrock
Minecraft’s Bedrock Edition, while sharing many core concepts, handles debug information differently. There is no direct F3 + G shortcut to display chunk borders. However, players have alternative methods:
- Coordinate Observation: By enabling coordinates in your world settings, you can infer chunk boundaries. The X and Z coordinates change in increments of 16 as you cross chunk borders. For example, if your X coordinate is 15, moving one block further to 16 means you’ve entered a new chunk.
- Resource Packs: The Bedrock community has developed various resource packs, such as “Bedrock ChunkFinder,” that can visually render chunk borders, and even highlight specific chunk types like slime chunks, offering a similar utility to Java Edition’s debug feature.
Navigating Challenges: Common Issues and Solutions
Despite their utility, chunks can also be the source of several common gameplay issues:
- Redstone Malfunctions Across Borders: As mentioned, redstone contraptions spanning multiple chunks are prone to failure. The simplest solution is to design builds that fit entirely within one chunk. If this isn’t feasible, on Java Edition servers or single-player worlds with cheats enabled, the
/forceload add <x1> <z1> <x2> <z2>command can be used to permanently load specific chunks, ensuring their consistent ticking regardless of player proximity. - Terrain Generation Discrepancies: In older worlds that have been updated through multiple Minecraft versions, you might encounter abrupt changes in terrain, such as a mountain suddenly ending in a flat plain or a biome changing drastically at a hard line. This “chunk error” occurs because chunks generated in older versions used different terrain generation algorithms than those generated after an update. There’s no in-game fix, but it’s a visual testament to the world’s history.
- Spawn Chunk Changes: A significant alteration in Minecraft 1.20.5 saw the size of the world’s spawn chunks (the area around the world’s initial spawn point that remains permanently active) drastically shrink from a 19×19 chunk area to a mere 3×3. This change can render older, large-scale farms designed to operate within the former spawn chunk boundaries inoperable or significantly less efficient. Players must now adapt their designs or use
/forceloadfor larger always-active areas. - “Weird” Chunk Errors: Occasionally, chunks can generate with visual anomalies, missing blocks, or other unnatural formations. These are typically generation errors. While often harmless, in severe cases, server administrators might use external tools or commands to regenerate or repair these problematic regions.
Mastering the concept of chunk borders elevates your Minecraft experience, providing a deeper understanding of the game’s mechanics and empowering you to build more efficiently and effectively. Whether you’re a redstone engineer, a master builder, or an avid explorer, knowing your chunks is a fundamental step towards becoming a true Minecraft expert.
Tags:
YOU MAY ALSO LIKE...