How to Install Minecraft Shaders
Transforming Minecraft’s blocky landscapes into breathtaking vistas of dynamic light and shadow is entirely possible, turning familiar scenes into stunning, immersive experiences. This visual upgrade, known as shader installation, introduces advanced graphical effects like realistic lighting, deep shadows, and reflective water, completely redefining the game’s aesthetic.
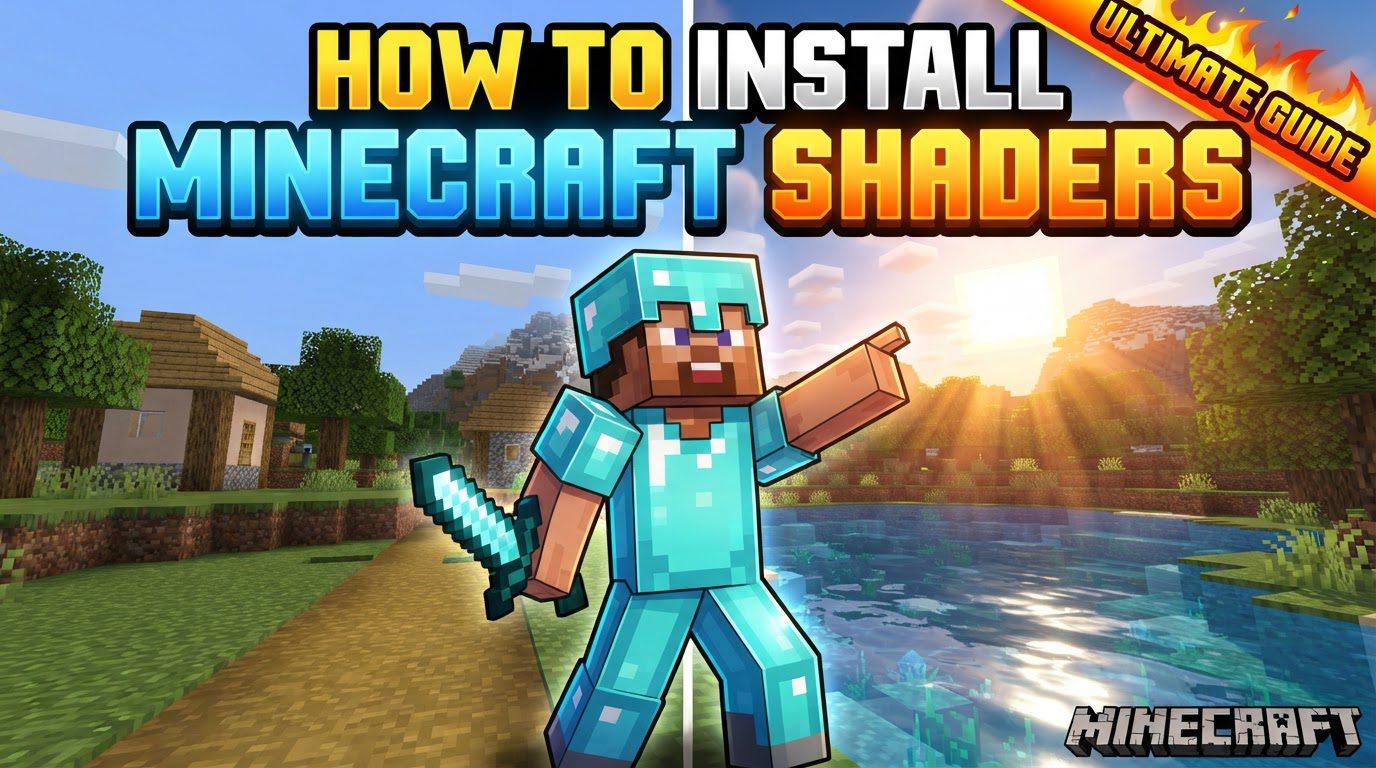
While the concept might seem daunting to newcomers, installing Minecraft shaders follows a clear, step-by-step process. The key is understanding the role of a few essential components and ensuring compatibility across all parts. With the right tools and a little patience, you’ll soon be marveling at a Minecraft world bathed in cinematic glory.
The Foundation: Understanding Mod Loaders
At the heart of any shader installation lies a “mod loader.” These crucial pieces of software act as a bridge, allowing the game to interpret and display the complex visual instructions contained within shader packs. Without a mod loader, Minecraft simply won’t know what to do with the advanced effects shaders provide.
Historically, OptiFine has been the go-to mod loader for shaders. It’s renowned not only for its shader support but also for its extensive optimization settings, which can significantly improve game performance. However, a newer contender, Iris Shaders, has emerged, often paired with the performance-enhancing mod Sodium. Iris is gaining popularity for its modern approach and excellent compatibility with other Fabric-based mods, offering a robust alternative for those seeking both visual fidelity and high frame rates.
Regardless of your choice, a critical point of installation is ensuring the mod loader’s version precisely matches your Minecraft version. A mismatch here is one of the most frequent causes of installation failure.
Acquiring Your Visual Upgrade: Downloading Shader Packs
Once you have a mod loader in mind, the next step is to select your desired shader pack. Shader packs are essentially collections of files, typically downloaded as .zip files, that contain all the visual instructions for effects like light scattering, water reflections, and dynamic shadows. These files are the artistic core of your visual transformation.
There’s a vast array of shader packs available, each offering a unique visual style and performance demand. Popular examples include BSL Shaders, known for their balanced aesthetics, and SEUS (Sonic Ether’s Unbelievable Shaders), famous for their highly realistic and demanding effects. When downloading, always ensure you acquire these .zip files from reputable sources to avoid malicious software or corrupted downloads. It is crucial that these .zip files remain compressed; do not extract their contents.
Step-by-Step Installation Guide
With your mod loader chosen and shader packs downloaded, you’re ready to integrate them into your Minecraft experience. Follow these steps carefully for a smooth installation.
Step 1: Preparing Your Game (Mod Loader Installation)
- Download Your Mod Loader: Visit the official website for either OptiFine or Iris Shaders. Make absolutely sure you download the version specifically designed for your current Minecraft client version.
- Install OptiFine: Once downloaded, run the OptiFine
.jarfile. It typically has a simple installer that will integrate itself into your Minecraft Launcher. - Install Iris Shaders: For Iris, run its installer. This will typically create a new profile in your Minecraft Launcher. When launching Minecraft, you will need to select this newly created Iris profile. Iris is often paired with Sodium for optimal performance, which the installer might offer to include.
- First Launch: After installation, launch Minecraft using the newly created OptiFine or Iris profile in your Minecraft Launcher. This initial launch helps generate necessary game files and ensures the mod loader is correctly recognized.
Step 2: Gathering Your Shaders (Downloading Packs)
- As mentioned, choose and download your preferred shader packs. Remember, these will be
.zipfiles (e.g., BSL, SEUS). Store them in an easily accessible location on your computer, such as your Downloads folder or a dedicated “Minecraft Shaders” folder.
Step 3: Locating the Shader Packs Folder
- Launch Minecraft with your modded profile (either OptiFine or Iris).
- From the main menu, navigate to
Options. - Click on
Video Settings. - Then, select
Shader Packs. - Within the Shader Packs menu, you will find a button labeled “Open Shader Pack Folder.” Click this button. A new window will open, displaying the correct directory where your shader packs need to be placed.
Step 4: Placing Your Shaders
- Drag and drop the downloaded
.zipshader pack files directly into the folder that just opened in the previous step. - Crucial Note: Do not unzip these files. They must remain compressed in their
.zipformat. Also, do not place them into any sub-folders within the “shaderpacks” directory; they should be directly inside it.
Step 5: Activating and Enjoying
- Go back to the Shader Packs menu in Minecraft (
Options->Video Settings->Shader Packs). - Your newly added shader packs should now appear in the list on the left side of the screen.
- Click on the shader pack you wish to use to activate it. Minecraft may briefly reload textures and resources.
- Once activated, exit the menus and enter a world to witness your transformed Minecraft experience!
Troubleshooting and Optimization: Essential Tips
Even with a careful installation, issues can arise. Here are some tips to ensure a smooth and optimized shader experience:
- Version Compatibility is King: Reiterate this often. The number one cause of problems is a mismatch between your Minecraft version, your mod loader (OptiFine/Iris), and sometimes even the shader pack itself. Always double-check versions before downloading.
- Update Your GPU Drivers: Outdated graphics card drivers are a common culprit for black screens, crashes, or severe visual glitches when using shaders. Regularly update your NVIDIA, AMD, or Intel graphics drivers directly from the manufacturer’s website.
- Experiment with Different Shaders: Not all shader packs are created equal. Some are incredibly resource-intensive and require a powerful graphics card, while others are designed for better performance on mid-range systems. If one pack causes performance issues or doesn’t look right, try a different one.
- Adjust Performance Settings: Within Minecraft’s video settings (and often specific shader settings accessible through the Shader Packs menu), you can tweak various options. Adjusting shadow quality, render distance, anti-aliasing, and other parameters can significantly impact performance, allowing you to find a balance between visual quality and playable frame rates.
Avoiding Pitfalls: Common Mistakes to Sidestep
Understanding common errors can save you a lot of frustration during the installation process:
- Version Mismatch: As emphasized, using a mod loader or shader pack that does not precisely match your Minecraft version is the most frequent cause of problems. Always verify compatibility.
- Incorrect File Placement: Placing the shader pack
.zipfile in the wrong folder (e.g., theresourcepacksormodsfolder instead ofshaderpacks) will prevent it from appearing. Equally important, unzipping the shader pack will render it unusable. The.zipfile must be directly in theshaderpacksfolder. - Launching the Vanilla Profile: Forgetting to select the OptiFine or Iris game profile in the Minecraft Launcher before starting the game will result in shaders not loading, as you’ll be running the unmodded vanilla version of Minecraft.
- Outdated Graphics Drivers: This can lead to a range of severe issues, including crashes, persistent black screens, or visual glitches when shaders attempt to render their advanced effects. Keep your drivers current.
By following this comprehensive guide and paying close attention to version compatibility and file placement, you’ll unlock a new dimension of visual beauty in your Minecraft worlds. Prepare to see your favorite blocky landscapes come alive with dynamic lighting, realistic shadows, and stunning atmospheric effects.
Tags:
YOU MAY ALSO LIKE...