Minecraft Farm 1 Block Water
A single block of water in Minecraft can hydrate an astonishing 80 blocks of tilled farmland, forming the foundation of one of the game’s most efficient and fundamental agricultural systems: the 1-block water farm. This ingenious design leverages core game mechanics to provide a sustainable source of food and resources from the earliest stages of your survival journey, requiring minimal materials and effort for a significant return.
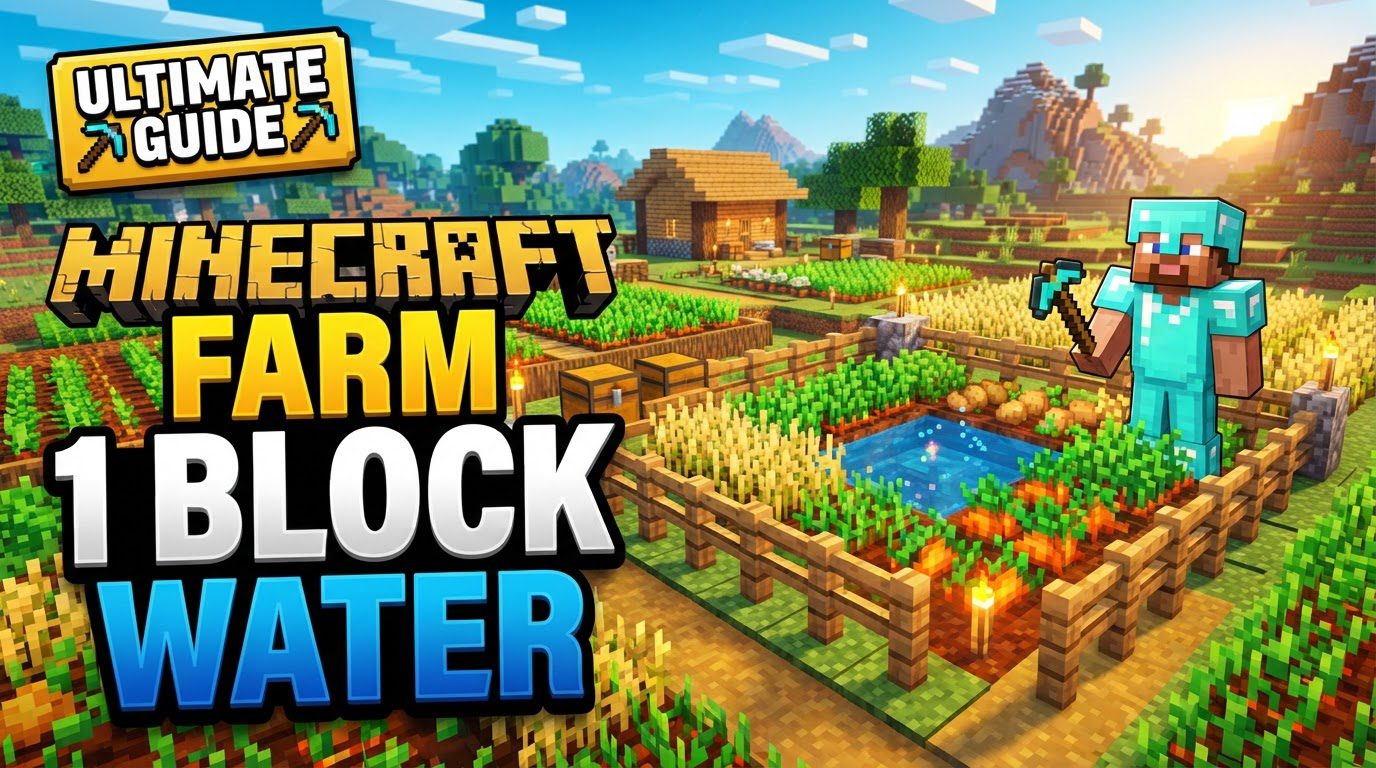
The Core Principle: Water’s Hydrating Reach
At the heart of this farm’s efficiency lies a crucial Minecraft mechanic: water’s ability to hydrate tilled farmland. A single water source block possesses the power to moisturize all tilled farmland blocks within a specific radius. Specifically, it can hydrate farmland up to four blocks away in all cardinal (north, south, east, west) and diagonal directions. When you place a water source block, it effectively creates a 9×9 square of hydrated land, with the water block itself occupying the central position. This means that one water source block is capable of hydrating a grand total of 80 surrounding tilled farmland blocks (9×9 = 81 total blocks, minus the one block occupied by water).
Hydrated farmland is visually distinct – it appears darker and slightly moist compared to dry, light brown farmland. This moisture is not just aesthetic; it significantly boosts the growth speed of any crops planted upon it. Without hydration, crops will grow at a much slower rate, and in some cases, may even pop out of the ground if left dry for too long. Understanding this 4-block radius is paramount to designing and building an effective and productive farm.
Why This Farm is Indispensable for Survival
The 1-block water farm stands out as an early-game essential for several compelling reasons. Its simplicity means even new players can construct one with ease, providing an immediate and reliable food source. From your first night, securing food is a top priority, and this farm delivers. Beyond basic sustenance, it’s incredibly versatile. You can cultivate a wide array of crops: wheat for bread, carrots and potatoes for direct consumption or advanced recipes, and even nether wart (though typically grown in the Nether) can benefit from the hydrated farmland mechanic in specific setups.
This farm also serves as a critical stepping stone for resource gathering. Wheat, for example, not only provides food but also seeds for replanting and hay bales for compact storage or feeding animals. Carrots and potatoes can be used for breeding pigs and villagers, respectively. By establishing a robust 1-block water farm early on, you lay the groundwork for expanding into animal husbandry, villager trading, and more complex automated systems later in the game.
Building Your First Farm: A Step-by-Step Guide
Constructing this fundamental farm is straightforward. Follow these steps to ensure a thriving crop yield:
Gathering Your Supplies
- Water Bucket: Essential for transporting and placing your single water source block.
- Hoe: Any type of hoe (wood, stone, iron, diamond, netherite) will work to till dirt into farmland.
- Seeds: Your choice of crop seeds (wheat, carrots, potatoes, beetroot, etc.).
- Building Blocks: Dirt is the most common, but any solid block will do for the base and surrounding area.
- Optional Items: A chest for storage, a hopper for basic automation, and light sources (torches, lanterns, glowstone) for optimal growth.
Selecting the Perfect Spot
Look for a relatively flat area, ideally at least 9×9 blocks in size, to accommodate the farm’s dimensions. Ensure the location has sufficient light. Natural sunlight during the day is excellent, but for continuous growth, especially at night or underground, you’ll need to supplement with artificial light sources.
Preparing the Soil
Once you’ve chosen your spot, dig a single block out of the ground in what will be the exact center of your 9×9 farm. This central hole is where your water source will reside. Next, equip your hoe and right-click (or use the appropriate action button for your platform) on all the surrounding 80 dirt blocks. This will transform them into tilled farmland. You should now have an 9×9 grid of tilled farmland with a 1×1 hole in the very middle.
Introducing the Water Source
With your central hole ready and the surrounding land tilled, take your water bucket and right-click on the bottom of the central hole. The water will fill the block, creating a stationary source. You will immediately observe the surrounding tilled farmland blocks darken and appear moist, indicating they are now hydrated. This visual cue confirms your farm is ready for planting.
Sowing Your Seeds
Now, simply right-click on each hydrated farmland block with your chosen seeds or crops. Plant away! Ensure you have enough seeds to cover all 80 blocks for maximum efficiency.
Maintaining Your Harvest
Once your crops are fully grown (which you can tell by their final visual stage), harvest them by left-clicking or breaking them. Critically, remember to replant new seeds immediately after harvesting to ensure a continuous cycle of growth and a steady supply of resources. This continuous replanting is key to maintaining a productive farm.
Maximizing Your Farm’s Potential
While the basic 1-block water farm is effective, incorporating a few best practices can significantly boost its output and convenience:
Illuminating Your Crops
Crops require adequate light levels to grow, regardless of hydration. Without sufficient light (a light level of 9 or higher directly above the crop), growth will be incredibly slow or cease entirely. Place torches, lanterns, glowstone, or sea lanterns strategically around and within your farm. A common technique is to place a slab over the central water source and then place a torch or lantern on top of the slab, providing light to the entire farm from its center. This also prevents you from accidentally falling into the water.
Accelerated Growth with Bonemeal
For immediate results or to jumpstart a newly planted farm, bonemeal is your best friend. Right-clicking a growing crop with bonemeal will instantly advance its growth stage, often to full maturity. This is particularly useful for quickly gathering specific resources or if you need food in a pinch.
Stacking for Space Efficiency
If space is a concern, consider building multi-layer farms. You can stack identical 9×9 farm designs on top of each other. With clever design, the water source from an upper layer can sometimes be configured to hydrate farmland on a lower layer, further saving water buckets and simplifying construction. This typically involves designing a platform below the water source that allows its hydration effect to pass through.
Protecting Your Precious Plants
Minecraft’s environment can be harsh. To prevent mobs (like zombies or skeletons) from wandering onto your farm and trampling your crops, enclose your farm with fences. Similarly, players can also accidentally jump on farmland, reverting it to dirt. Placing a slab on top of the central water source not only provides a spot for lighting but also prevents you or other players from falling into the water and trampling the surrounding crops.
Strategic Crop Placement
Some players advocate for planting crops in alternating diagonal rows rather than solid blocks of the same crop. For example, planting wheat, then carrots, then wheat, and so on. While the exact impact on growth rates is debated, the theory suggests that having different crops adjacent might subtly optimize growth, as no two identical crops are next to each other, potentially influencing how the game calculates growth ticks. Experiment to see what works best for your setup.
Avoiding Common Pitfalls
Even with a simple design, mistakes can hinder your farm’s productivity. Be mindful of these common issues:
The Darkness Dilemma
As mentioned, crops will not grow without adequate light. If your farm is under a roof or underground, ensure you have sufficient artificial light sources. A dimly lit farm will yield very little, very slowly.
Misplaced Water
The water source must be a single block placed in the center of your 9×9 grid. If you place it incorrectly, or if its flow is blocked by other blocks, some or all of your farmland may not hydrate. Always double-check the visual cue of dark, moist farmland.
Untilled Earth
Crops can only be planted on tilled farmland. Attempting to plant seeds on regular dirt blocks will fail. Ensure you use your hoe on all 80 blocks before attempting to plant.
The Replanting Oversight
It’s easy to harvest a large crop and forget to replant. This breaks the cycle of continuous production. Get into the habit of immediately replanting seeds after each harvest to keep your farm consistently productive.
Version Peculiarities
While the fundamental mechanics of water hydration for basic farms are largely consistent across Minecraft: Java Edition and Bedrock Edition, more advanced farm designs or specific redstone contraptions might behave differently between versions. For this simple 1-block water farm, the core principles remain the same, but it’s always good to be aware that some more complex mechanics can vary.
Mastering the 1-block water farm is a cornerstone of Minecraft survival. Its simplicity, efficiency, and versatility make it an invaluable tool for any player, providing a reliable source of food and crucial resources from the very beginning of your adventure and beyond.
Tags:
YOU MAY ALSO LIKE...