How Beacon Power Stacking Sequence Gets Determined
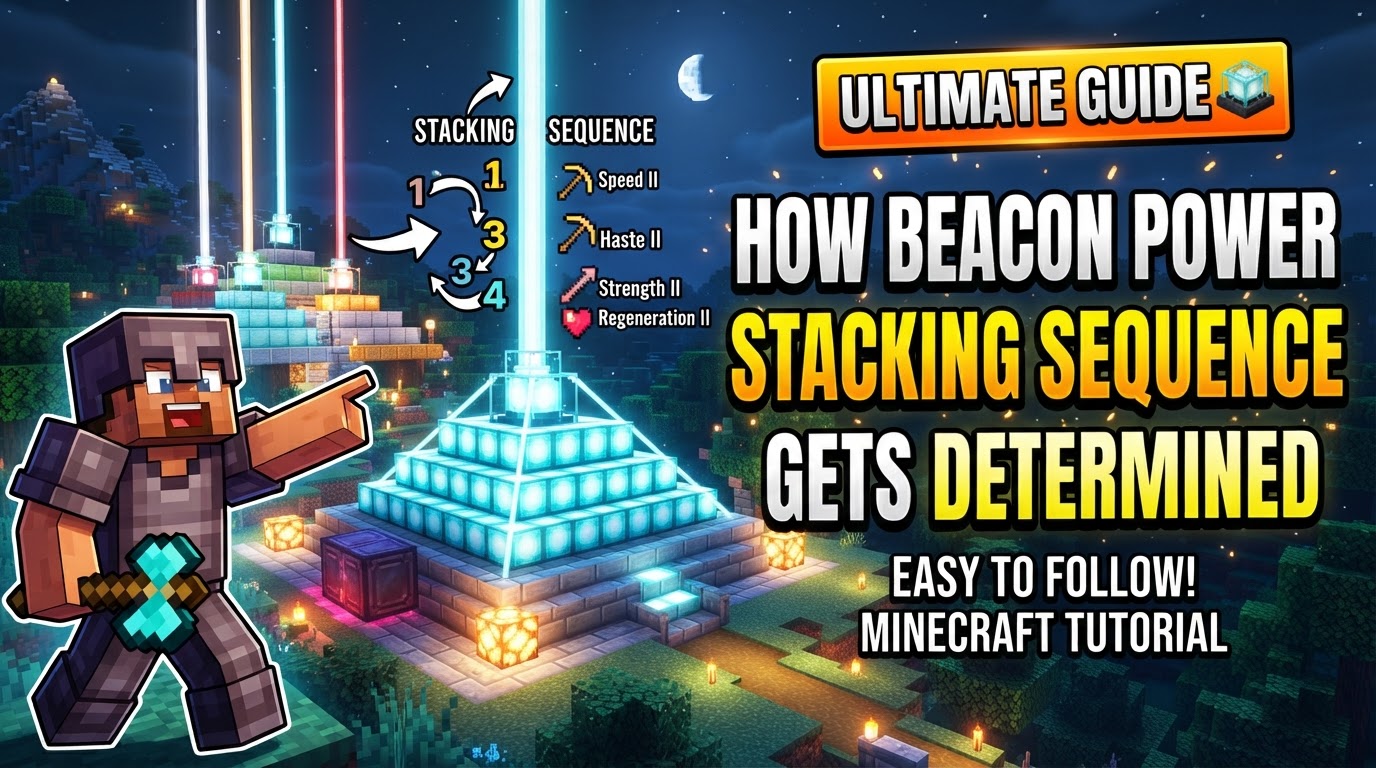
Many Minecraft players mistakenly believe that placing two beacons side-by-side, both configured for Haste I, will somehow combine their powers to grant Haste II. This fundamental misunderstanding of beacon mechanics is crucial to address when discussing how their effects are applied. In truth, beacon “power stacking” doesn’t refer to an accumulation of intensity from multiple sources, but rather the simultaneous application of diverse effects from different beacons.
The True Nature of Beacon Power Application
Unlike many status effects in Minecraft, which might have different tiers or durations that can be extended, beacon effects operate under a distinct set of rules. When players interact with multiple beacons, the game processes their powers in a very specific, independent manner:
- Independent Effects: Every activated beacon functions as its own distinct source of power. If you are within the range of three different beacons, each providing a unique primary effect, you will receive all three effects simultaneously. They do not interact with each other in a way that modifies their base level or duration.
- No Intensity Stacking from Multiple Sources: This is perhaps the most critical point. If you have two beacons both set to provide “Speed I,” you will not gain “Speed II.” You will simply be under the influence of Speed I from two different sources, which yields no additional benefit over being under the influence of Speed I from a single source. The intensity of a primary power (Level I or Level II) is exclusively determined by the selection made within a single beacon’s interface, contingent on the size of its pyramid.
- Simultaneous Different Effects: The real power of “stacking” comes from receiving multiple different primary effects at the same time. Imagine being within range of one beacon granting Haste I and another granting Jump Boost I. You will experience both Haste I and Jump Boost I concurrently. This is the primary way players achieve a comprehensive suite of buffs.
- Single Beacon Capabilities: A lone beacon, when placed atop a fully constructed four-tier pyramid, is capable of granting one primary power. Additionally, it can either upgrade that chosen primary power to Level II or provide the Regeneration effect as a secondary power. This choice is made within the beacon’s graphical user interface (GUI).
Constructing and Activating Your Beacon Network
Understanding the application rules begins with knowing how to establish a beacon. The process is straightforward but requires significant resources:
- Craft a Beacon: The heart of the system is the beacon block itself. To craft one, you’ll need 5 glass blocks, 3 obsidian blocks, and the rare Nether Star. The Nether Star is a challenging acquisition, dropped only by defeating the formidable Wither boss.
- Build a Pyramid Foundation: Beacons require a sturdy foundation to function. This pyramid can range from one to four layers high and must be constructed using specific mineral blocks: iron, gold, diamond, emerald, or netherite. The choice of block type does not influence the beacon’s power or range, and you are free to mix different types of blocks within the same pyramid. The size of the pyramid directly correlates with the number and level of powers available.
- Strategic Beacon Placement: Position the crafted beacon block precisely in the center of the top layer of your pyramid. Critically, the beacon must have an unobstructed view of the sky directly above it. Transparent blocks like glass are permissible above the beacon, but any solid block will prevent it from activating.
- Activating Effects via the GUI: Once placed correctly, right-click the beacon to open its interface. To activate any powers, you must place an iron ingot, gold ingot, diamond, emerald, or netherite ingot/gem into the designated slot. This item serves as a “fuel” for the effect selection.
- Selecting Your Powers: Within the GUI, you’ll see options for primary powers: Speed, Haste, Jump Boost, Resistance, or Strength. If your beacon is situated on a complete four-tier pyramid, you gain an additional option: you can either upgrade your chosen primary power to Level II or select Regeneration as a secondary power.
- Confirming Your Choice: After selecting your desired power(s), click the green checkmark button to confirm. The item you placed in the slot will be consumed, and the beacon will emit its iconic beam, granting effects to players within its range.
Maximizing Effects with Mega Beacons
To truly harness the potential for multiple beacon effects, a strategic approach to pyramid design is necessary. Instead of building individual, separate pyramids for every single beacon you wish to activate, a more resource-efficient and effective method is the “mega beacon” setup.
This involves constructing a single, large, shared pyramid base that is expansive enough to accommodate multiple beacon blocks on its topmost layer. Each of these beacons, sitting on the same shared pyramid, can then be individually configured to provide a different primary power. For instance, you could have one beacon granting Haste I, another granting Speed I, and a third granting Jump Boost I, all from the same massive pyramid structure. If the shared pyramid is four tiers high, each beacon on it would also have the option to provide a Level II upgrade to its primary power or the Regeneration effect.
This method allows players to receive all desired beacon effects simultaneously without the exorbitant cost of building multiple full-sized pyramids from scratch. It perfectly exemplifies how “power stacking” refers to the variety of effects, not their intensity.
Managing Effect Duration and Visual Customization
Beacon effects are not permanent; they are dynamically applied and refreshed:
- Effect Renewal: For players continuously within the beacon’s range, chosen effects are renewed every four seconds. This ensures a consistent buff as long as you remain nearby.
- Post-Range Persistence: Should you leave the beacon’s area of influence, the effects do not immediately vanish. They persist for an additional 9 seconds, plus an extra 2 seconds for each pyramid level the beacon is built upon. For example, a beacon on a four-level pyramid will grant effects for 17 seconds (9 + 2*4) after you exit its range.
- Color Customization: While not affecting power, you can personalize your beacon’s appearance. By placing stained glass blocks directly above the beacon, the emitted beam will change color to match the glass, adding an aesthetic flair to your base.
Common Pitfalls to Avoid
Even experienced players can make mistakes when dealing with beacons. Being aware of these common issues can save you time and resources:
- Blocked Beam: The beacon’s requirement for a clear line of sight to the sky is absolute. Any solid block, even a single dirt block, placed directly above the beacon will prevent it from functioning and granting effects.
- Incomplete or Misaligned Pyramid: An improperly constructed pyramid, whether it’s missing blocks, incorrectly sized, or the beacon isn’t perfectly centered, will lead to the beacon not activating or failing to unlock higher-tier powers. Always double-check your pyramid’s integrity and the beacon’s placement.
- Expecting Identical Effects to Stack in Intensity: This is the most prevalent misconception. As previously emphasized, having multiple beacons providing the same effect (e.g., two Haste I beacons) will not result in a stronger, combined effect like Haste II. Higher levels are selected from a single beacon’s menu on a larger pyramid, not by combining weaker effects from multiple beacons.
- Java Edition Bug (as of 1.20.2): A peculiar bug exists in Java Edition where it is possible to activate two primary Level I powers from a single 4-level beacon. This is achieved by selecting one primary power, then selecting its Level II upgrade, and then selecting a second primary power before confirming. Despite the GUI visually indicating only one primary power, both Level I primary powers will become active. Be aware that such bugs can be patched in future updates.
Ultimately, understanding how beacon power is “stacked” in Minecraft boils down to recognizing the independence of each beacon’s effect. It’s about diversifying your buffs through multiple sources or selecting higher tiers within a single powerful beacon, rather than combining identical effects for increased potency. Master these principles, and you’ll unlock the full potential of these endgame powerhouses.
Tags:
YOU MAY ALSO LIKE...