A Guide to Building Compact Automatic Furnaces
The most common pitfall for new builders of automated smelting systems in Minecraft isn’t complex redstone or obscure mechanics, but rather a simple oversight: incorrect hopper direction. Understanding that the small “spout” on a hopper dictates item flow is absolutely critical to any successful automatic furnace setup, ensuring your precious resources move exactly where they’re needed.
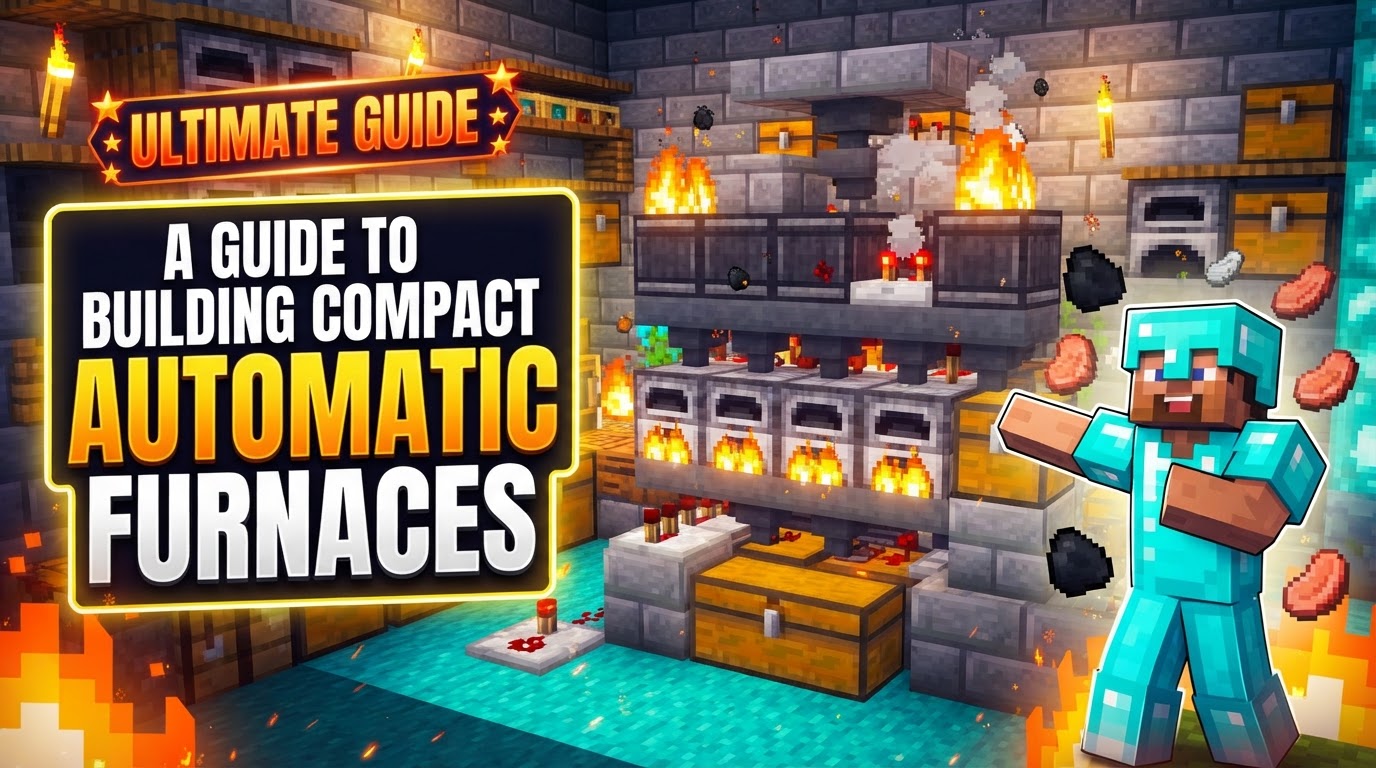
Automatic furnaces transform the arduous task of manual smelting into a hands-free, efficient process. Whether you’re looking to cook vast quantities of food, process stacks of raw ore, or simply streamline your base operations, a well-designed automatic furnace system is an indispensable tool. These contraptions can range from a single, compact unit to massive “super smelters” capable of handling dozens of furnaces simultaneously, all managed by the humble yet powerful hopper.
The Indispensable Role of Hoppers
At the heart of every automated smelting system lies the hopper. These blocks are the circulatory system, moving items between containers and into the various slots of a furnace. Their functionality is precise and crucial for automation:
- Inputting Smeltable Items: To feed raw items into the furnace for smelting, a hopper must be placed on top of the furnace. Items dropped or placed into this hopper will automatically enter the furnace’s top input slot.
- Supplying Fuel: For fuel delivery, a hopper needs to be positioned to the side of the furnace (either the back or one of the two sides). The hopper’s spout must point directly into the furnace, and any fuel placed within it will enter the furnace’s fuel slot.
- Extracting Smelted Products: Once an item is smelted, a hopper placed underneath the furnace will automatically pull the finished product from the furnace’s output slot. This allows for continuous operation without manual intervention.
The direction of a hopper’s “spout” is paramount. Always ensure it’s pointing towards the inventory you intend items to flow into. If it’s simply placed on the ground, it will only collect items directly above it, not transfer them.
Choosing the Right Furnace for the Job
Minecraft offers specialized furnaces, each designed for optimal performance with specific item types:
- Regular Furnace: This is your versatile workhorse, capable of smelting any smeltable item. It’s a good all-rounder for general-purpose smelting.
- Blast Furnace: For processing large quantities of ores, raw metals, and tools, the blast furnace is ideal. It smelts these specific items twice as fast as a regular furnace, significantly speeding up resource refinement.
- Smoker: When it comes to cooking food items, the smoker reigns supreme. Like the blast furnace, it processes its specialized items (food) twice as fast as a regular furnace, making it perfect for large-scale food production.
Utilizing the correct furnace type for your task is a key aspect of efficient automation, ensuring you get the most out of your fuel and time.
Understanding Experience Point (XP) Mechanics
One unique aspect of smelting is the granting of experience points (XP). When you manually retrieve smelted items from a furnace’s output slot, you gain XP. In automated systems, however, items are typically pulled by hoppers into chests. This means the XP isn’t immediately granted to the player. There are two primary ways XP can be consolidated in automated setups:
- Output Chest Collection: If items are collected into an output chest, the XP will be awarded when the player manually takes the items from that chest. However, this often means the XP is spread out and less efficient for farming.
- Direct Furnace Retrieval (XP Farm Integration): For dedicated XP farms, a common technique involves temporarily “locking” the output hopper. This prevents items from being pulled out automatically. When the player then manually accesses the furnace interface and retrieves all the accumulated smelted items, all the XP from those items is granted in one burst, making it a highly effective way to farm experience.
Constructing Your First Compact Automatic Furnace
A basic automatic furnace is surprisingly simple to build, requiring just one furnace, three hoppers, and three chests. This design forms the foundation for more complex systems.
- Output Chest Placement: Begin by placing a chest on the ground. This will be where all your finished, smelted products are collected.
- Output Hopper Installation: Place a hopper directly on top of the output chest. Ensure its spout is pointing down into the chest. This hopper will pull smelted items from the furnace.
- Furnace Positioning: Place your chosen furnace (regular, blast, or smoker) directly on top of the output hopper. This establishes the core smelting unit.
- Smeltable Item Hopper: Place another hopper directly on top of the furnace. This hopper is dedicated to feeding raw items into the furnace’s top input slot.
- Smeltable Item Input Chest: Place a chest on top of this input hopper. This chest will serve as the primary loading point for all the items you wish to smelt.
- Fuel Hopper Attachment: Place a third hopper to the side (either the back or one of the two sides) of the furnace. Crucially, ensure its spout points into the furnace’s fuel slot.
- Fuel Input Chest: Finally, place a chest on top of this fuel hopper. This chest is where you will load all your fuel sources.
- Activation and Operation: With all components in place, simply load your desired fuel into the fuel chest and your raw items into the smeltable item chest. The system will automatically begin smelting, and finished products will steadily accumulate in the bottom output chest.
Maximizing Efficiency and Scaling Your Operations
Once you’ve mastered the basic compact furnace, you can explore ways to enhance its efficiency and scale it to meet greater demands.
- Scalability of Design: The fundamental compact furnace design is inherently scalable. You can easily expand by placing multiple furnaces side-by-side, each with its own input and output hoppers. For truly massive operations, engineers often construct “super smelters” featuring arrays of 16, 24, or even 78 furnaces, all working in unison.
- Minecart Distribution Systems: For very high-volume smelting, manual loading becomes impractical. Minecarts with hoppers on powered rails offer an excellent solution. These can efficiently distribute raw materials and fuel to an entire row of furnaces and then collect the finished products, creating a fully automated supply chain.
- Strategic Fuel Management: The choice of fuel significantly impacts efficiency. Consider the burn time of different fuels: a single coal block smelts 80 items, while a single piece of coal smelts 8. Renewable options like bamboo (especially in large farms) or charcoal are also viable and sustainable long-term solutions.
- Leveraging Specialized Furnaces: As mentioned, always use Blast Furnaces for ores and raw metals, and Smokers for food items. Their double-speed processing for specific items drastically reduces smelting time and fuel consumption for those tasks.
- Integrating for XP Farming: To turn your automated furnace into an XP farm, you can add a simple redstone mechanism. Attach a lever to the side of the furnace (or near the hopper underneath). Activating this lever will send a redstone signal, which will “lock” the output hopper, preventing it from pulling smelted items. This allows items and their associated XP to accumulate within the furnace. When you’re ready to collect XP, deactivate the lever, open the furnace GUI, and retrieve all items, gaining all the stored XP in one go.
Troubleshooting Common Automation Issues
Even with careful planning, issues can arise. Knowing how to diagnose and fix common problems will save you time and frustration.
- Incorrect Hopper Orientation: This is the most frequent issue. Always visually confirm the “spout” of each hopper. If it’s not pointing into the correct inventory slot (chest, furnace input, furnace fuel, or furnace output), items will not flow as intended. Break and re-place hoppers if necessary.
- Locked Hoppers: Hoppers will cease to function if they receive a redstone signal. Check if any redstone components (like redstone dust, blocks, torches, or levers) are inadvertently powering and “locking” your hoppers. Remove or re-route any conflicting redstone.
- Minecart Timing Anomalies: In complex super smelters utilizing minecarts, improper timing or a minecart moving too quickly can lead to uneven distribution. Some furnaces might not receive enough raw materials or fuel, while others might get overloaded. Adjust rail layouts, power levels, or add more minecarts to ensure smooth, even distribution.
- Non-Smeltable Item Blockages: Accidentally placing items that cannot be smelted (e.g., cobblestone in a smoker, or wooden planks in any furnace) into the input chest will cause them to get stuck in the system. They will clog the input hopper or the furnace itself, preventing other valid items from being processed. Regularly check input chests for unintended items.
- Items in Output Chest Not Smelting: Remember that the bottom collection chest is for finished products only. Placing raw items directly into this chest will not cause them to be smelted; they will simply sit there, bypassing the entire furnace system. Always place raw items in the designated input chest at the top.
Mastering compact automatic furnaces is a rewarding endeavor in Minecraft, transforming resource processing from a chore into a seamless background operation. By understanding the core mechanics of hoppers, choosing the right furnace, and implementing smart design principles, you can build efficient and scalable smelting solutions that power your entire world.
Tags:
YOU MAY ALSO LIKE...